
Been waiting all winter to start the project and will be ordering the pool within the next two months waiting for some more warm weather like we have been having here in Louisiana so the liner will stretch out correctly. I am posting some pics and will keep adding them to this thread as the process gos. I have read and watched I dont know how many how to videos over the last 6 months about building an AGP regarding leveling, liners, coves, bottom padding, etc, and in some instances I am still half confused because of the various different ways the pros and first timers do certain things. But as I go time will tell and I am sure I will be asking many questions from the helpful experienced people here which I will gladly appreciate. Hopefully my build and pics can help others with questions too.
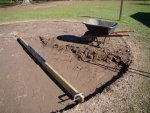
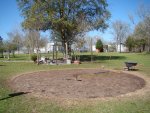
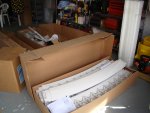
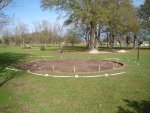
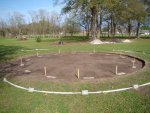
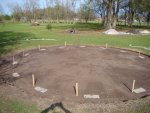
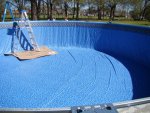
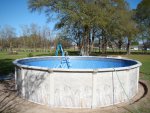
Here are some pictures for the 21 foot I will be building. This past weekend I began the leveling moving 35 wheelbarrows of dirt from the circle because of a 6 inch difference in grade. I also had used Roundup (weedkiller) on the 24 foot circle in November to kill as much of the grass as possible prior to leveling to make it easier to shave and remove the dirt. I can tell you one 47 year old man with one flat shovel is feeling it today, and I work out, lol. I used an old Craftsman transit from my grandfather and the 2 x 6 with the level to make double sure I am on level.
Here are some pictures for the 21 foot I will be building. This past weekend I began the leveling moving 35 wheelbarrows of dirt from the circle because of a 6 inch difference in grade. I also had used Roundup (weedkiller) on the 24 foot circle in November to kill as much of the grass as possible prior to leveling to make it easier to shave and remove the dirt. I can tell you one 47 year old man with one flat shovel is feeling it today, and I work out, lol. I used an old Craftsman transit from my grandfather and the 2 x 6 with the level to make double sure I am on level.


 Looking good so far! Can't wait to see more pictures!
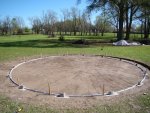
")