Belldiver's Pool Build

Re: Belldiver's Pool Build (New Pics!)

The plaster crew showed up at 07:15 on Wednesday morning to clean 5 months of slime and toad corpses from the pool. They installed the return eyeballs and acid etched a few stained spots in the gunite. Hurricane Dolly was still waving a few outer rain bands all the way up here in Louisiana from the Texas/Mexico border. The weather reports listed 30-50% chance of rain for the next day. We talked about the next day and decided...to decide in the morning. They said they would be back the next morning. I assumed about the same time. I set my alarm for 06:15 so I'd have time to have some coffee and check the weather radar...

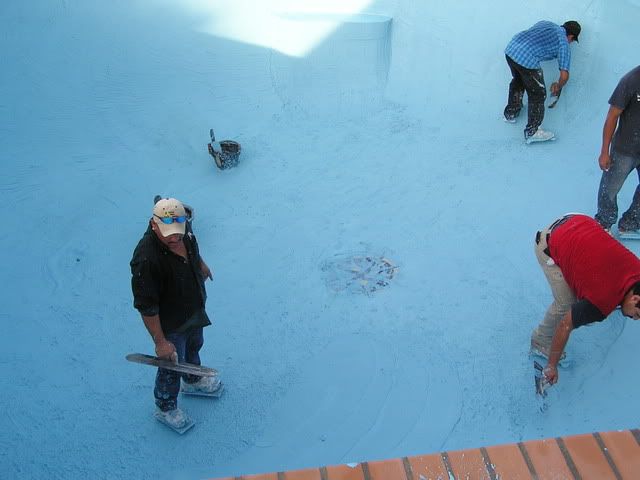
I woke up to banging on the door at 06:05. The whole crew of 10 or 12 was there getting their equipment ready. The forecast was still the same, but the sky was blue and clear. We decided to go for it. I checked to radar every half hour or so. A few times during the day some rain was east or west of us, but we got lucky and it stayed dry all day. They started trouling the plaster on by 07:00 and it was done by 12:00. Waited an hour, light acid wash at 13:00 and started filling at 13:30. Overall I'm very pleased with the job. I did run around all day nitpicking things here and there but they did a good job all on their own. My camera managed to corrupt half of the pictures I took during the last half of the plaster job and fill, but some came out. Here's a few pics...

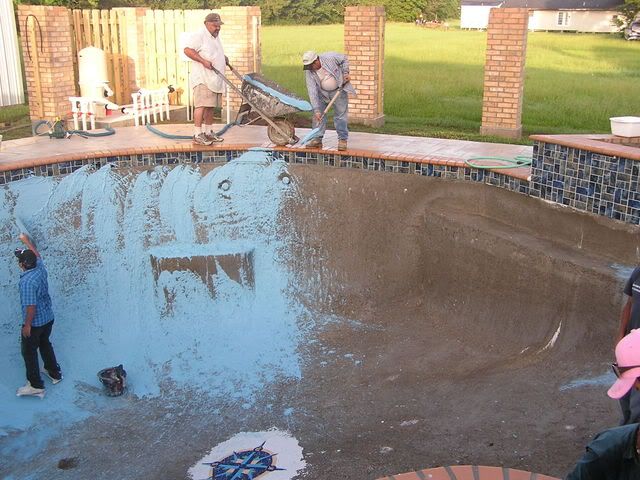
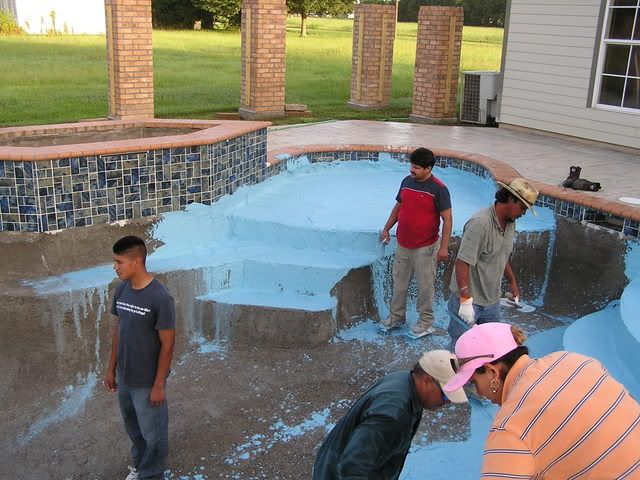
Beginning plaster...
Plaster1.jpg


Plaster3.jpg


Plaster2.jpg


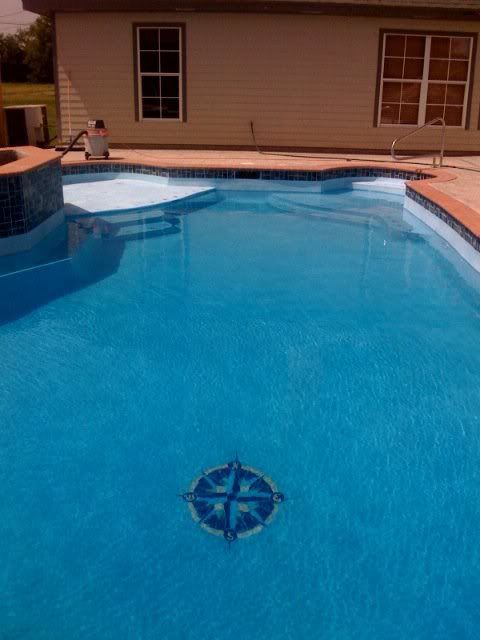
Only picture I have of the fill, from my iPhone...
Fill1.jpg


Compass Rose Tile
CompassRose1.jpg


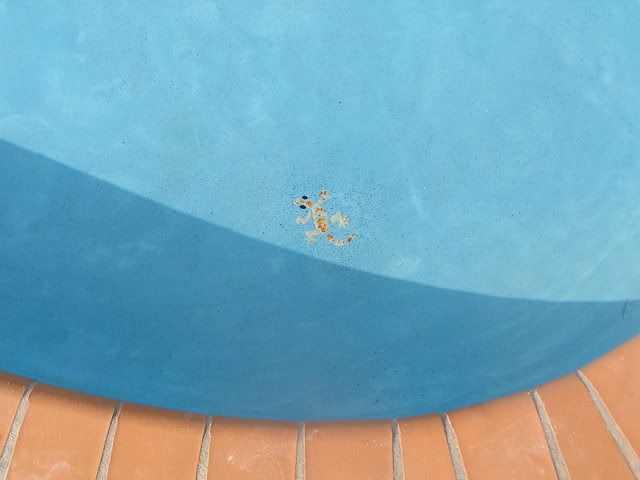
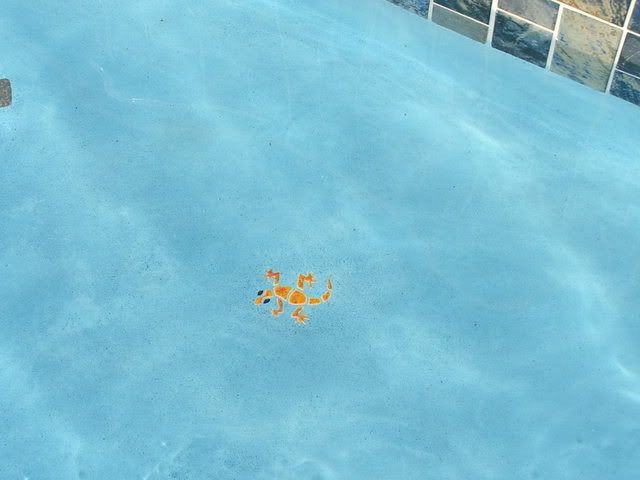
Jacque and Pierre the tanning ledge geckos
Jacque.jpg

Pierre.jpg


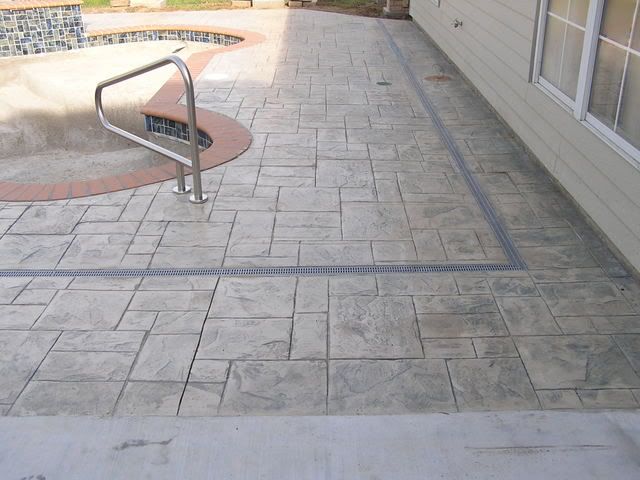
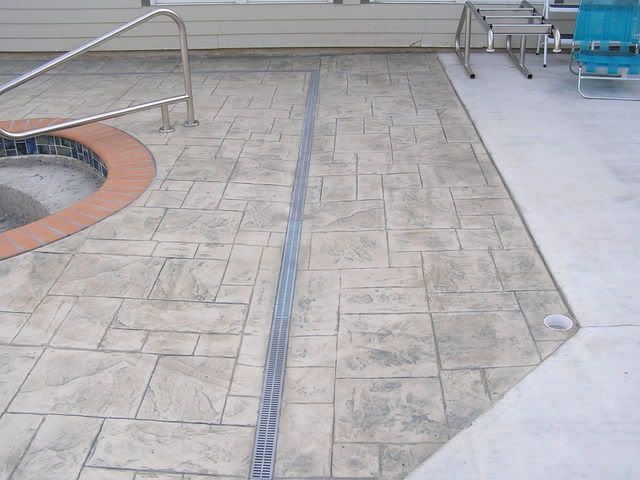
And a couple overall shots with water...
Overall1.jpg


Overall2.jpg


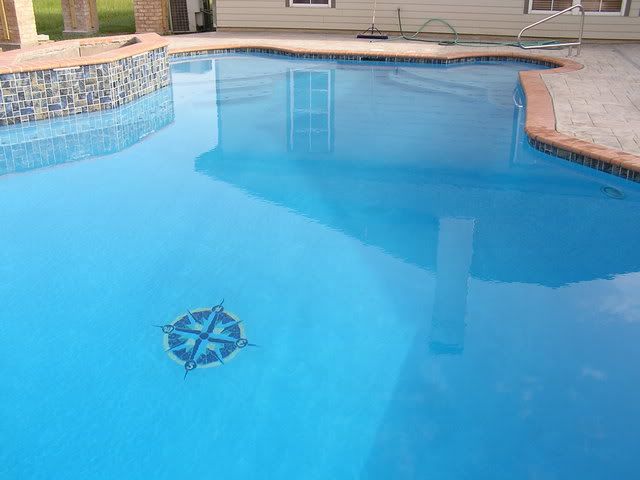
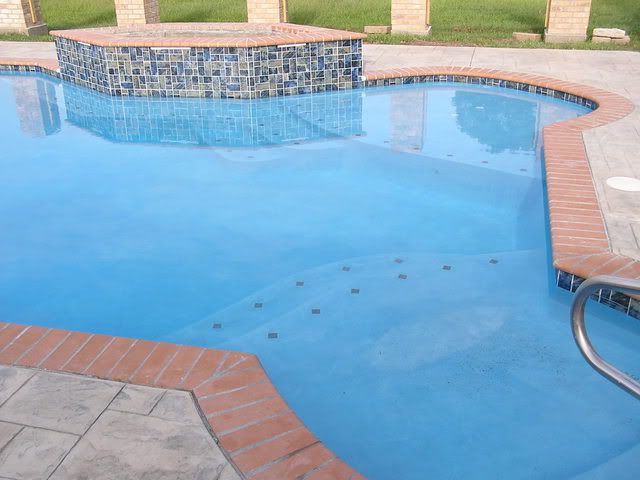
The pool actually filled quicker than I thought and was a few thousand gallons less if my water meter is accurate. 32 hours to fill 28,500 gallons. I turned the pump on at 21:00 last night and started working on the pH.

BTW...The two Colorlogic LED lights are fantastic! Not overly bright, but they give a really great shimmering effect on all the steps and ledges. The slow alternating light show is really great. I'll try to get some pics of them tonight.

Enjoy!

Jim
 
Jim,
Your pool looks great. I love the insets and plaster color. Stunning!

I am particularly interested in your Autopilot system. I plan to install the Autopilot digital next weekend.

Will you take some pics of your completed equipment pad? What are the dimensions of your bypass manifold?

Thanks,
 
Dave,

I've got the AutoPilot panels wired in, but not activated yet. The manifold is plumbed in, but not energized yet. Since I can't add the salt yet, it's not been high on my priority list. I have to get some more fencing up today and should get time to start working with the A/P this afternoon. I'll take a couple pics this afternoon/evening with some dimensions. Even if I can't start the SWCG yet, I'd like to get the pH sensor and acid pump up and running.

Jim
 
Wow Jim,

That's beautiful. The easy compliments are the nifty decorative tiles, but I know you sweated the details and will enjoy the fruits of your work.

I'm glad to see it come together for you, and know you'll enjoy getting wet in it any day now... if you haven't already.

What plaster did you end up using?

Enjoy!

Steve
 
Dave-DLSDO,

Here are the pics of the plumbing pad and AutoPilot SC-60 cell manifold. You can see the acid tank/pump on the right. Not quite sure where it will end up, I still have alot of backfilling and landscaping to do. I'm saving the open spot on the equipment pad for a heater to be added at a later date. It's easy enough to move around. I still have not run the low voltage wires to the cell or between the Digital control unit and the Chemistry controller. Those are just plug ins though.

First pic is the overall of the pad. The SC-60 manifold is in the background and is resting directly on the pad
Pad1.jpg


Another overall, a little closer...
Pad2.jpg


End view...
Pad3.jpg


Vertical height is about 21 1/2"...
Pad4.jpg


Horizontal distance is 13"...
Pad5.jpg


Let me know if you have any questions. I'll be trying to get the chemistry controller online tomorrow or the next day.

Jim
 
stevenbrla said:
Wow Jim,

What plaster did you end up using?

This is Tahoe Blue Diamond Brite. I thought about making a custom blend, but in the end didn't want to complicate the installation. I'm happy with the color. The water is a very striking blue in the early morning and evening.

I appreciate you letting me come out to check your pool out last year. I've been a sponge for information all year and it's finally paying off.

...and I only made it about 24 hours before swimming! I had the pH within limits and most of the cloudy water gone in that time though. Just couldn't wait three days.

Jim
 
Your equipment pad looks great!! Those measurement were very helpful. I will receive my Autopilot on Wednesday and plan to install this weekend. I am now able to do some pre planning with those pics and figures. The control panel is smaller than I thought also.

Thanks again and great job,
 
Jim,

Sorry it's been so long, but your pool looks great!! I may take you up on that offer from some time ago to stop by and take a look when we are passing through on our way to Church Point one weekend.

I do have a question or two for you if you don't mind. Our pb is starting this week on our pool...FINALLY!!!! and we are putting some of the "channel drain" (not exactly sure of name) stuff between our patio and pool deck like you have. I was wondering, our pb uses 1" wide drains and I think they come in 20 ft lengths. I would like it to be a little wider, but not sure how good it will drain of rainfall. How wide is your "channels",,,,and how do they drain, any standing water on your deck at all?? The reason I ask is we have our patio cover gutters that will come down right along this seem btween patio and pool deck. When it rains, I don't want to have standing water with the 1 inch drains if they don't drain fast enough.

And secondly, can you give me the deminsions of your equipment pad? Our pb usually does a 4'X4' pad for the equip, but I asked him to do only 3 feet wide in order to leave more walking space on the side of our house where the equipment will be. Our fence is only about 6' away from our house and I just didn't want to "close it off" so to speak. Do you foresee any problems with that size pad?

Thanks for any info and again great looking pool!!!

DMAN
 

Enjoying this content?

Support TFP with a donation.

Give Support
DMAN,

Sorry for the delay, I'm offshore and haven't checked in lately...

My channel drains are 3" wide. The grates are removeable so it is easy to keep them clean. They drain very well and I get ALOT of water off my back roofline that drains onto the pool deck area. I did slope the stamped concrete down to them at or greater than 1/4" per foot. I would absolutely recommend the 3" drains over the 1" drains anywhere water may get trapped between your house and the pool. You can't clean out the 1" drains and I just don't think they'll handle the type of rains we get down in south LA. My drains run through the decking, and drop down into a 4" drain that runs under the concrete out the the edge of the pool area outside the fence. It works well in my application because my house slab and pool elevation are about 2' higher than the surrounding yard. Yours might just run out straight to the edge.

My equipment pad is 4' x 8'. There are two 1'x1' corners cut out where the brick columns meet up. I think you can get away with 3' wide, but if you do, extend the length to at least 6'. This really depends alot on what size filter you choose and if you will be installing a water heater. Gas heaters are fairly compact, but heat pump style pool heaters take up much more space and require about 1' additional "breathing room" around them to work properly.

Feel free to come over and check things out. Bring your tape measure and a camera. I'm offshore for another two weeks, but will be home for the last half of October.

Jim
 
Hey Jim,

Thanks for the reply, and the info. I think I will try to go with bigger than 1 inch if I can get it. I asked the pb and they called their "supplier" about getting 4", but said it costed like $200 to get 1 20ft length.

Let me ask you, did you order yours yourself? And if so, where did you get it, and how much di it hit you for?

Maybe I can just buy it and when they come to do the decking, I'll use the one I bought. That 3" you have looks like it will be perfect.

Thanks,,,,,,DMAN
 
DMAN,

deck-drains-anyone-t7751.html

Here's a link to a previous post with someone asking questions about the deck drains. I got them from Ewing Irrigation in Lafayette. It's a nationwide chain, but I think they mainly sell to contractors so you won't hear about them much. One of those good stores you just have to find out about. I can let you know where they are in Lafayette if you still need the stuff. They had everything I needed in stock, but you may want to pre-order if you need alot.

I did all the leg work for the deck drainage channels. I hired the form-up and stamping. The channels do take a fair amount of work to ensure your drainage is correct and then you have to set them in quik crete patties before you actually pour the finished deck. I used one+ 40# bag of quickcrete at each 6' joint and set the whole drainage system to grade. Then duct taped over the grates. I don't think there's any other way you will keep it all in place when pouring the decking concrete around them and floating it.

Make sure you have adequate grade on any concrete surfaces near the pool. I'd recommend 1/4" per foot minimum. Particularly in sections that are trapped between your house/roofline and the pool itself. It's not so bad on the outer edges where rainwater will just run off into your yard.

Hope this helps...

Jim
 
:wave: I just ran across your thread.. What a beautiful job! I used a Tahoe Blue Midnight Hybrid mix. I was hoping your finish was holding up well.
 
Thread Status
Hello , This thread has been inactive for over 60 days. New postings here are unlikely to be seen or responded to by other members. For better visibility, consider Starting A New Thread.