i've immensely enjoyed reading so many of the the threads in this forum that i decided to put my experiences to date. back in january i decided to put an inground pool in our backyard. i decided to go with the PB that did a coworker's pool because his turned out so nicely and he recommended this PB. i wish that i had stumbled upon this forum before i had started this process because i didn't know anything about pools or building pools.
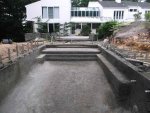
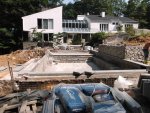
so i didn't get any other estimates and told him my budget upfront. suprisingly, the proposal came out to exactly my budget number. the project has become more elaborate as the months have dragged on with the result being we are over budget and behind schedule. at the beginning there were long periods of inactivity but the PB has been making a lot of progress the last few weeks.
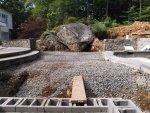
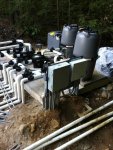
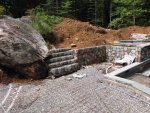
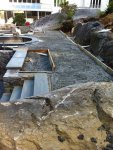
my backyard in jan. you may not be able to see, but there is a big grade change.
[attachment=2:dqdxfvha]Last 12 Months-0.jpg[/attachment:dqdxfvha]
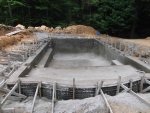
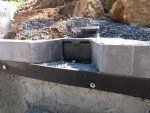
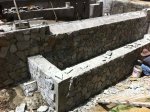
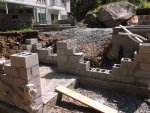
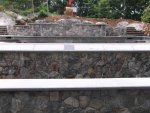
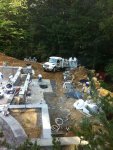
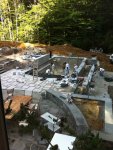
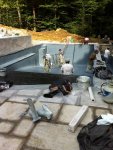
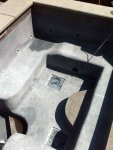
shotcrete
[attachment=1:dqdxfvha]2.jpg[/attachment:dqdxfvha]
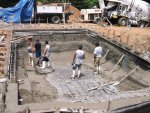
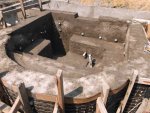
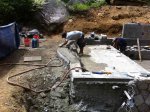
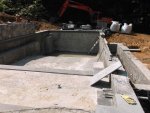
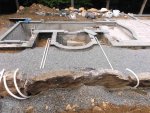
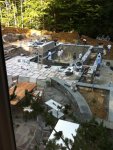
more shotcrete
[attachment=0:dqdxfvha]1.jpg[/attachment:dqdxfvha]
so i didn't get any other estimates and told him my budget upfront. suprisingly, the proposal came out to exactly my budget number. the project has become more elaborate as the months have dragged on with the result being we are over budget and behind schedule. at the beginning there were long periods of inactivity but the PB has been making a lot of progress the last few weeks.
my backyard in jan. you may not be able to see, but there is a big grade change.
[attachment=2:dqdxfvha]Last 12 Months-0.jpg[/attachment:dqdxfvha]
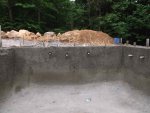
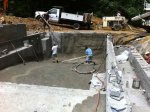
shotcrete
[attachment=1:dqdxfvha]2.jpg[/attachment:dqdxfvha]
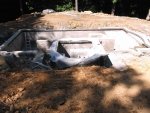
more shotcrete
[attachment=0:dqdxfvha]1.jpg[/attachment:dqdxfvha]