
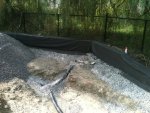
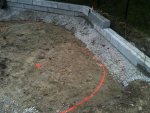
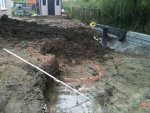
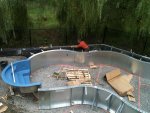
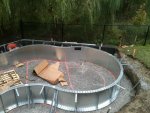
The retaining wall will be this...
http://www.risistone.com/home/index.php?page=durahold2
for the back of the property which will retain most of the weight of the pool. I will use something more decorative to retain the patio around the sides of the pool.
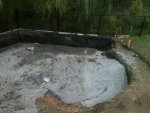
http://www.risistone.com/home/index.php?page=durahold2
for the back of the property which will retain most of the weight of the pool. I will use something more decorative to retain the patio around the sides of the pool.


")