
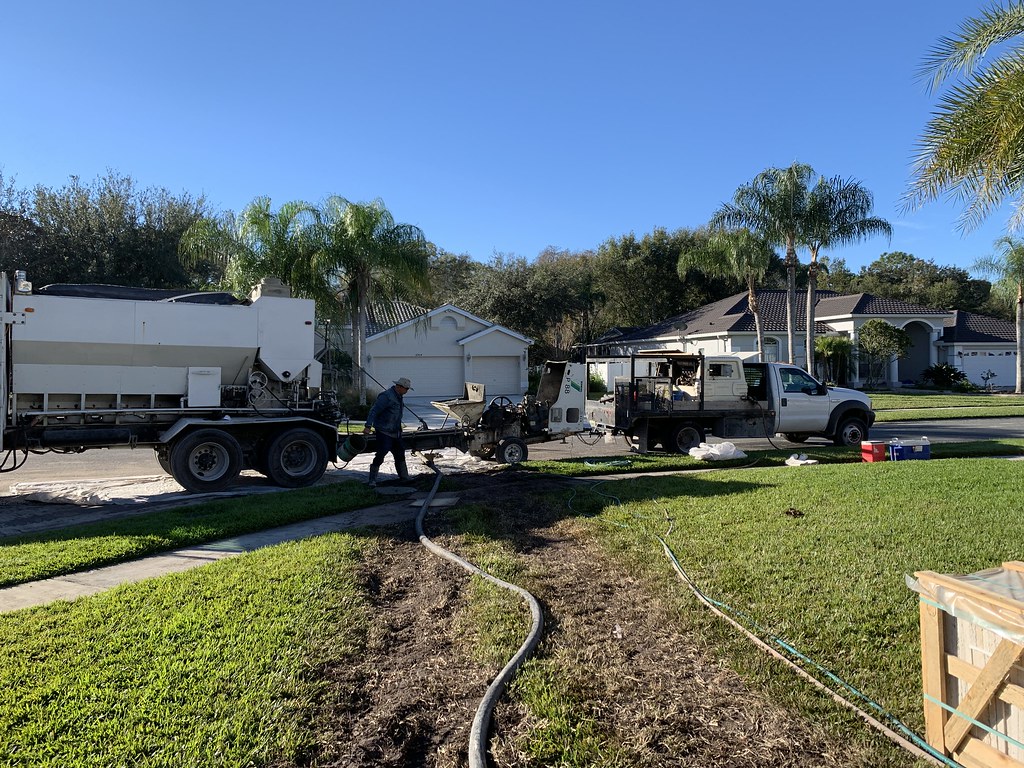
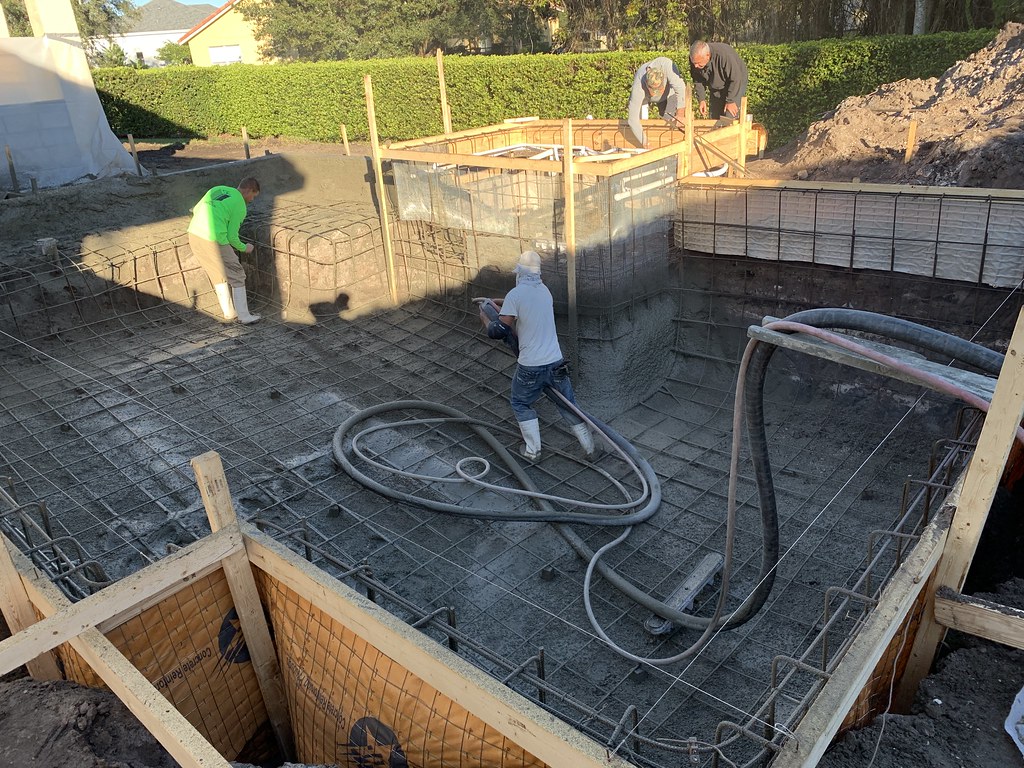
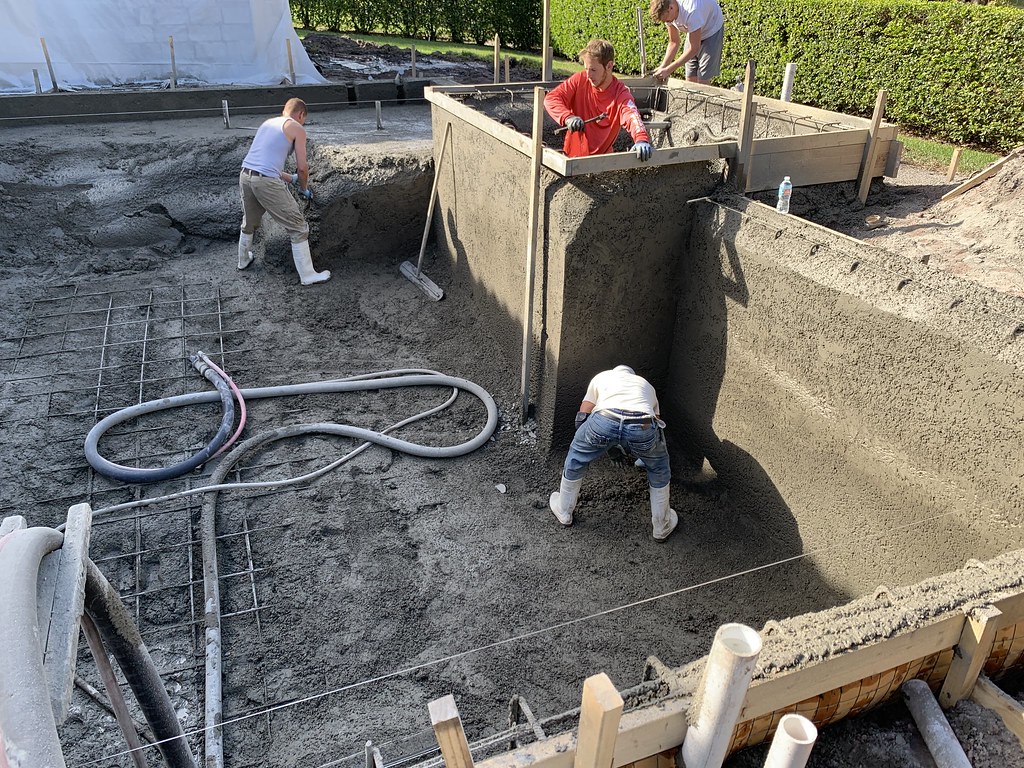
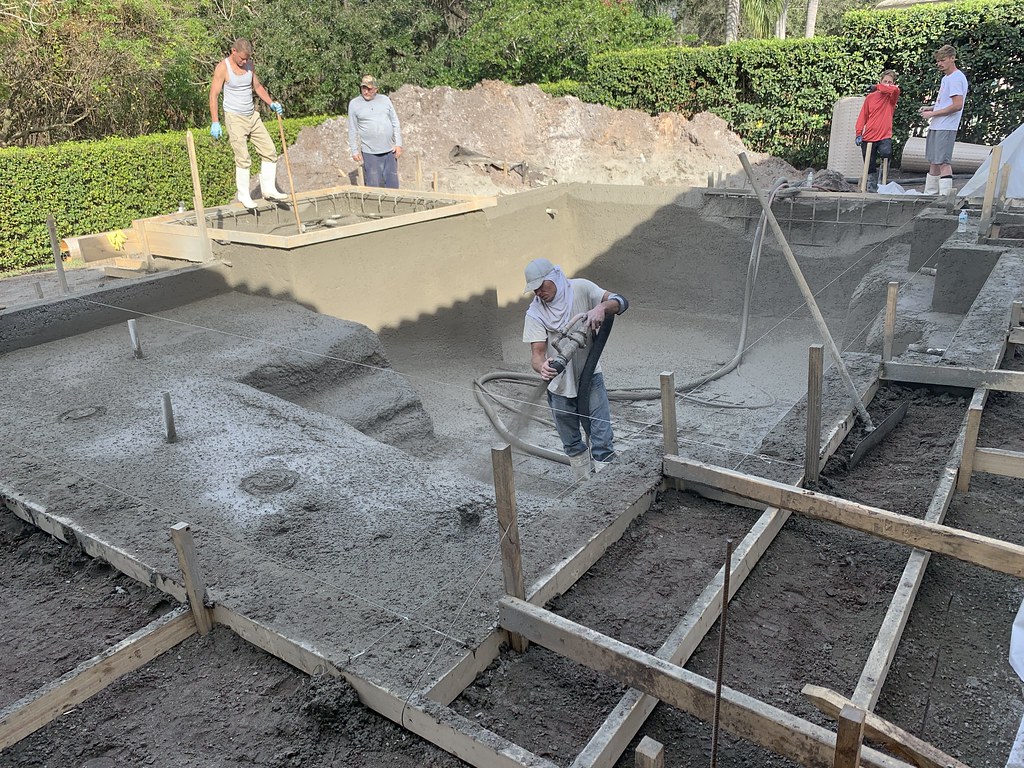
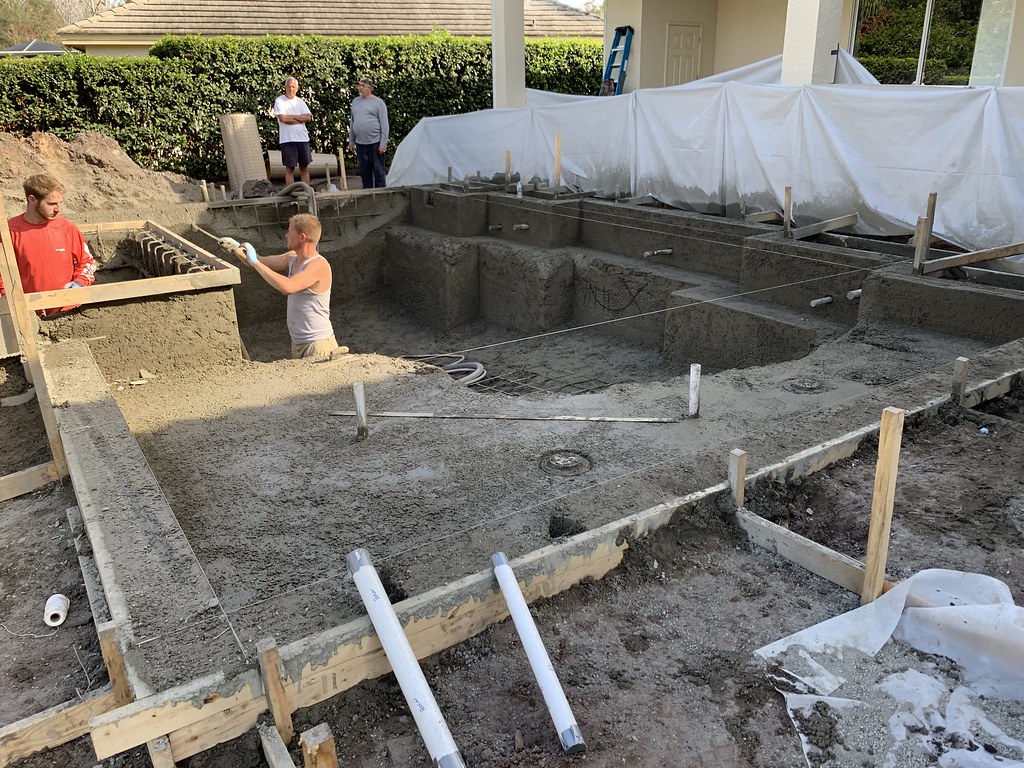
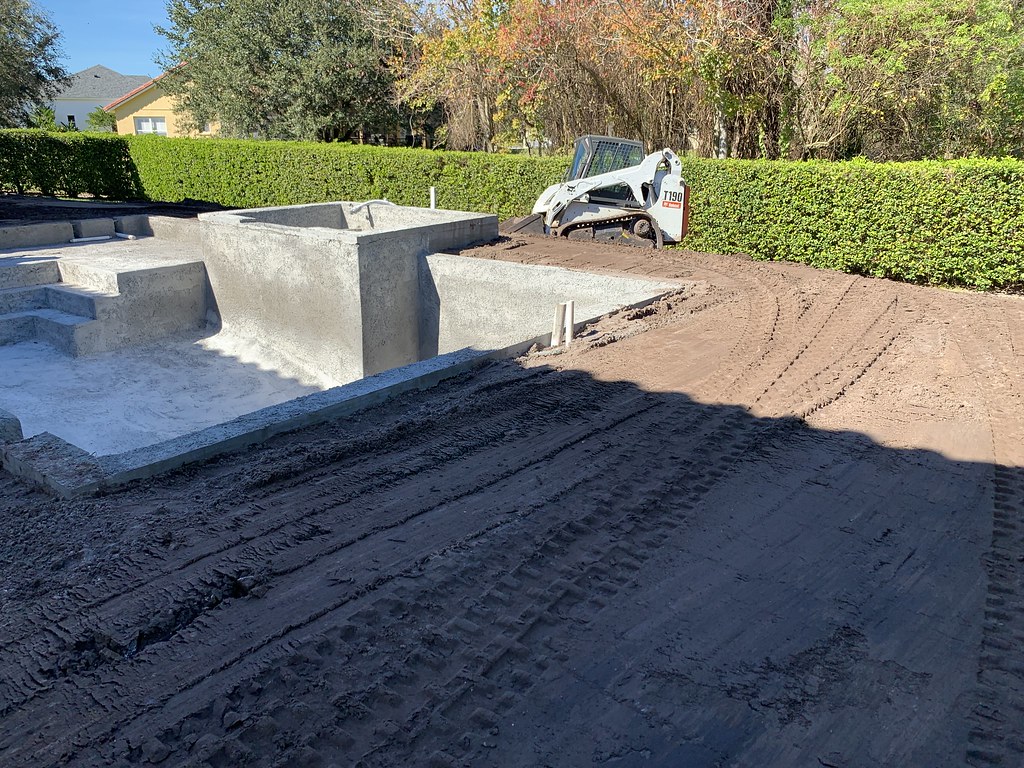
Well, today was the first really really big day. The crew was at the house at 7am to shoot it. 4 trucks and 36 yards of shotcrete were used. They started shooting just before 0730 and ended after dark around 6pm. We finished the spa using a bunch of cell phone lights. Unfortunately, it was dark, so i dont have many pics of the finished product, but the crew was absolutely phenomenal. They made a shotcrete pool look like gunite. They edged all the steps and benches. Everything was level and square. They were absolutely meticulous and they were not your typical rough construction felons. Slipped them a dead president at the end of the day to go out for dinner. It was 4 guys who worked their butts off and I could not be more impressed with their attention to detail. I will upload more pictures tomorrow when the sun comes up. The best part of today, we budgeted 10k for concrete and came in several thousand under budget which will offset the cost of the footer for the deck.
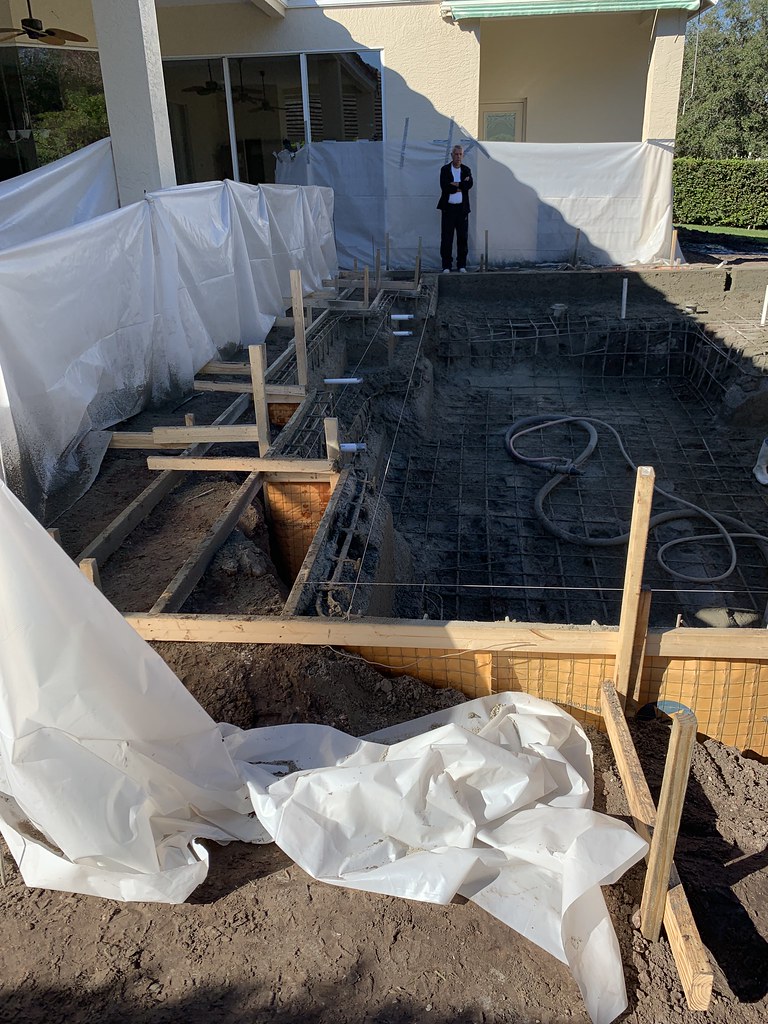
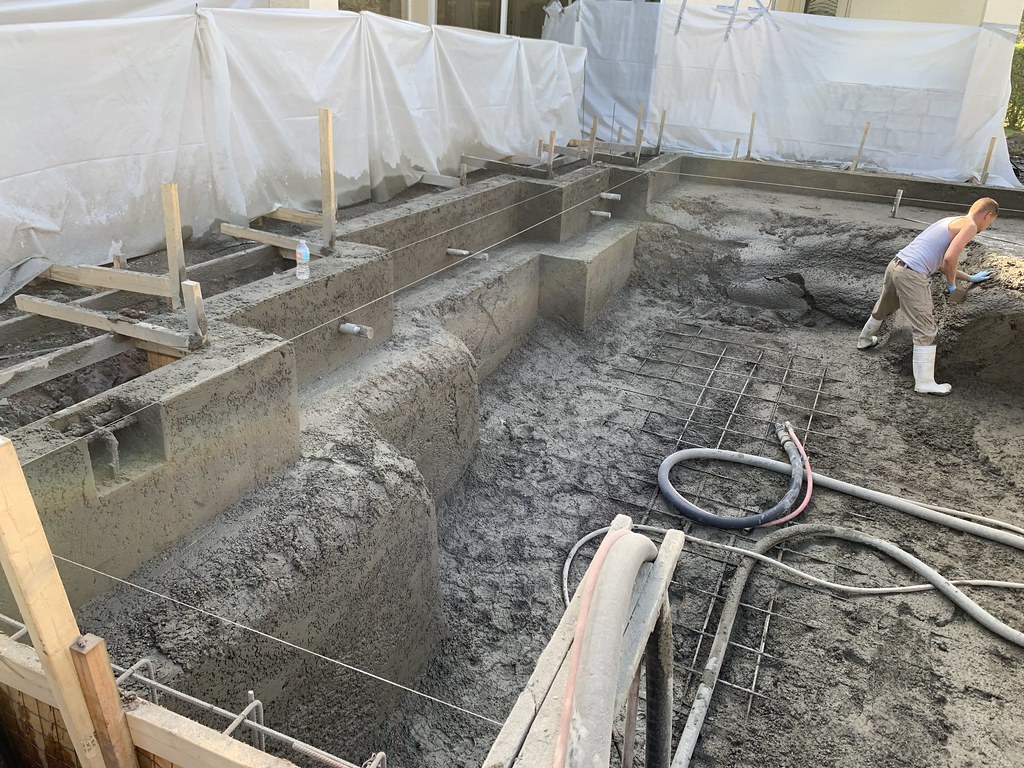
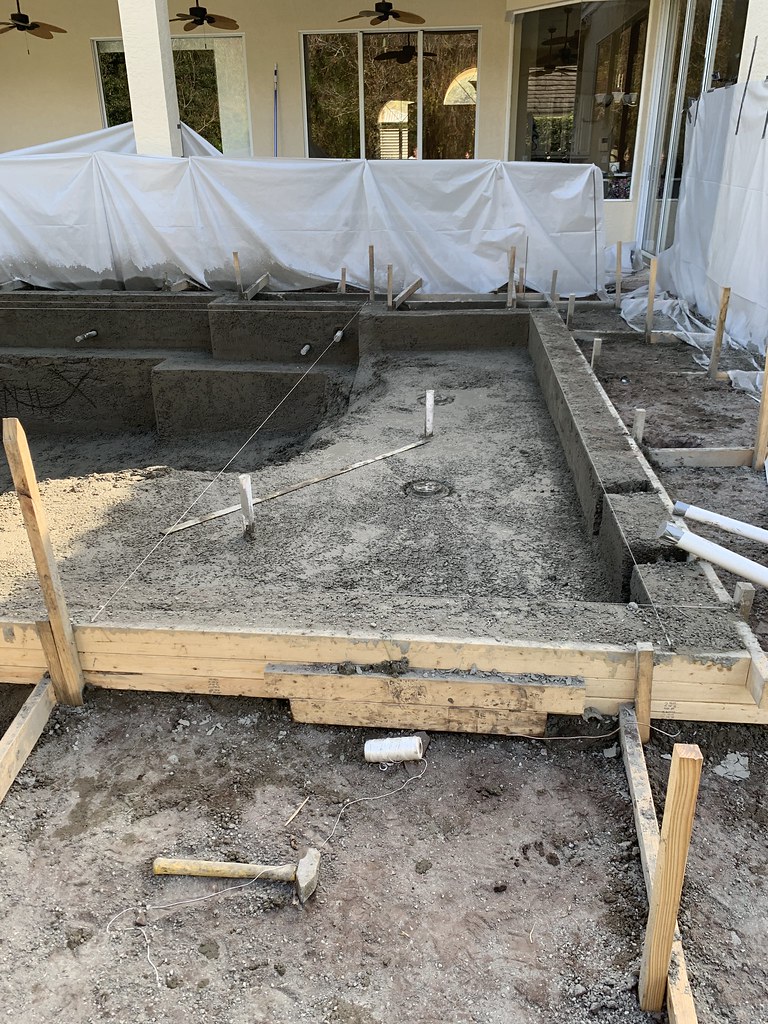
We actually ended up missing a huge mistake in the steel phase. The bench on the house-side of the pool was supposed to stop 5 feet from the end of the deep end, but it ended up running the entire length of the pool. We ended up liking it since it acts as more of a swim out in the deep end, so we went with it and are fine with it.
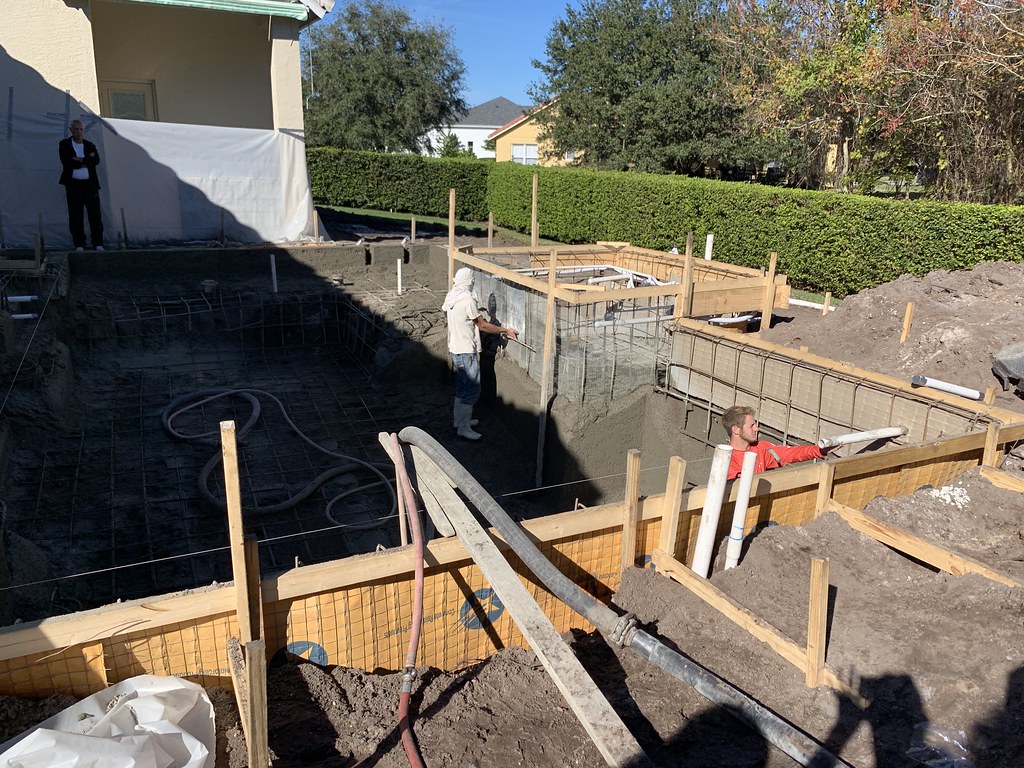
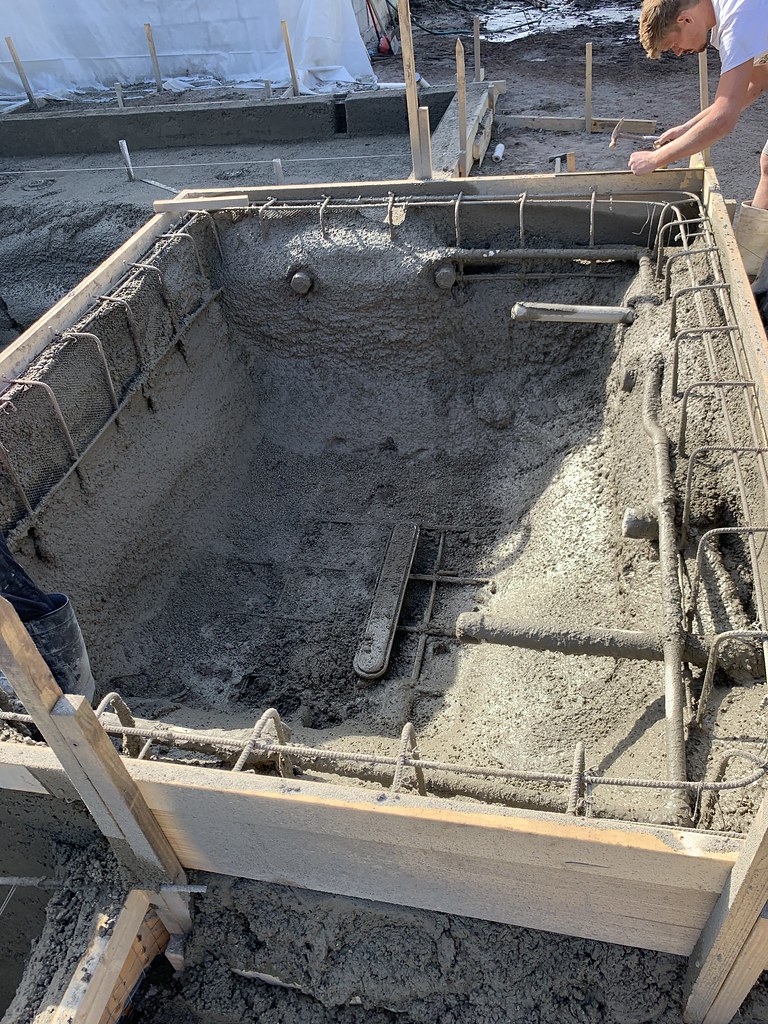
All of the returns were placed by the shotcrete crew as well as lights. We are doing Pentair Microbrites. They are about 10 inches below the water line, which is still above the bench, so my concern was that there would be a shadow cast below them due to the bench. The reason we chose to keep them up a little higher was we did not plan how much 1.5" pipe we would need and did not have enough to account for an 18" wide bench plus the 8" beam to pass the pipe through with extra length on each side. If anyone is thinking about running a bench on the same side of the pool that the lights will be on, keep this in mind. I have a feeling a black line will be cast due to shadowing but ill keep my fingers crossed.
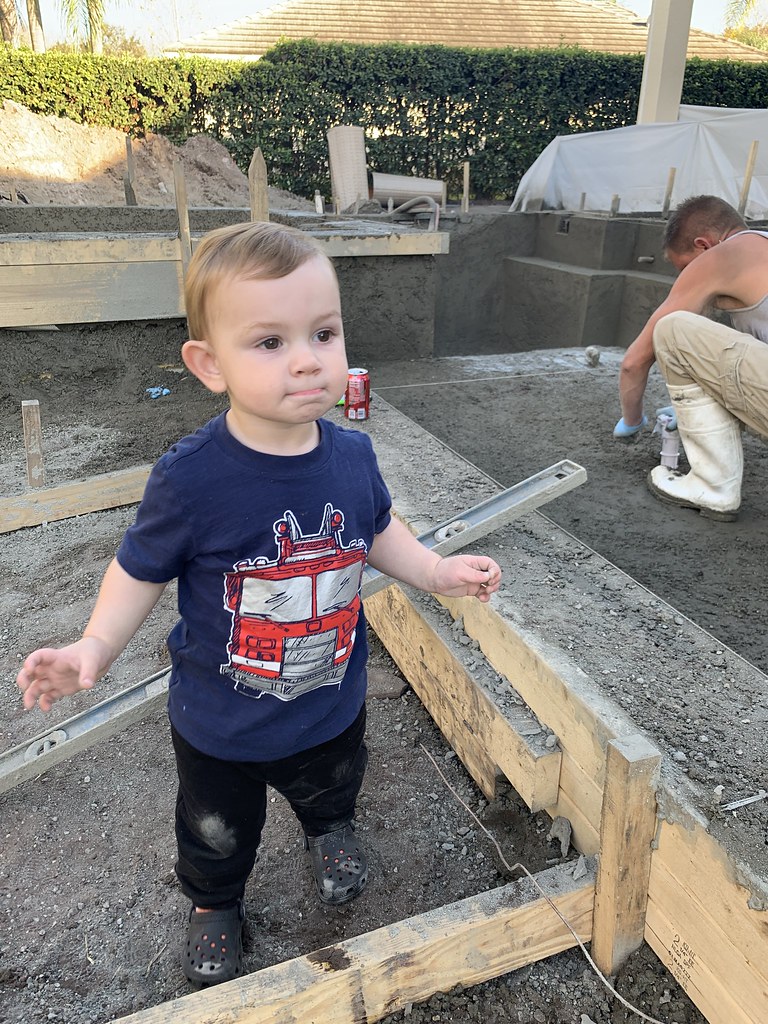
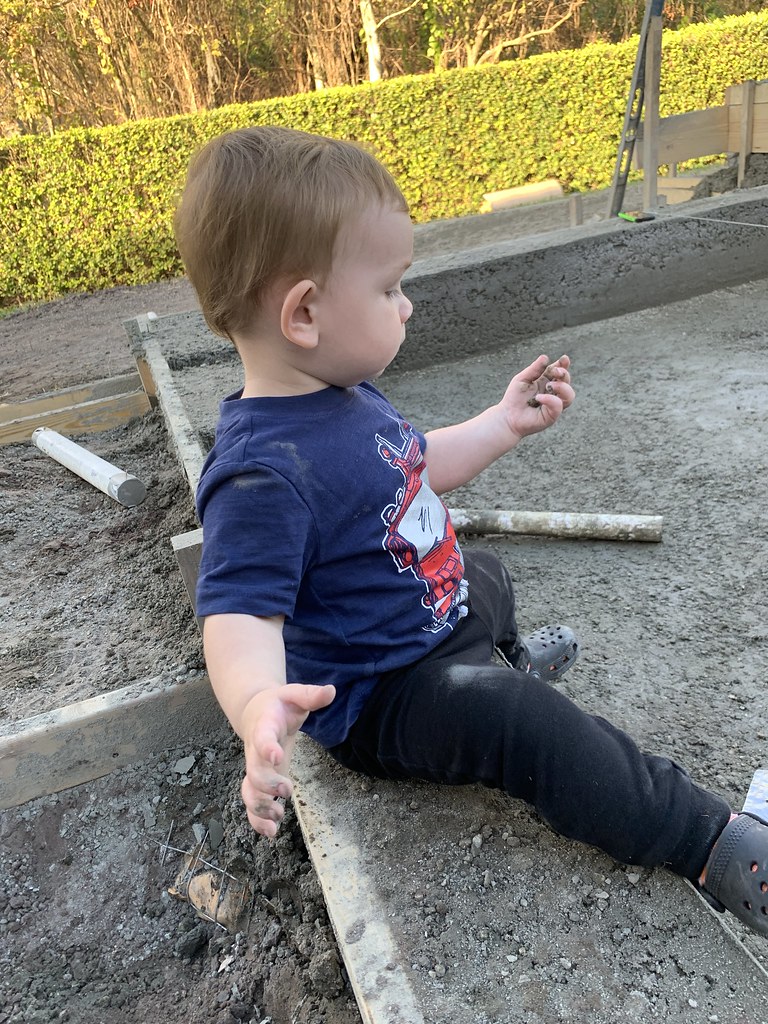
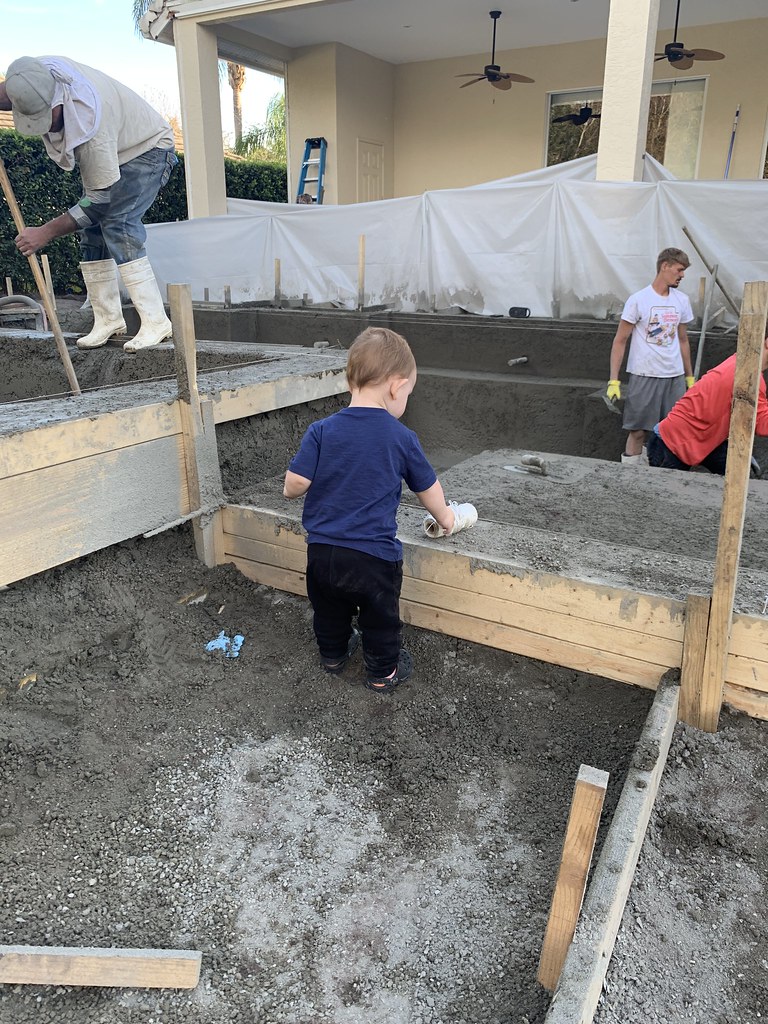
The littlest crew lead also spent the last few hours outside with me tearing it up. We must have done 20 laps around the back yard. Up and down... up and down... up and down... up and down.... repeat x 24538204. He was not thrilled that he could not play in his new pool yet.
 Untitled by T V, on Flickr
 Untitled by T V, on Flickr
 Untitled by T V, on Flickr
 Untitled by T V, on Flickr
 Untitled by T V, on Flickr
 Untitled by T V, on Flickr
 Untitled by T V, on Flickr
 Untitled by T V, on Flickr
 Untitled by T V, on Flickr
 Untitled by T V, on Flickr
 Untitled by T V, on Flickr
 Untitled by T V, on Flickr
 Untitled by T V, on Flickr
 Untitled by T V, on Flickr
 Untitled by T V, on Flickr
 Untitled by T V, on Flickr
We actually ended up missing a huge mistake in the steel phase. The bench on the house-side of the pool was supposed to stop 5 feet from the end of the deep end, but it ended up running the entire length of the pool. We ended up liking it since it acts as more of a swim out in the deep end, so we went with it and are fine with it.
All of the returns were placed by the shotcrete crew as well as lights. We are doing Pentair Microbrites. They are about 10 inches below the water line, which is still above the bench, so my concern was that there would be a shadow cast below them due to the bench. The reason we chose to keep them up a little higher was we did not plan how much 1.5" pipe we would need and did not have enough to account for an 18" wide bench plus the 8" beam to pass the pipe through with extra length on each side. If anyone is thinking about running a bench on the same side of the pool that the lights will be on, keep this in mind. I have a feeling a black line will be cast due to shadowing but ill keep my fingers crossed.
The littlest crew lead also spent the last few hours outside with me tearing it up. We must have done 20 laps around the back yard. Up and down... up and down... up and down... up and down.... repeat x 24538204. He was not thrilled that he could not play in his new pool yet.
Untitled by T V, on FlickrUntitled by T V, on FlickrUntitled by T V, on FlickrUntitled by T V, on FlickrUntitled by T V, on FlickrUntitled by T V, on FlickrUntitled by T V, on FlickrUntitled by T V, on FlickrUntitled by T V, on FlickrUntitled by T V, on FlickrUntitled by T V, on FlickrUntitled by T V, on FlickrUntitled by T V, on FlickrUntitled by T V, on FlickrUntitled by T V, on FlickrUntitled by T V, on Flickr
 Untitled
 Untitled
 Untitled
 Untitled
 Let me call one of the guys I trust who will know IF it is really a problem and what to do if it is.
 Untitled
 Untitled
 Untitled
 Untitled
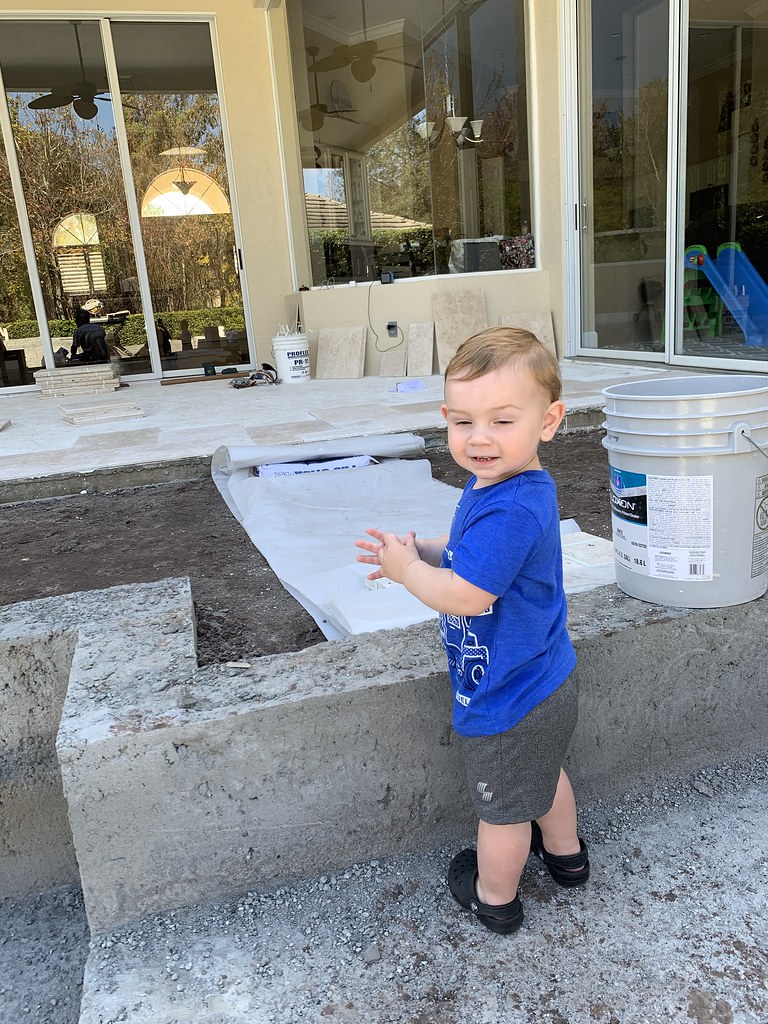 Untitled
 Untitled
 Untitled
 Untitled
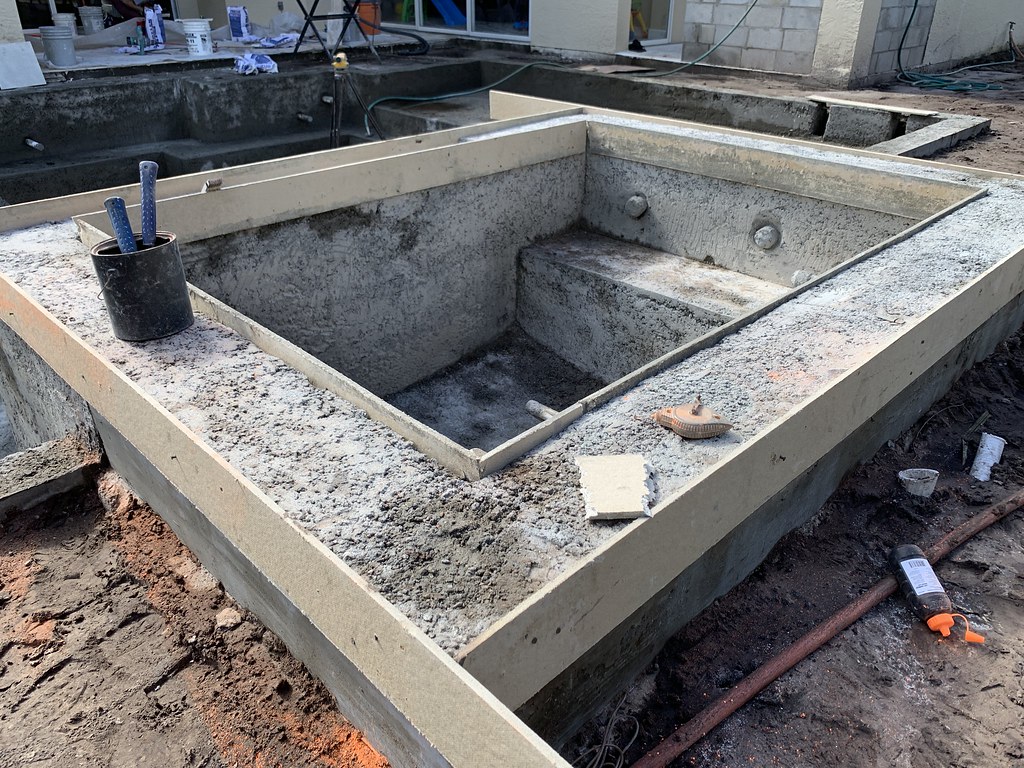 Untitled
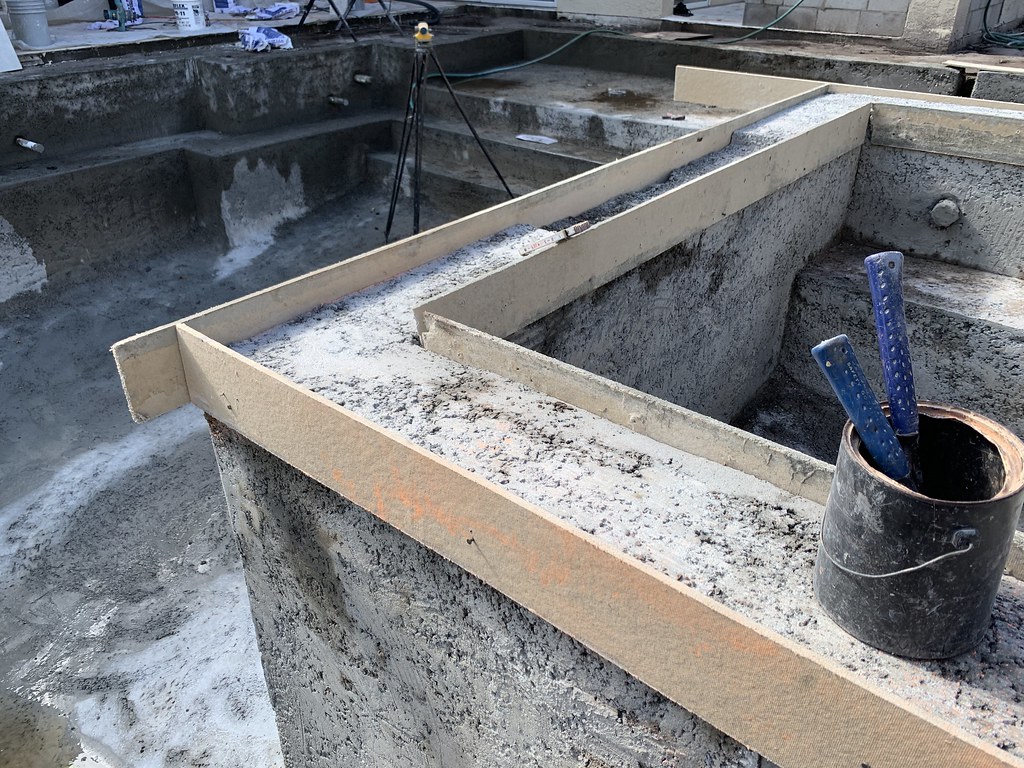 Untitled
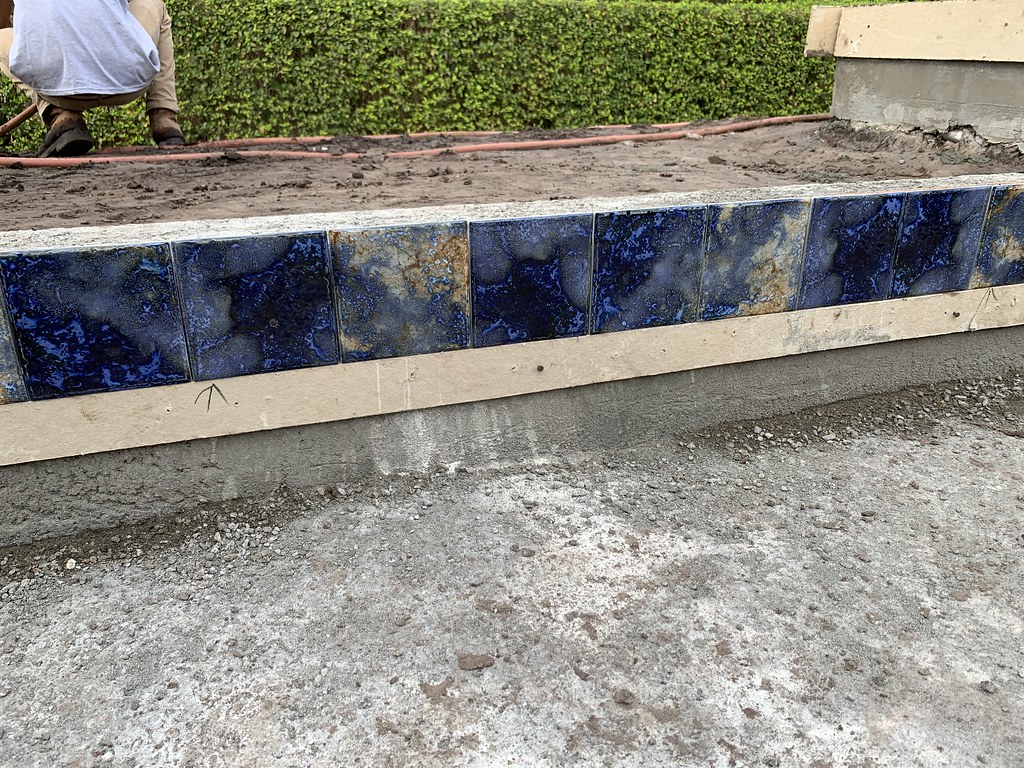 Untitled
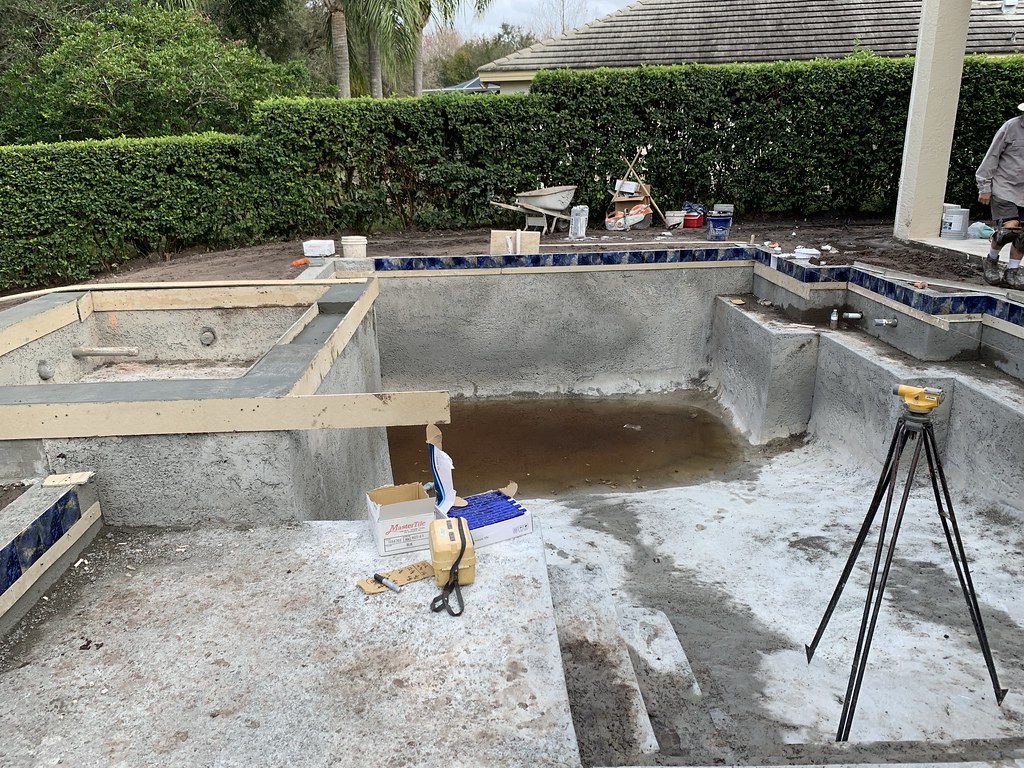 Untitled
 Untitled
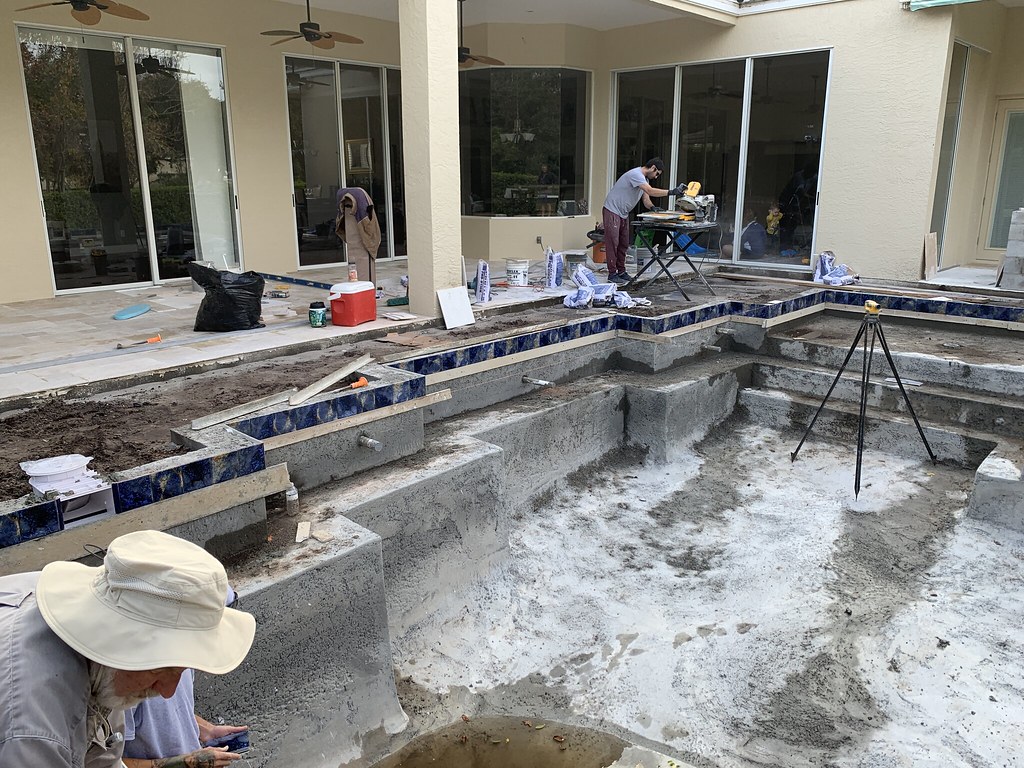 Untitled
 Untitled
 Untitled