We're back! Pool demo and replacement in Sanger, Texas.

RangerBob

0
LifeTime Supporter
Jun 19, 2014
555
Sanger, TX
When our last pool build was finally finished, we were so beat down by the build process that there was no way we would ever put ourselves through that again...or, so we thought. See build thread HERE. We did love it once it was finished though and we have a lot of great memories of family enjoying the pool, spa, and facilities. That said, there were some things we thought we could have done differently that would have made the pool and spa more enjoyable for all to use.

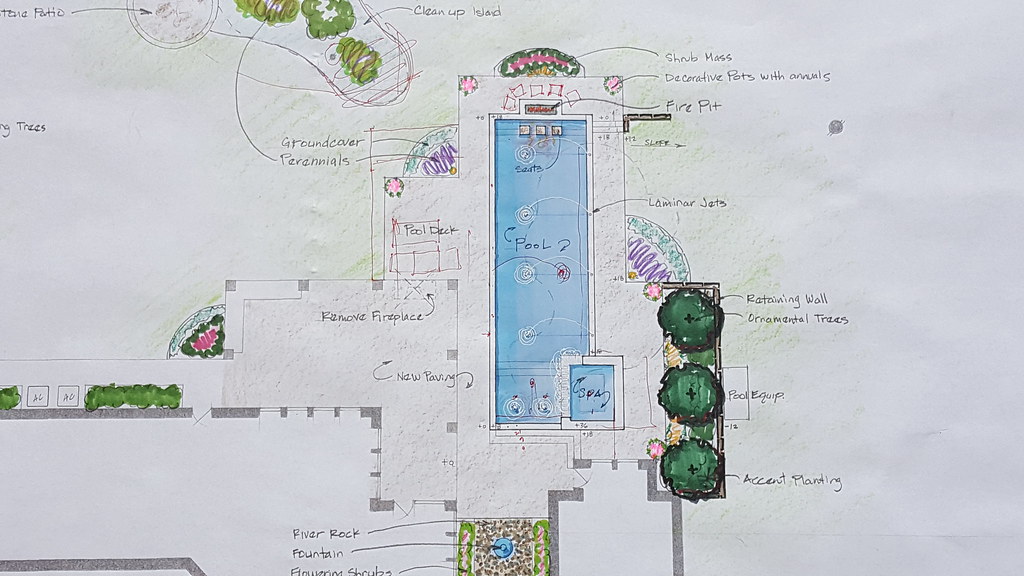
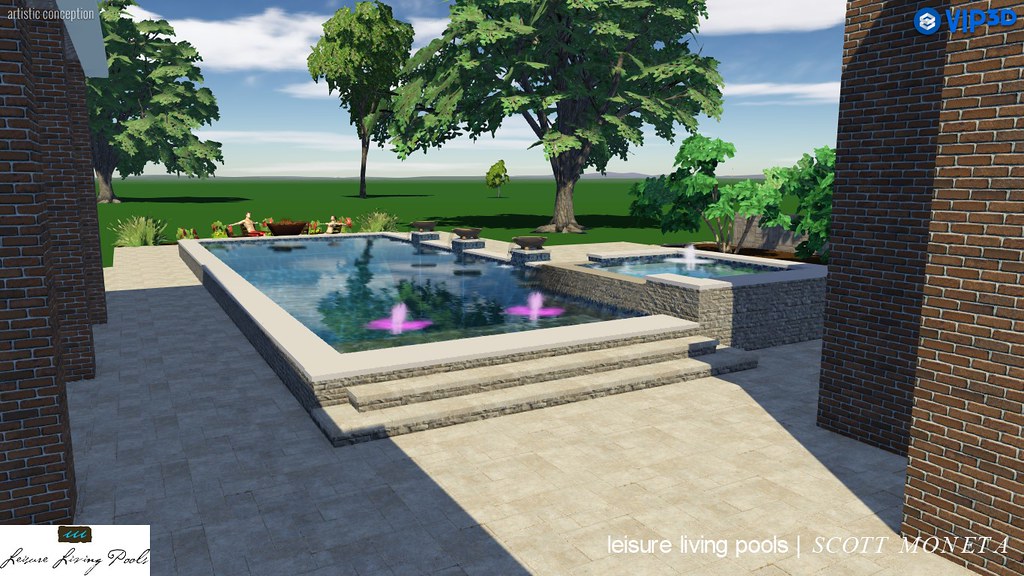
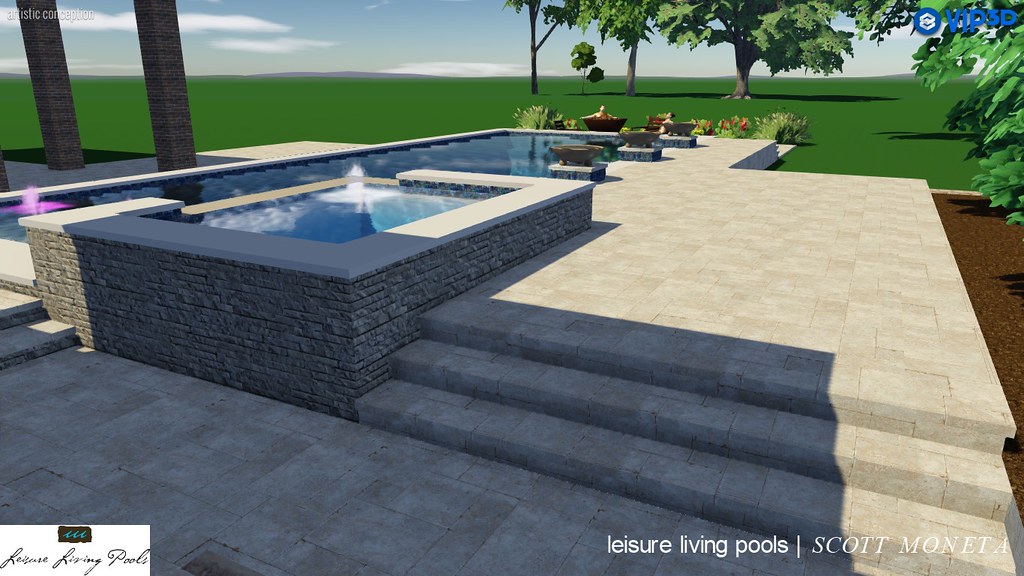
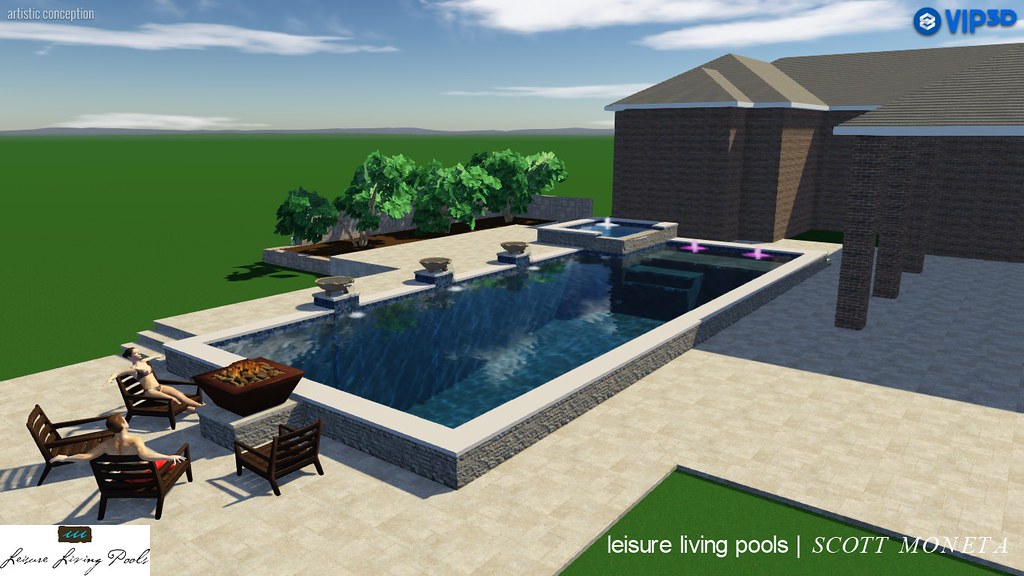
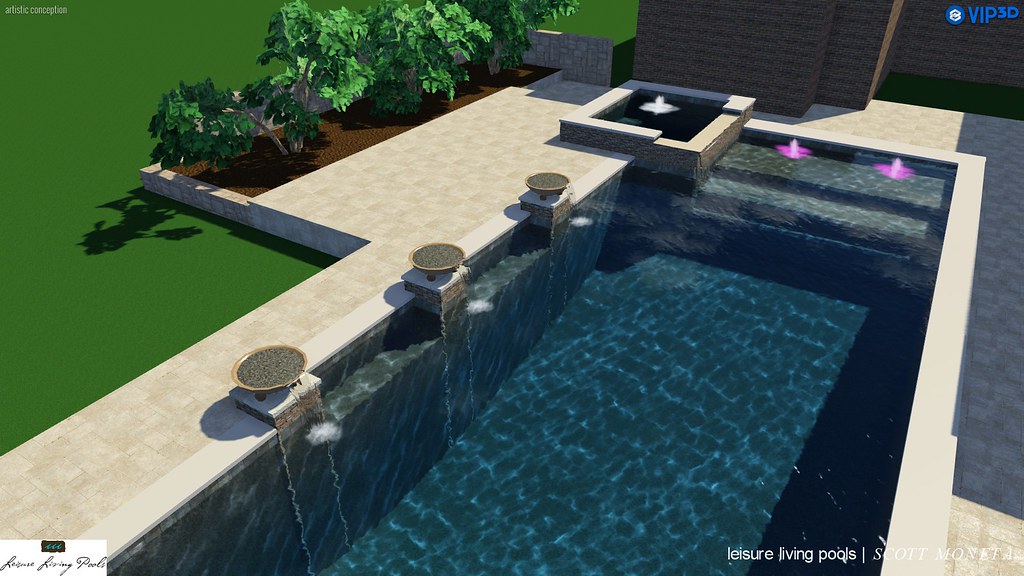
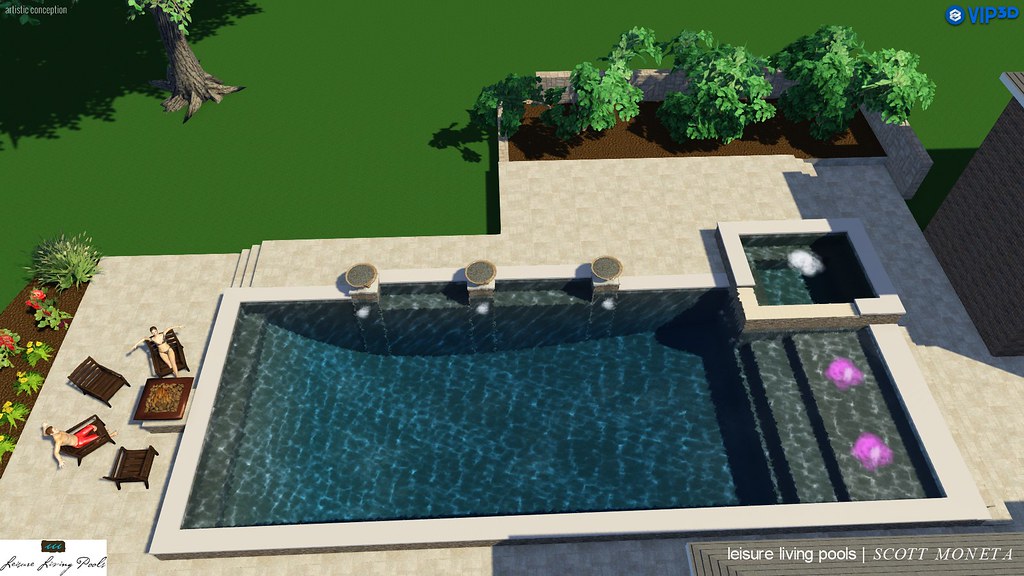
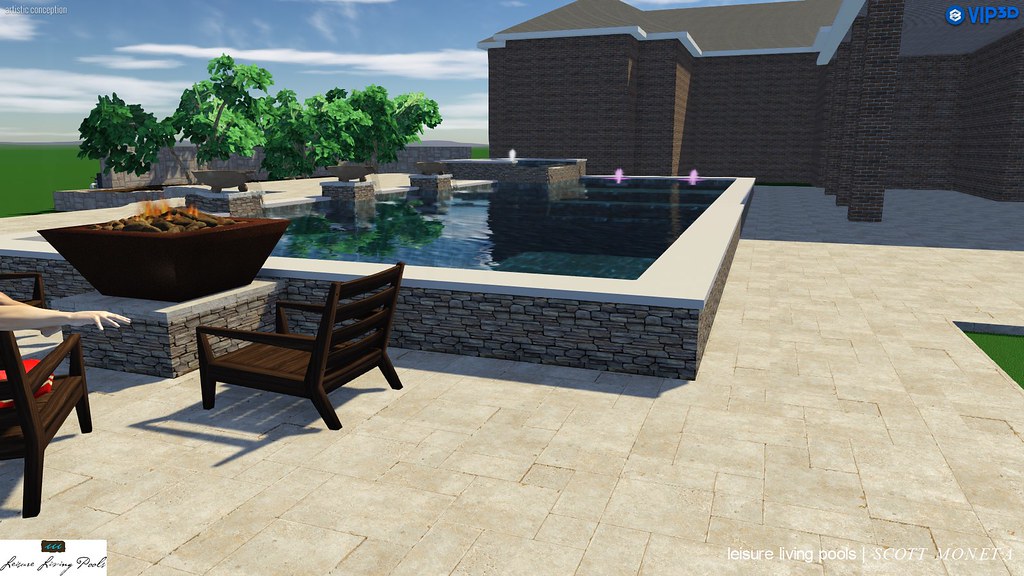
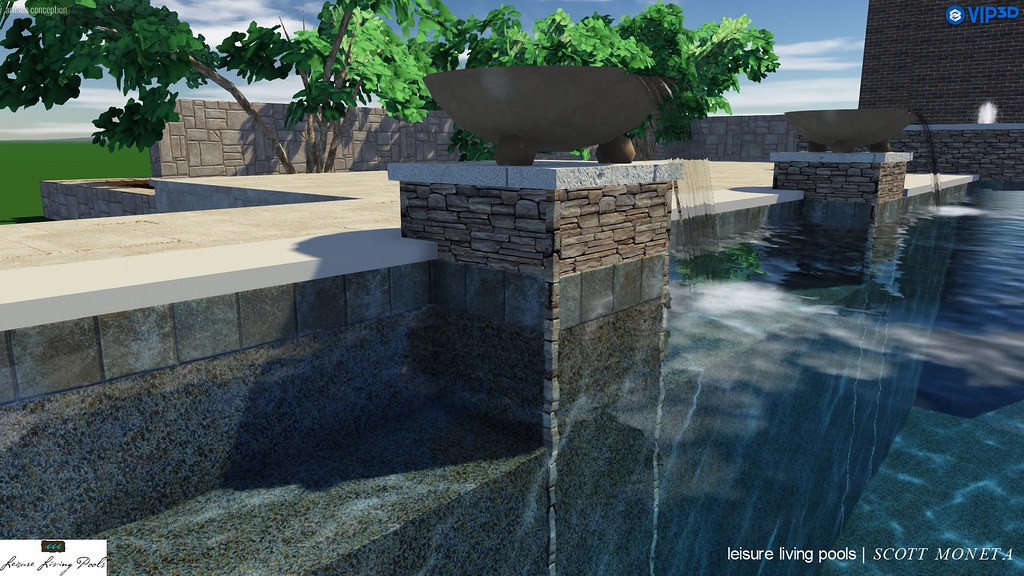
So, when we confirmed (we had it well inspected before purchase but, until you own it, it's tough to say for sure) that the pool at our new home was not going to be salvageable, we asked our landscape architect to help us put together a plan. I handed him several sketches of my ideas and he was able to turn them into a cohesive plan for the whole property. We asked that he take on the role of project manager and bring in people he was comfortable working with. After speaking with a few PB's and getting bids for demolition of the existing pool as well as construction of the new, we made a choice and moved ahead.

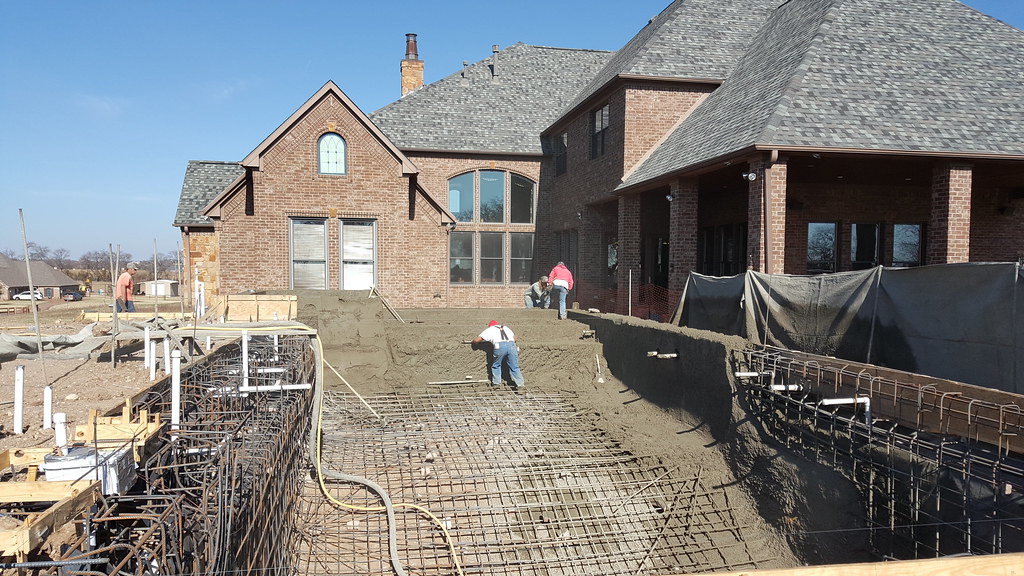
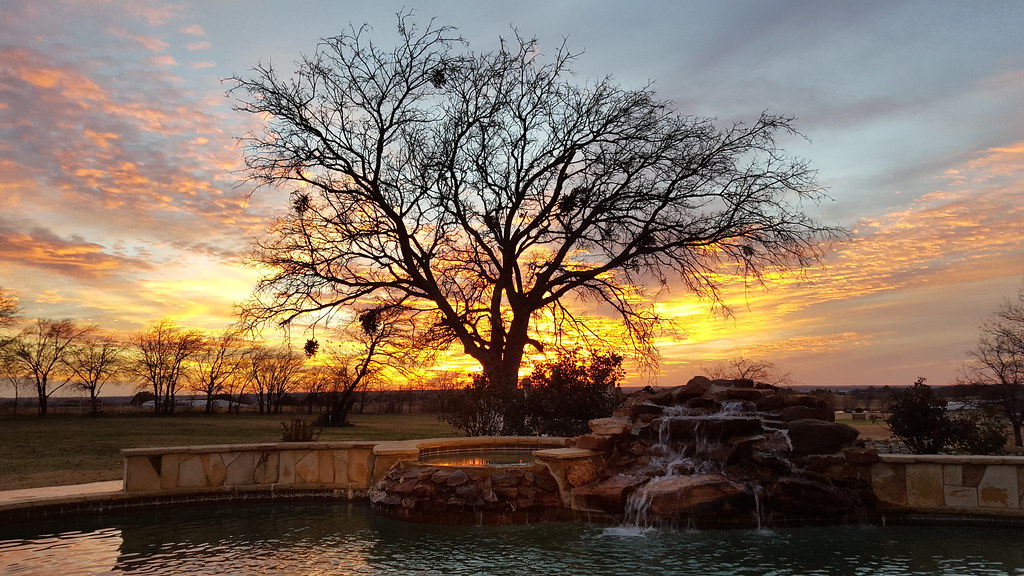
Existing pool as it looked when we bought the house
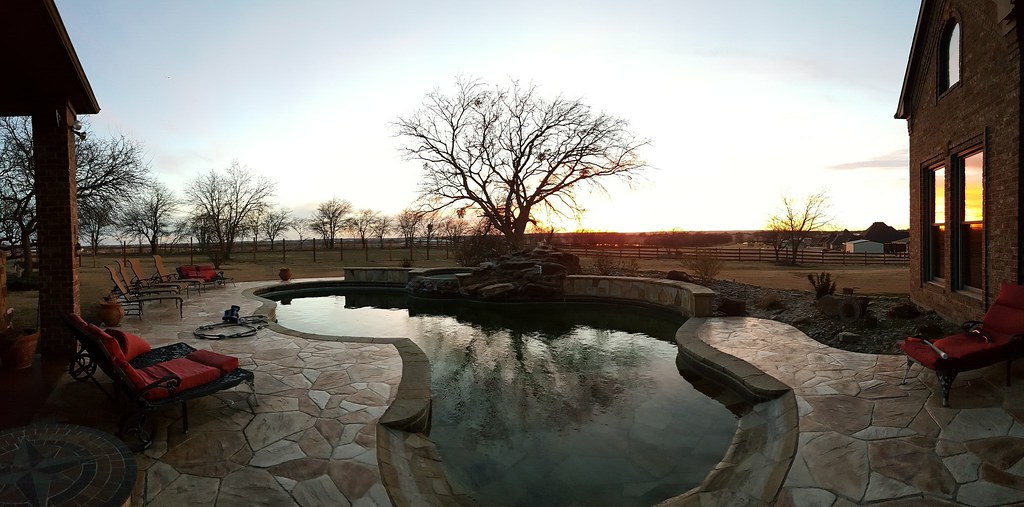
20161231_174600 by Bob, on Flickr

20161211_172906 by Bob, on Flickr

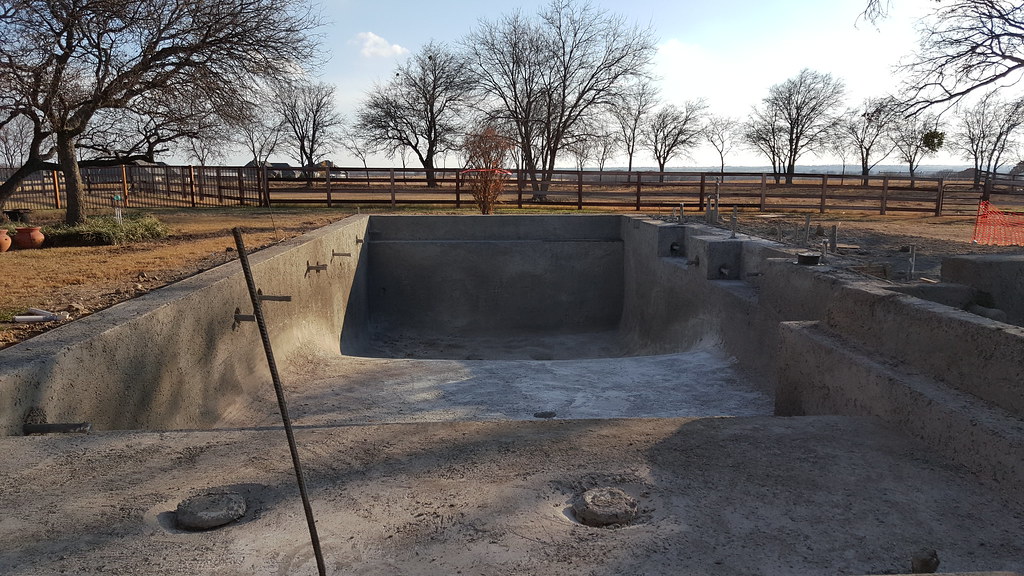
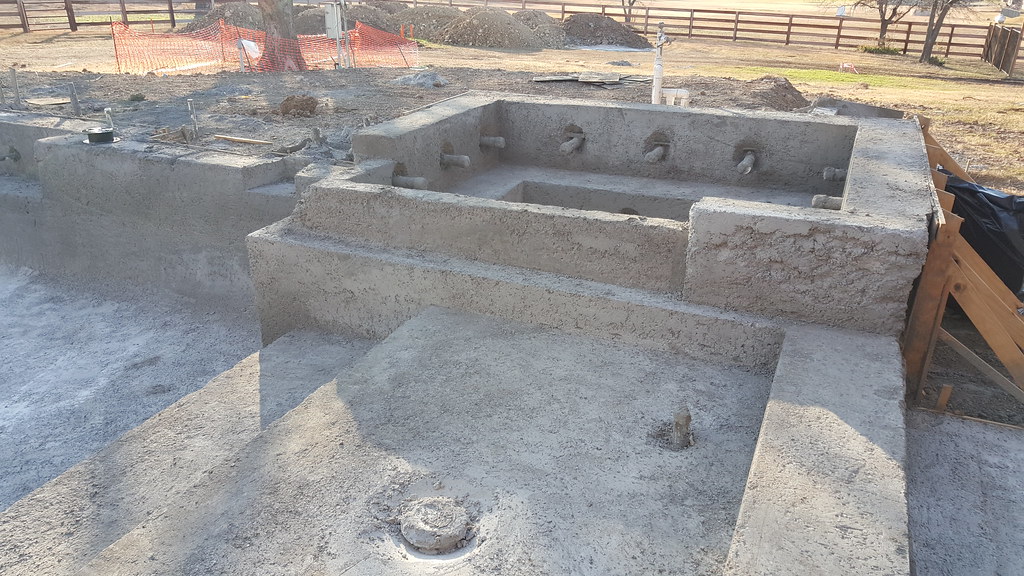
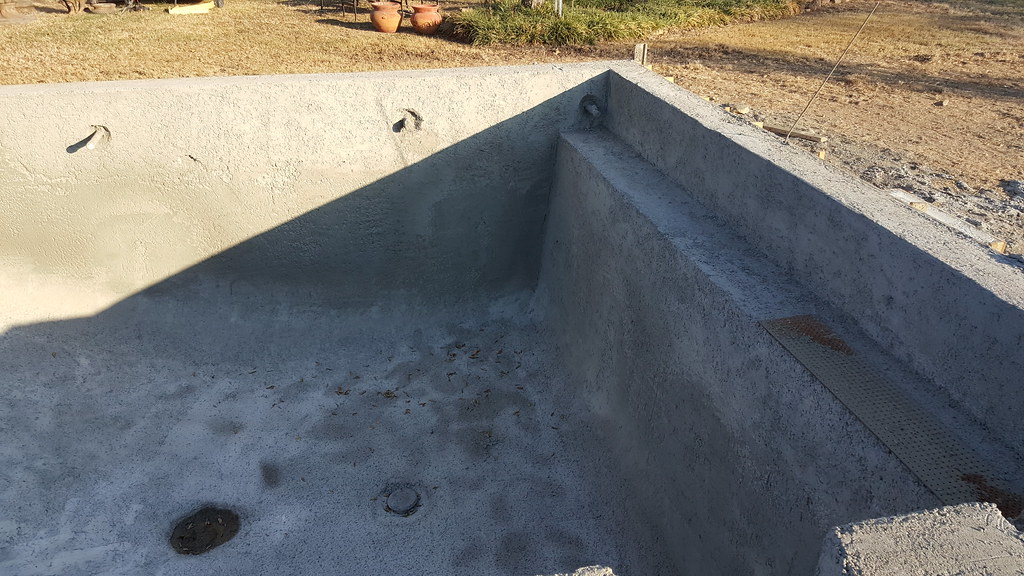
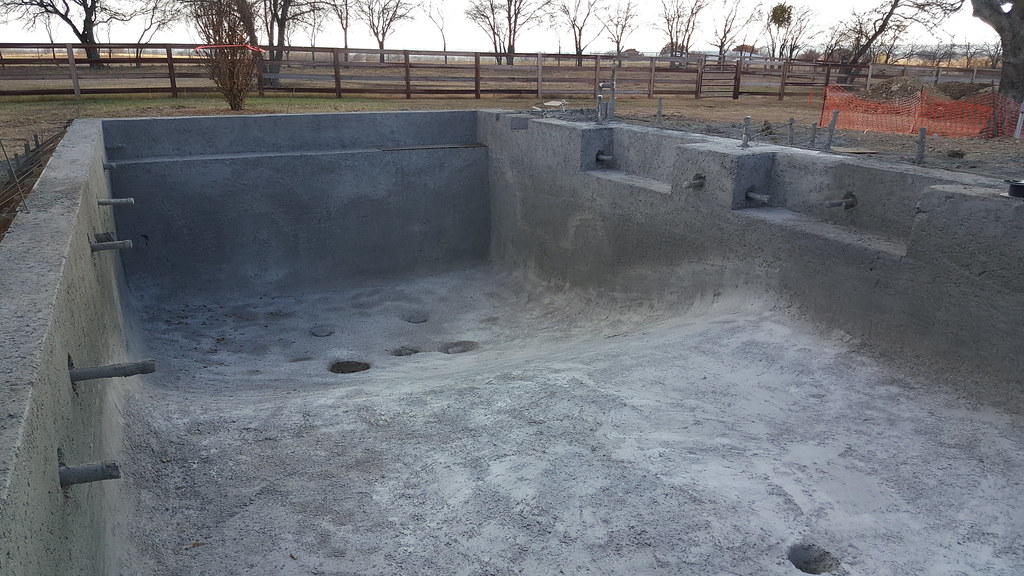
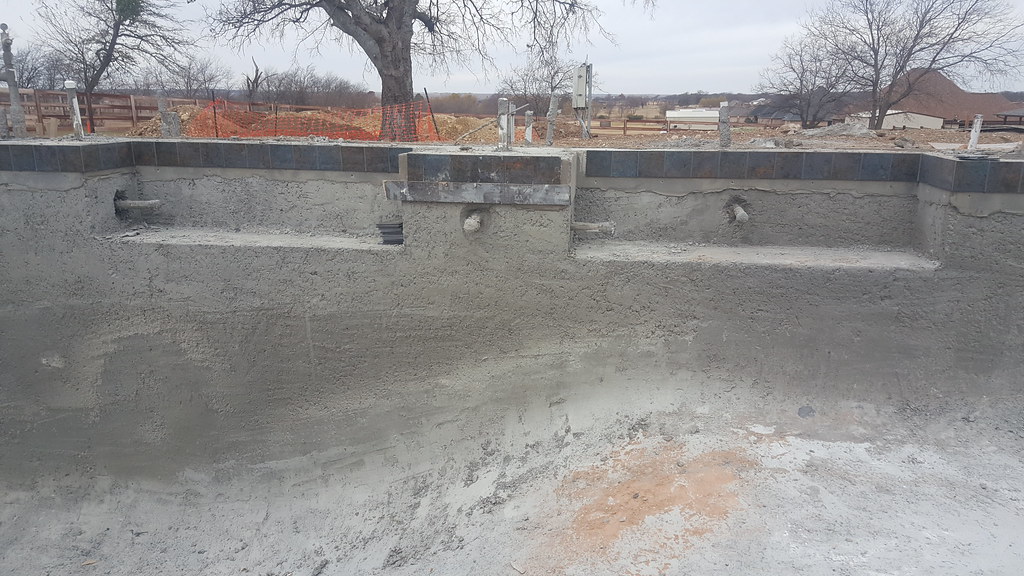
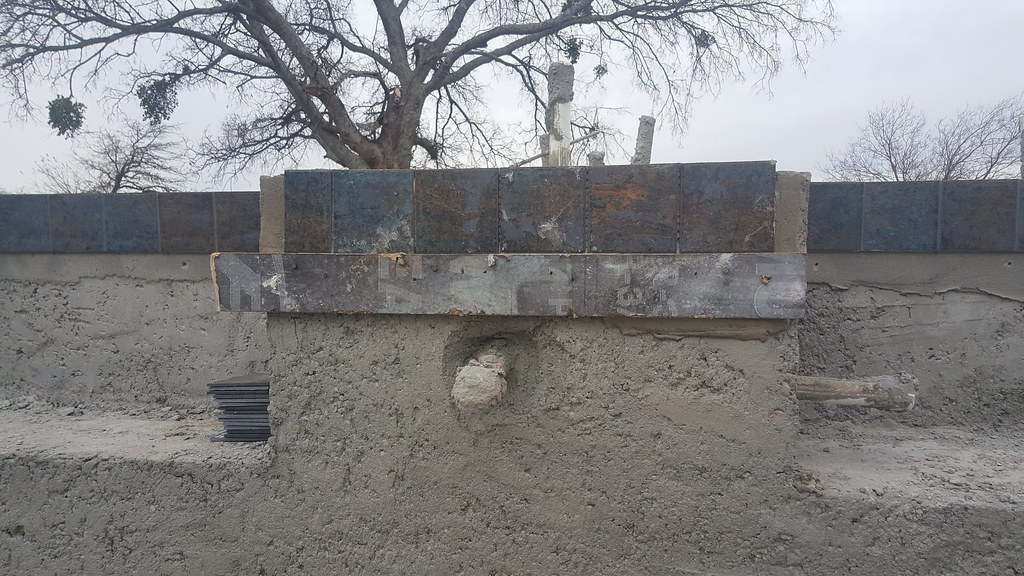
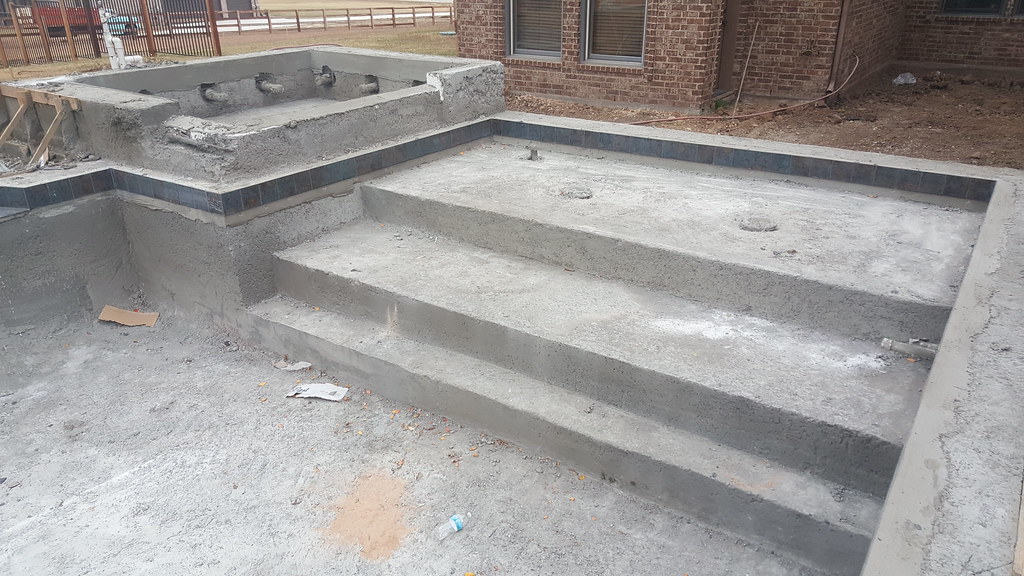
Existing pool after purchase of the house and finding out the extent of the problems
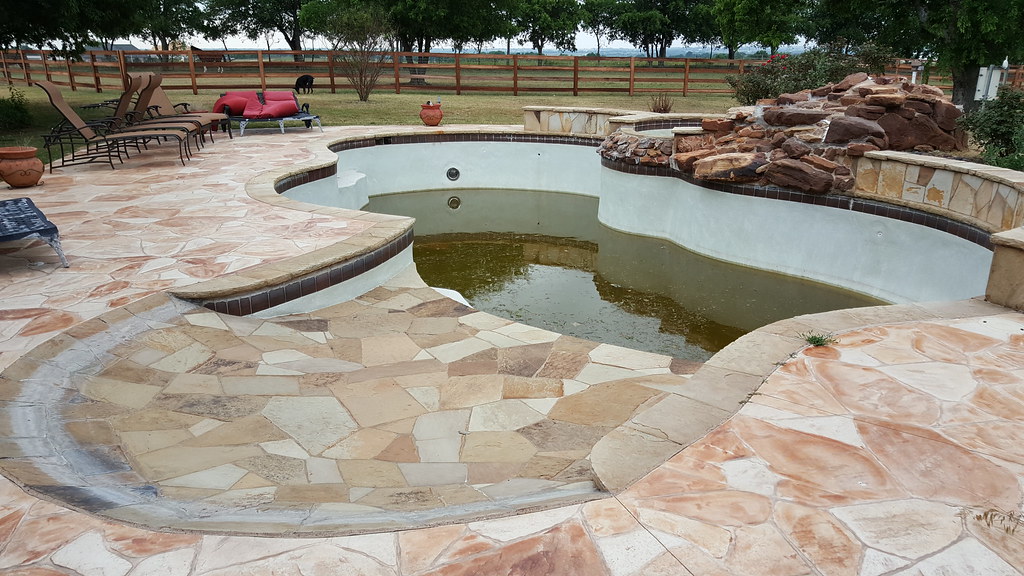
20170510_120005 by Bob, on Flickr

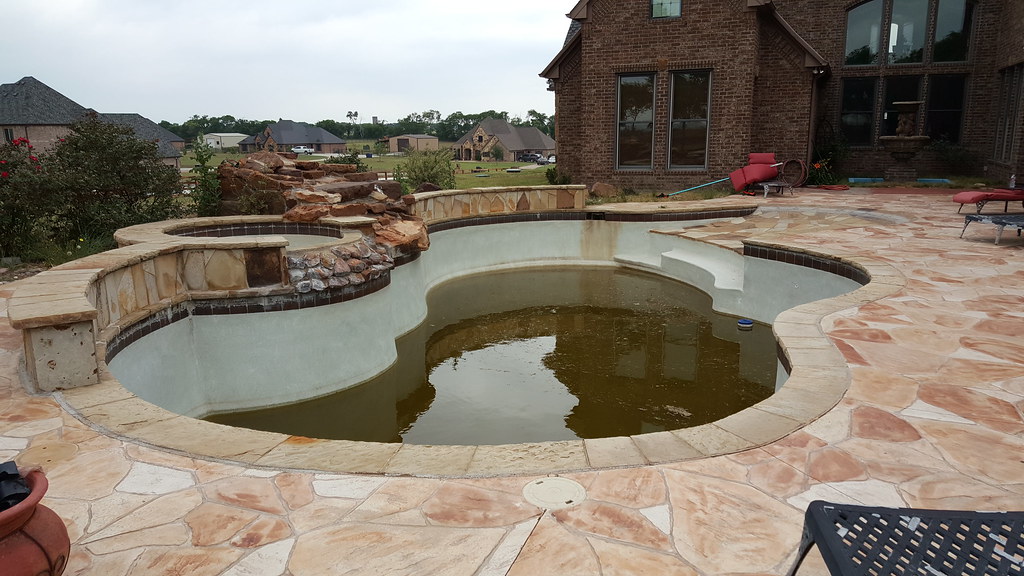
20170510_120034 by Bob, on Flickr

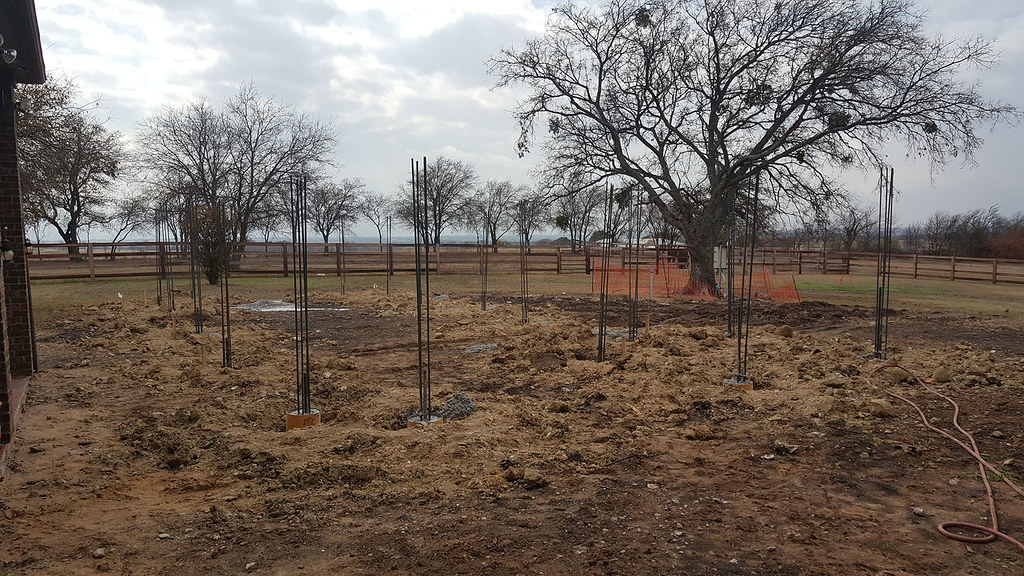
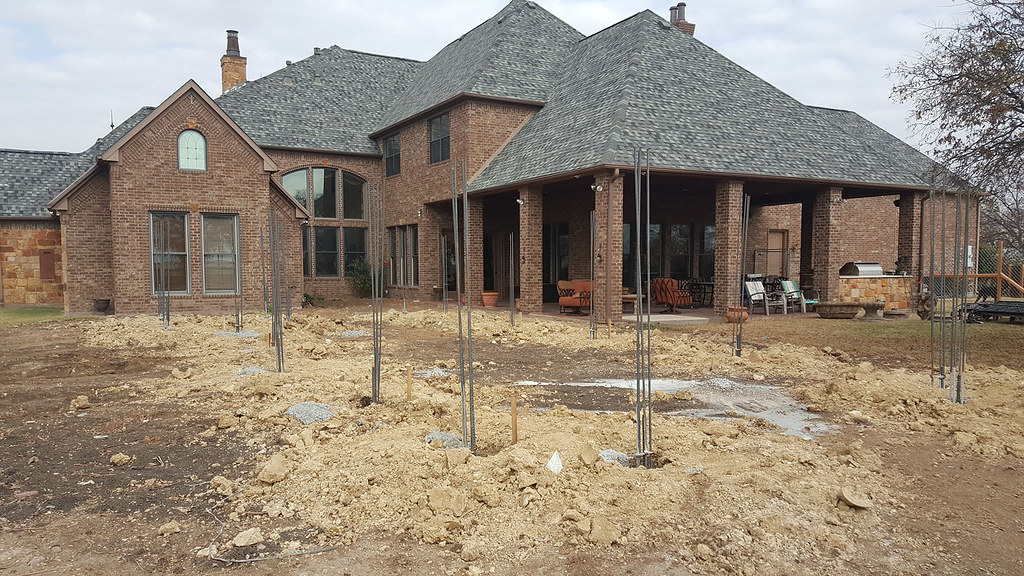
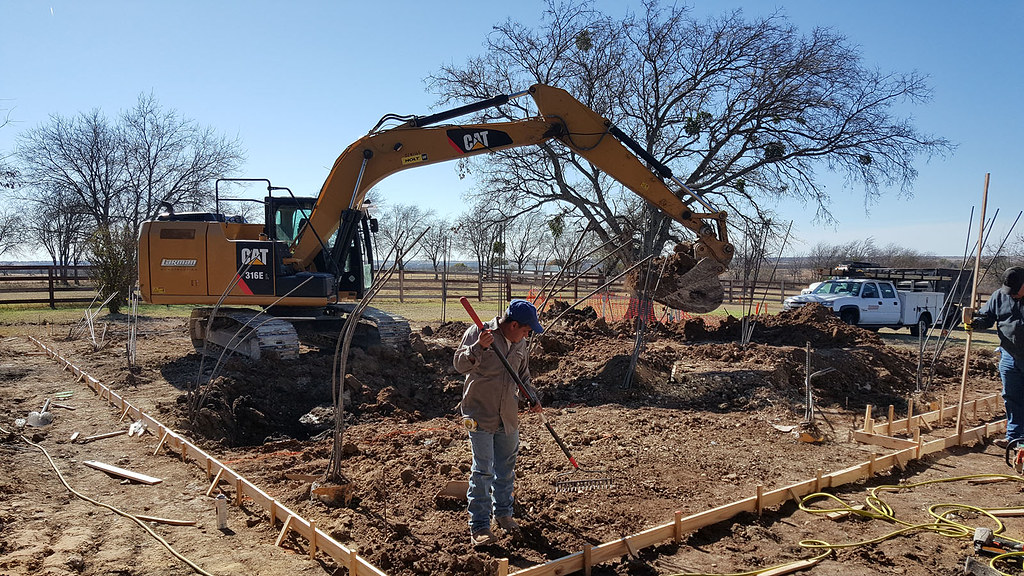
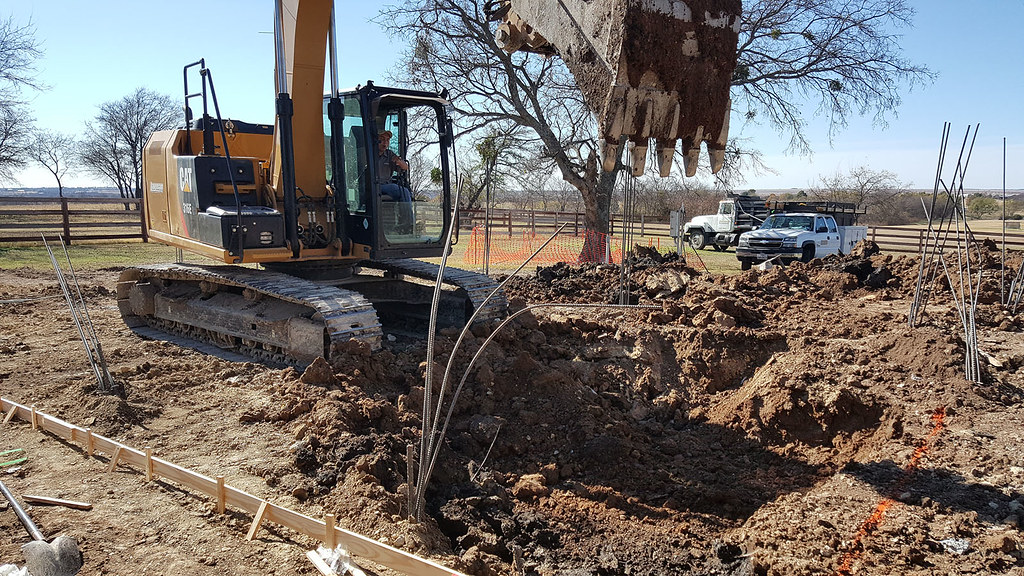
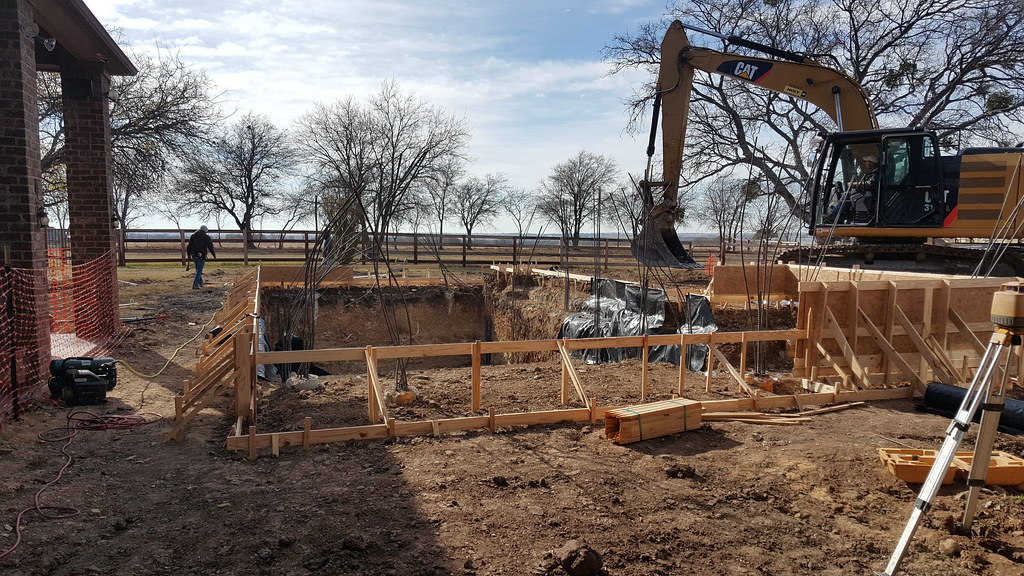
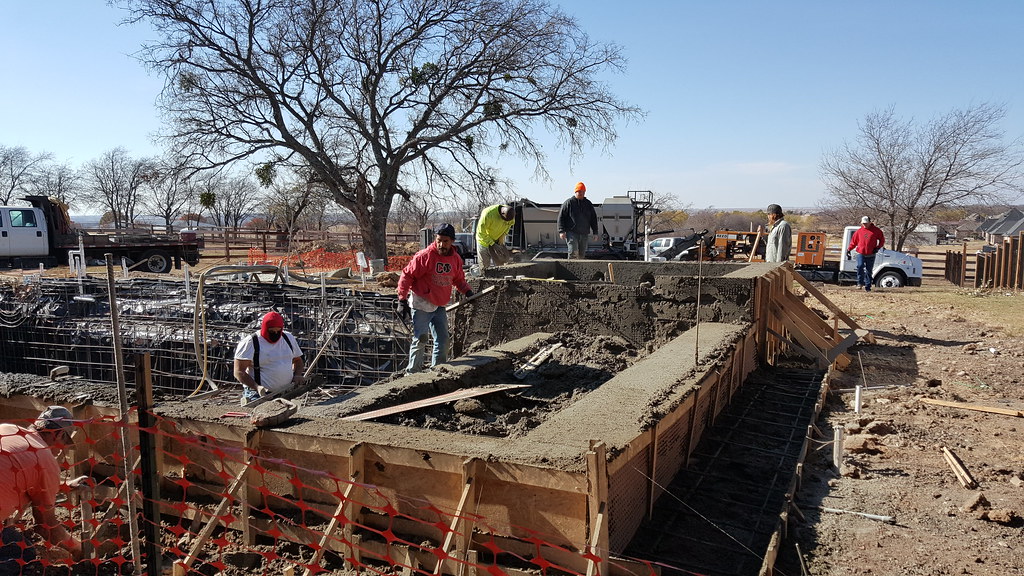
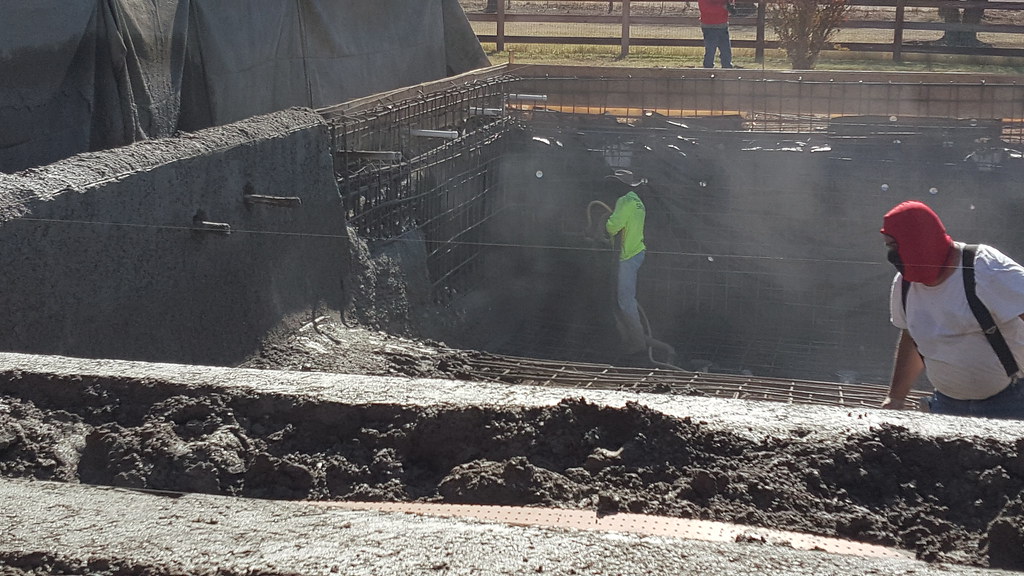
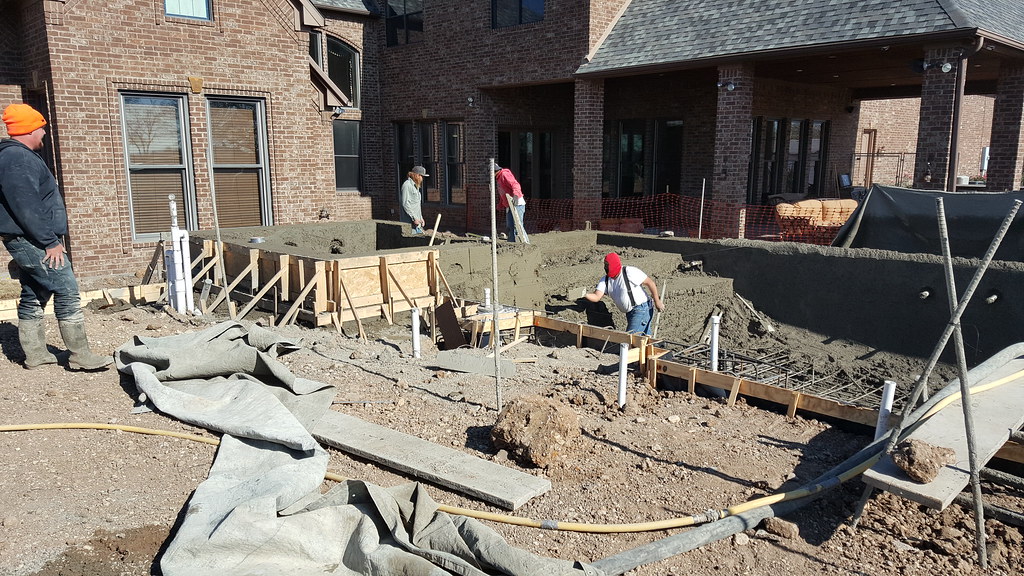
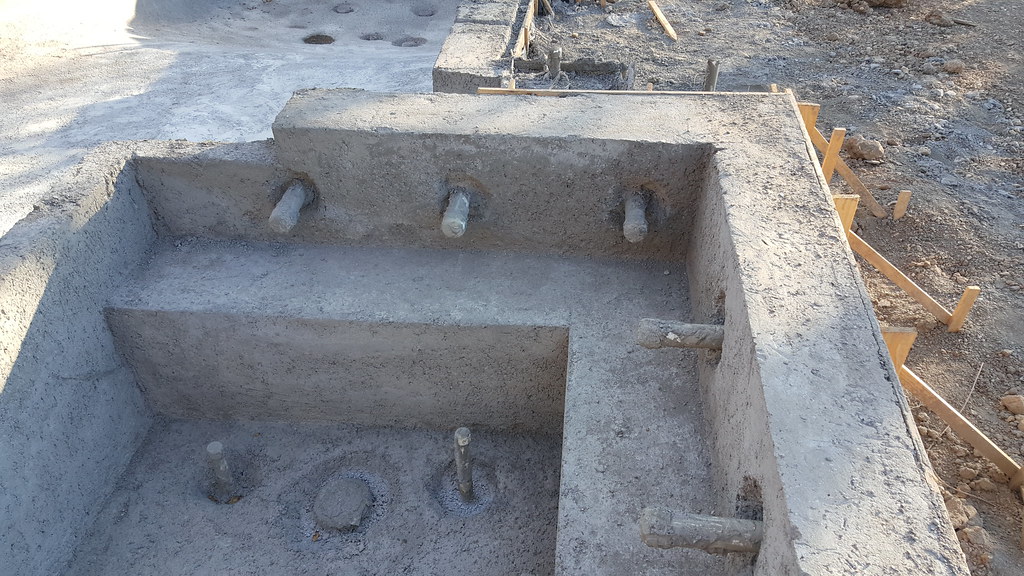
Because the existing pool had failed, we also brought in an engineer to make recommendations. The project started with drilling for samples to determine the condition of the soil before disturbing the ground. After the soil analysis was complete, the old pool was removed and the hole was backfilled in one foot lifts with a compaction process between each.
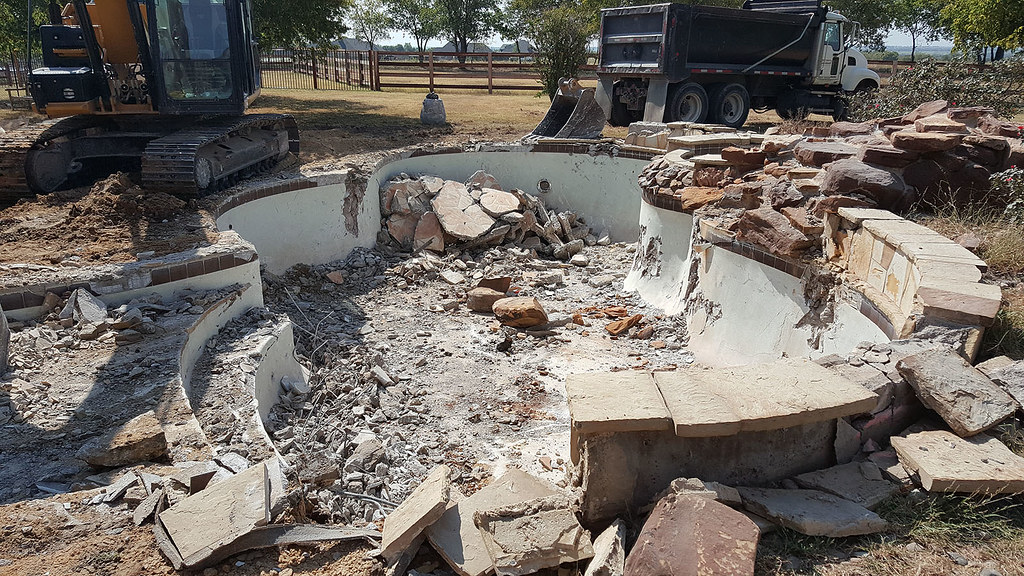
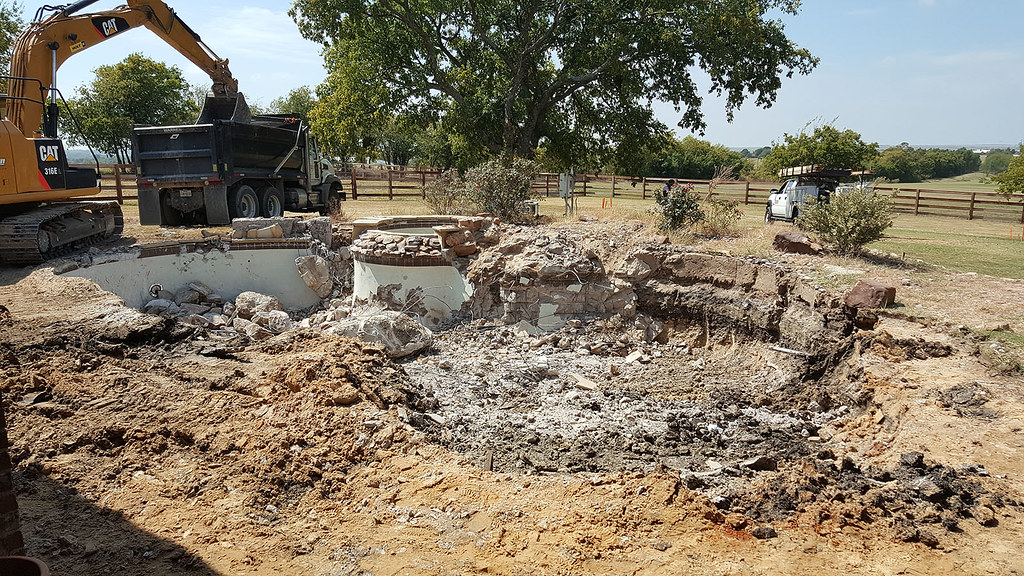
Demolition day one
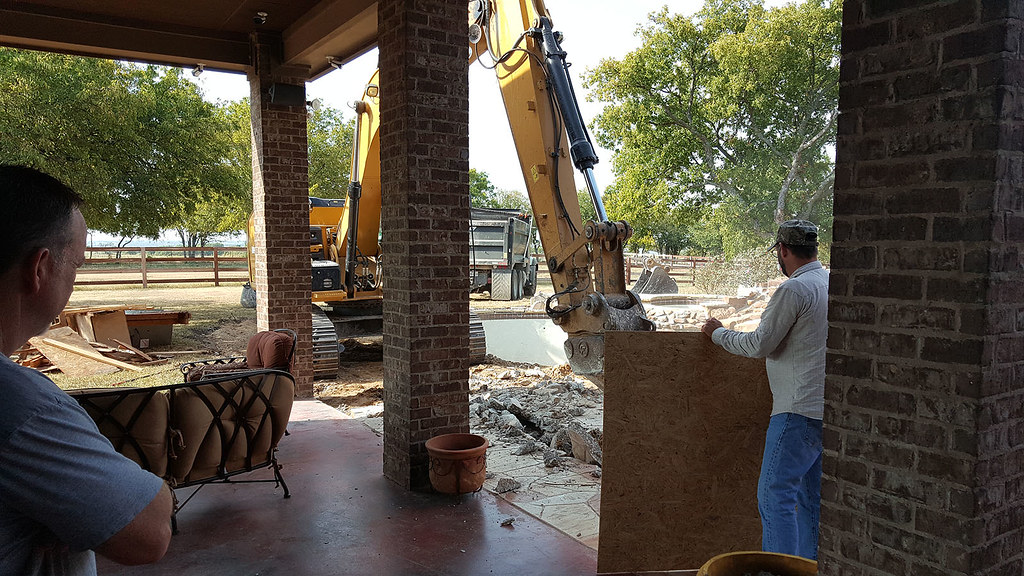
20170919_101444 by Bob, on Flickr

20170919_113230 by Bob, on Flickr

20170919_130413 by Bob, on Flickr
 
Once the demo site had been returned to basic grade, we had about a month before the engineer returned his plan to ensure that the new pool would be stable. That plan included double mat construction, piers and a vinyl separation layer between the soil and the structure. The piers were installed first, around the perimeter of the pool so they would tie into the walls and beam. Each pier contained four #5 sections of rebar and one #9.

Piers installed
20171115_121125 by Bob, on Flickr

20171115_121216 by Bob, on Flickr

Now we were ready to start building a new pool. This is the concept sketch by the landscape architect. This plan includes the architect/project manager tying the existing covered patio to the new construction by laying random pattern travertine pavers throughout.

Landscape architect's concept
20170625_102515 by Bob, on Flickr

The following images are from the pool builder using his design and rendering program.

kerry burt-sanger c2-8'_001 by Bob, on Flickr

kerry burt-sanger c2-8'_002 by Bob, on Flickr

kerry burt-sanger c2-8'_004 by Bob, on Flickr

kerry burt-sanger c2-8'_006 by Bob, on Flickr

kerry burt-sanger c2-8'-step_006 by Bob, on Flickr

kerry burt-sanger c2-8'-step_007 by Bob, on Flickr

kerry burt-sanger c2-8'-step_009 by Bob, on Flickr

kerry burt-sanger c2-8'-step_010 by Bob, on Flickr
 
HI!!!!! Bob and Karen! I am SO glad to see you! I have so many questions!

-Why did you move?

-What was wrong with the pool at this new house? It was SO pretty! What would made it "salvageable"? I am guessing the same thing that is making your do all of the above stuff.

I sure hope this one goes better! :hug:

Kim:kim:

Sooo...we really liked our last house but, it was a little small for us for entertaining and we really wanted to make some changes. We worked with an architect to come up with a remodeling plan that we loved. Unfortunately, during the time we were developing a plan to turn that house into our dream home, some of the large acreages around us were being subdivided and sold with no building restrictions. We were in a situation where we knew that if we didn't sell, we could potentially lose property value on the house as it stood and remodeling was out of the question.

We pretty much drew a circle around all of northwest DFW and started looking for acreage with a stable neighborhood in our price range. We have really enjoyed the peace and quiet of the area we've lived in so it was very fortunate that we found a house about four miles from our old one. The new house has ample entertaining space, on five acres and a fantastic view to the west which provides some amazing sunsets.

The pool was questionable from the beginning. We had our pool repair guy (not the old builder) come out and inspect the pool before we bought the house. He pointed out that the pool had shifted and the shallow end was sitting about three inches lower than the deep end making the shallow end skimmer inoperable. There were cracks in the plaster both across and lengthwise in the pool. There were waterline tiles falling off and some of the coping was loose. Initially the main pump did not work but, the seller replaced it during negotiations and we did get to see it run. Once we closed on the house and got our pool guy back out to start sorting things out, more serious problems arose. Running the pump caused loss of water with no visual sign where it was going. The cracks in the plaster continued to get worse as well. It was determined that the plumbing and the pool shell were compromised. We elected to start over and build a new pool of known quality that would better suit the overall look of the home.

So far the new build has been a far better experience. The pool company is a smaller, boutique builder with 25 years in the area and a great reputation. The builder has been on site every day there has been something going on.

Bob
 
Starting the dig.
20171120_123012 by Bob, on Flickr

20171120_123043 by Bob, on Flickr

20171122_105309 by Bob, on Flickr

I didn't take any pictures during the plumbing and steel going in. Steel took three full days and I still somehow managed not to take photos. I did however get some of Shot-crete going in; twelve hours and 9-1/2 trucks!

20171130_120734 by Bob, on Flickr

20171130_121036 by Bob, on Flickr

20171130_121109 by Bob, on Flickr

20171130_121133 by Bob, on Flickr

20171130_121206 by Bob, on Flickr

This is where things are now. I need to snap a couple photos of the finished shell. The pool is 48'x18' and 8-1/2' deep and the spa is 7-1/2'x9'. The pools raised beam will finish out 18" above the decking.

Bob
 
I love the simplicity of the new pool shape. I envy your 8.5' depth, so great for diving!!

One thing in your plans caught my eye though- the firepit seems awfully high so I wondered if the folks sitting around it would actually feel its warmth and be able to look into the fire pit?

Maddie :flower:
 
Completed Shot-Crete

20171203_155019 by Bob, on Flickr

20171203_155039 by Bob, on Flickr

Here's something we learned from our last pool/spa. We like to sit in the corners with our legs stretched out on the bench. When you do that, the jets go around you on either side so we had them line up a jet shooting straight down the center of the bench. There's one at the near side also.

20171203_155104 by Bob, on Flickr

We ran a "bench" across the deep end. Our previous pool had a lounging area at the deep end and it was cool but, it had poor circulation. The bench is open to the rest of the pool and becomes the lounging area at that end.

20171203_155216 by Bob, on Flickr

On our last pool our dog, Udo, fell in and couldn't find footing to get back out. He may have drown had Karen not looked out the window and seen him. The deep end bench and these side benches are great for lounging but they were actually incorporated to give the dogs a escape route.

20171203_155320 by Bob, on Flickr
 
I love the simplicity of the new pool shape. I envy your 8.5' depth, so great for diving!!

One thing in your plans caught my eye though- the firepit seems awfully high so I wondered if the folks sitting around it would actually feel its warmth and be able to look into the fire pit?

Maddie :flower:

The original concept was to do an infinity edge at the far end of the pool with a linear fire feature that would reflect on the water down low. Certain concessions had to be made to get to a reasonable build cost and that meant no infinity edge or fire feature. We learned on our last pool that outdoor fires are generally not effective at keeping people warm anyway. We will not be plumbing that plinth for gas; most likely there will be some kind of statue going there.

Bob
 
I was just coming to ask you what you learned from your first build and look what I see...............what you learned with pics! SWEET!

How neat that you found a place so close but in just the right neighborhood for you and yours! How sad they are not putting in any rules or restrictions by your old place. Did you sell it to someone that wanted the ranch or to a developer?

Kim:kim:
 

Enjoying this content?

Support TFP with a donation.

Give Support
I was just coming to ask you what you learned from your first build and look what I see...............what you learned with pics! SWEET!

How neat that you found a place so close but in just the right neighborhood for you and yours! How sad they are not putting in any rules or restrictions by your old place. Did you sell it to someone that wanted the ranch or to a developer?

Kim:kim:

The people that bought the other house wanted acreage so they could keep some cows but, it was the pool and outdoor living area that sold it. They absolutely loved it!

It's funny, this morning I went back and read about six or seven pages from our other build. It's a good thing I didn't re-read it before we started this new project. I may not have gone through with it. Just as everyone said at the time, when it was all done and we finally started to use it, all the horrors faded away.

Bob
 
Okay, I'm going to do a test to compare this build to the previous. I got an email this afternoon from the PB's office manager/coordinator. She said they will be out to do tile install tomorrow or Wednesday. There is rain in the forecast so I understand the multiple choice.

Bob
 
Tile guys came out today. Did a good bit but there are some issues the builder needs to take care of before the tile gets finished. The benches in the spa were supposed to all be set to deep seating height, they are all at normal height. My PB assures me they can cut the Shotcrete down; I wouldn't want that job. We also had to do some redesigning of the three plinths that hold the bowls. The center section was finished too wide. Initially the builder was going to cut that back as well but, after some discussion between the landscape architect, the PB and myself, the decision was made to do a larger plinth and bowl in the center position. Should look fine, if not, it will only be there till I die!

We also made the decision on placement of the pool equipment. The PB expects the plumbers will be out in the next couple days to lay pipe and he said he was ordering equipment tomorrow.

I spent most of the day in the shop and it was dark when I wrapped up so no pictures with this update. I'll try to get a shot of the tile in the morning.

Bob
 
Some more pics...

Waterline tile
20171207_081334 by Bob, on Flickr

20171207_081351 by Bob, on Flickr

These are photos of the inset benches on the high side of the pool; high side meaning the side where the decking will be flush with the coping. If you look at the computer model, you can see that the plinth/columns that support the three water bowls are all the same size. According to the builder, these are supposed to finish out at about 27" square. The center column between the benches is currently 36" wide before finishing. Rather than take huge cuts off either side, we decided to take a little off each side and make the center plinth larger.
20171207_081419 by Bob, on Flickr

kerry burt-sanger c2-8'-step_007 by Bob, on Flickr

You can see the trim marks just past the tile on either side.
20171207_081430 by Bob, on Flickr

One other detail we added based on how we used our last pool was this two height tanning shelf. This is, again, for the benefit of dogs and people. This will ease the dogs in finding their footing as they swim to the shelf and it allows people to relax in deeper water and lean back against the shallow water shelf.
20171207_081614 by Bob, on Flickr

Bob
 

Enjoying this content?

Support TFP with a donation.

Give Support
Thread Status
Hello , This thread has been inactive for over 60 days. New postings here are unlikely to be seen or responded to by other members. For better visibility, consider Starting A New Thread.