We're back! Pool demo and replacement in Sanger, Texas.

Your top step looks really shallow especially once plaster is on. How deep is that? Looks like 6"?

That is correct, the tanning shelf will finish at 6" of water and will be 6' by 12'. The deeper section of tanning/lounging shelf will be 18" of water and measures 3' by 12'. There will be two LED bubblers in the 6" deep section in addition to a return and a section of the spa waterfall. Another thing we learned on our last build was that the tanning shelf is very susceptible to algae if there is not good water movement across it.

Bob
 
I am going to save that pic of the skimmer tile to show everyone how the tile can and should be done! This is purrfect way of doing it!

I love the color of the waterline tile and you picked just the right color for the grout.

I really like the tanning shelves! Well thought out.

R. you *enjoy* (if you like heart burn and :shock: moments) his first build thread. Do you want the link?

Kim:kim:

Thanks Kim, it's obvious this builder has had a long relationship with his subs. It's soooo nice to have him out here every morning explaining precisely what he wants. Yesterday was a great example.

Yesterday was "long plumbing" installation. Now, I don't really understand why this is but, the plumbers said my system needs some kind of isolation loop for the air blower that must come up above the spa water level. The plumbers typically install this loop against the wall of the house which may be fine if the spa is not very high above grade but they were talking about a five foot tall loop of 1-1/2" pipe installed against the wall right in view of my master bedroom window. My pool builder calls me over to explain this, obviously knowing I'm not going to go for it. He's not really clear on exactly how it works either but he's installed them on some other builds so he does know what it will look like. I ask him about installing it on the stone privacy wall that will be going up since the pool equipment is already being located behind it. He asks the plumbers (in broken Spanish) if it can be done. Of course, the plumbers have no idea about the privacy wall because they only have the pool plan and not the master plan. After a good deal of back and forth in broken English and broken Spanish, the plumber says he can put the loop inside the privacy wall, Ta-Daaa!

I know this looks like a clean and simple pool but, that is just the finished appearance. This thing is complex and most of the subs have let the PB know. You can see the isolation loop behind the main plumbing lines.
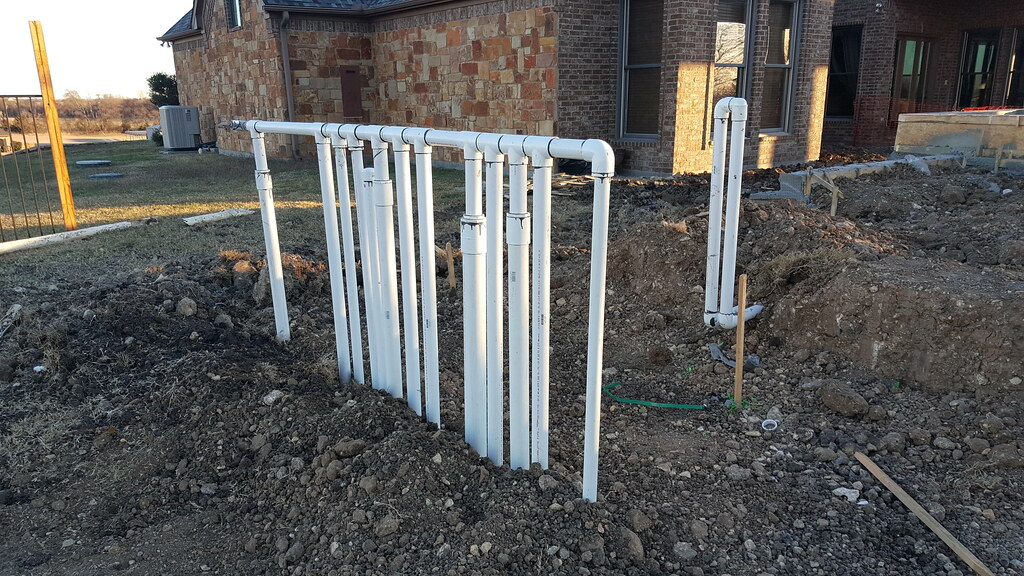
20171208_075744 by Bob, on Flickr

It was miserably cold yesterday; mid-30's with 50+mph winds. These guys were in it all day.
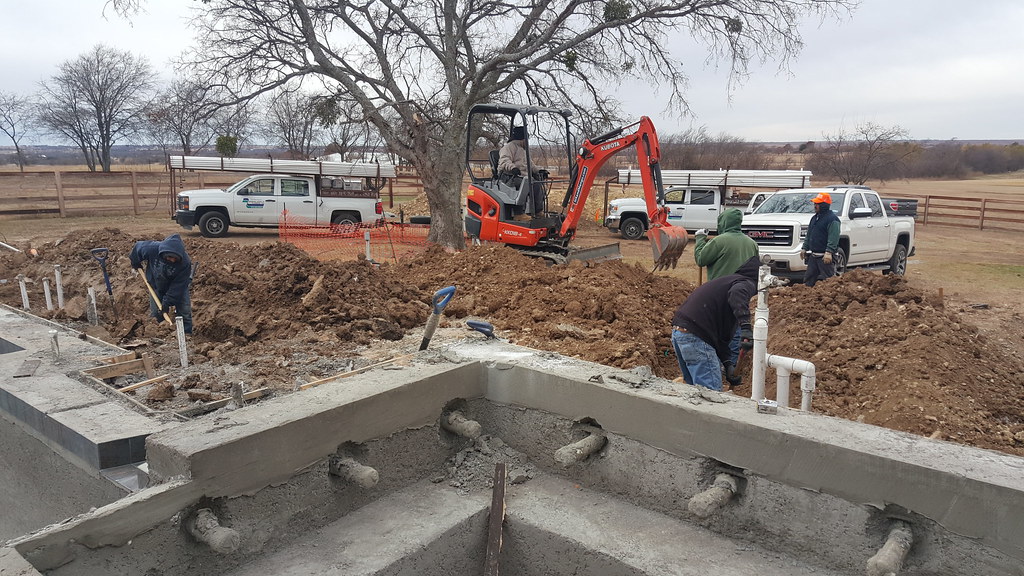
20171207_123845 by Bob, on Flickr

The builder likes using Jandy valves at the end of runs. This feeds the three water bowls and will be contained in a box in one of the planting beds.
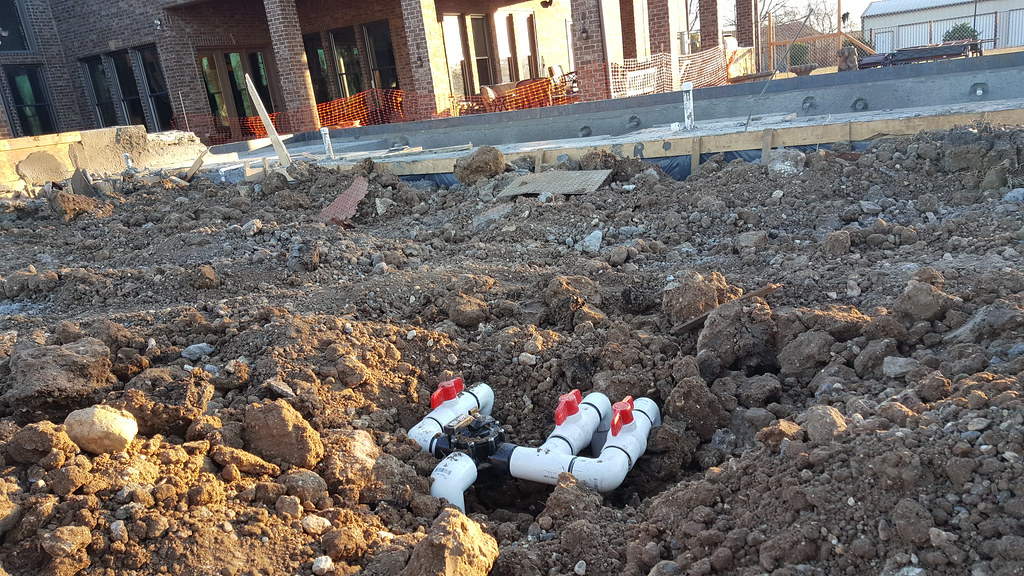
20171208_075834 by Bob, on Flickr

This shows a 3-way Jandy that will be used to balance the LED bubblers on the tanning shelf. This will have a small round box with a brass cover since it sits right in front of the steps to enter the pool.
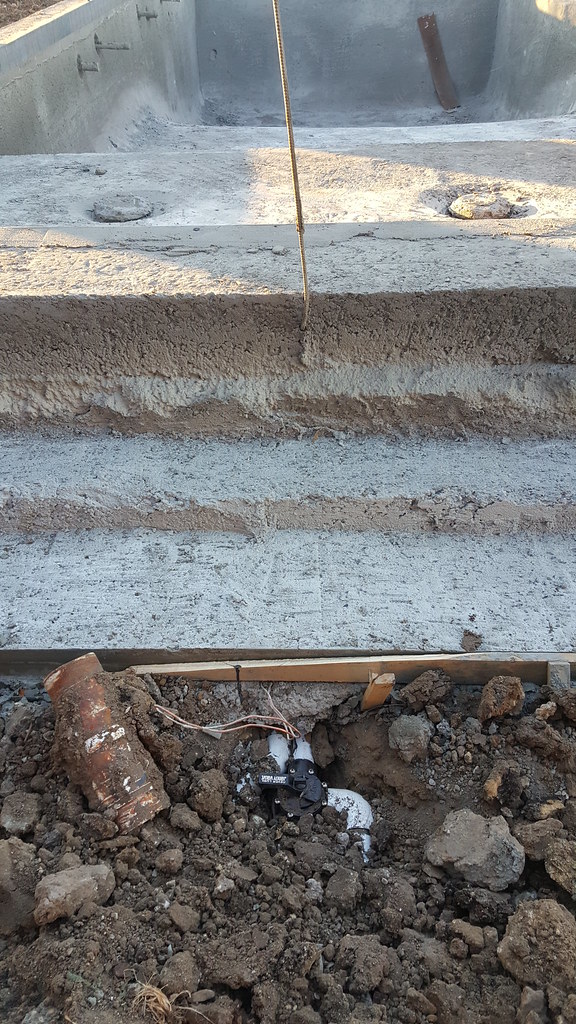
20171208_075958 by Bob, on Flickr

So, that's my update on yesterdays progress. I was told electrical is next but things could shift around. PB said there should be someone out to cut back the Shotcrete in the next day or two.

Bob
 
Bob! What a difference from your first build! This is how it should be!

I see the "good" valve but what about those red handle valves? I hope they don't bit the dust any time soon. They will be a bear to replace!

Kim:kim:
 
Bob! What a difference from your first build! This is how it should be!

I see the "good" valve but what about those red handle valves? I hope they don't bit the dust any time soon. They will be a bear to replace!

Kim:kim:

The red handled valves are ball valves. They'll just be used for balancing water flow. In my experience those things have a long service life. We had them on our pressure tank for our well and never had a problem.

Bob
 
I would want all of those Jandy valves back at the pad - not as eyesores right by the pool. They are saving themselves some pipe and trenching by doing it that way...

I assume the isolation loop is their version of a Hartford loop? Any reason why that wasn't plumbed into the spa wall instead of being freestanding? You typically want that loop as close to the spa as possible so there is less water to clear in the air line. Probably not a huge issue since you are using a blower but you could have gotten away without the blower had it been plumbed that way to begin with.
 

Enjoying this content?

Support TFP with a donation.

Give Support
I do believe the OP will have the valves in a valve box which will be pretty much invisible. Isn't it mostly the sunlight that degrades the handles and causes them to snap (like one of ours did outside separate from our pool)? Or would Sanger heat alone in full shade also cause the handles to become brittle?
 
I would want all of those Jandy valves back at the pad - not as eyesores right by the pool. They are saving themselves some pipe and trenching by doing it that way...

I assume the isolation loop is their version of a Hartford loop? Any reason why that wasn't plumbed into the spa wall instead of being freestanding? You typically want that loop as close to the spa as possible so there is less water to clear in the air line. Probably not a huge issue since you are using a blower but you could have gotten away without the blower had it been plumbed that way to begin with.

He's still planning to put Jandys at the equipment pad for automation. He said the Jandys at the pool side allow him to pressurize the lines. Apparently he doesn't feel the ball valves are up to the task for holding pressure. My understanding on the loop is that because of the number of jets and the fact that everything is double mesh, there was not enough room to place it in the spa walls. I don't understand your comment about the blower, the spa would get an air blower regardless of how anything was set up.

Bob
 
Today's work consisted of a couple guys from the Shotcrete company cutting down the bench in the spa. The cut lines down as deep as they could with a handheld grinder and a diamond blade, then used a large hammer drill with a chisel to remove the material. Pretty much took them all day. They managed to burn up their grinder before they were finished and the benches aren't very flat so I think they'll be back.
20171208_154316 by Bob, on Flickr

Bob
 
Today just happened to be the day I decided to log back in and see how things are going, and as fate would have it, RangerBob is there! We were building buddies back in 2014. Excited to see your new project!
 
Today just happened to be the day I decided to log back in and see how things are going, and as fate would have it, RangerBob is there! We were building buddies back in 2014. Excited to see your new project!

Long time no...um, post? I mentioned to Karen that you posted on our new build thread and she started rattling off all the details of your pool. I have to say, this build is going much smoother than the last.

Today we had the PB, the electricians, the landscape architect and his stone crew all here at the same time. The electricians were laying conduit for anything that goes underground since the landscape architect (maybe I'll just start calling him the LA) is starting on his hardscape. Today the LA's guys started digging out for the footers for our privacy and retaining walls. The LA is pretty familiar with this area so he is drawing on the engineering he's had done in the past for keeping our walls standing for the long term. We have large stone columns in the fenceline out in front of our house and most of them are leaning. I told the LA this was a serious concern in the beginning and it seems like he's got it well under control.

The footings for the 6-1/2' tall stone privacy wall will be 24"x24" concrete buried 8" below the low grade with 3' deep piers every eight feet. Everything is tied together with #5 rebar in a beam box. The wall itself will finish out about 14" wide and will be set flush with the edge of the footer on the high grade side (pool side). This will leave a 10" ledge buried under the low grade side that helps to resist movement. The guys were out there hand digging for the footer all day and I'd guess they probably have another day of digging before they start on any forming. I snapped a couple pics but, they were boring and didn't really show anything but guys digging.

PB says he'll have Luders dropped this week to start installing the coping. LA said he expects to have the travertine pavers delivered this week as well.

I also finally got around to counting how many returns there are in the pool, ten not including the spa or any water features. One of those ten will be for the pool cleaner. If you add in the bubblers, spa, and the water bowls, there should be pretty good water movement.

That's it for today's report.

Bob
 

Enjoying this content?

Support TFP with a donation.

Give Support
Thread Status
Hello , This thread has been inactive for over 60 days. New postings here are unlikely to be seen or responded to by other members. For better visibility, consider Starting A New Thread.