June contest! Submit photos for the visual encyclopedia!

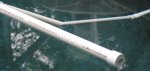
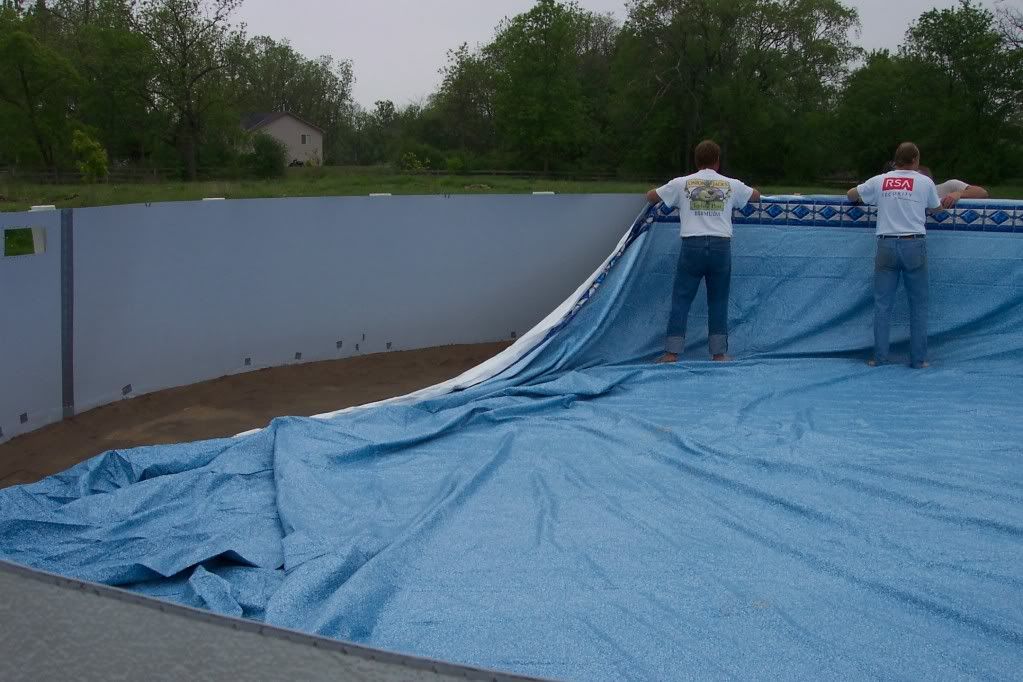
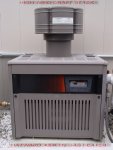
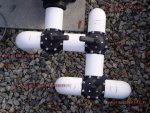
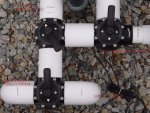
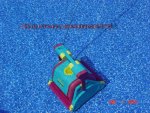
It varies depending on the item. Pool cleaners tend to look very different from each other, so I am looking for several different ones. Whereas brushes all look more or less the same, so there will probably only be one (or maybe two) brush pictures. There are many kinds of pool covers, so one of each type. Probably two different styles of each type of filter. And so on.

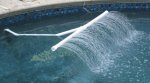
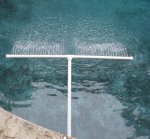
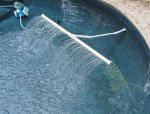
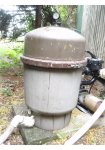
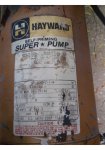
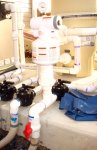
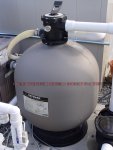
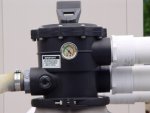
There are two goals for the encyclopedia. One is for times when something is mentioned on the forum that you have never heard of. You can go to the encyclopedia and see a picture of it. The other is for people who see some piece of pool equipment, perhaps at a house they just bought, and don't know what it is. They can go to the encyclopedia and look around for a picture of something similar and at least know what to call it so they can ask a question about it on the forum.

For example, people often don't know what borax looks like, so they can find it in the grocery store. Or they have a vacuum plate, but have no idea what it is or what it does.
 
Thank you Casey for one more picture accepted! Your picture has been added to the encyclopedia.

I invite everyone to explore the visual encyclopedia as it grows. Comments and suggestions are welcome. We have only just scratched the surface. There are still many many more items that need photos.

---

WATERWORT - 14
Casey - 11
stephanie4136 - 5
h2ctpdjl - 4
mickey4paws - 3
silcozot - 3
AnnaK - 3
 
Seems to me people are forgetting the manual labour you need to buy with beer (ok, some are too young for beer!) to install the pool in the first place!

Poolwall_JPG_1.jpg

LinerInstall2.jpg


Solar panel rack:

102_1134.jpg
 

Enjoying this content?

Support TFP with a donation.

Give Support
I have a few of a home made pool Aerator that I made. This is for 1.5" PVC plumbing, it may be necessary to get a different size pipe if your plumbing is a different size. The critical thing is that the unit will plug into a return in place of an eyeball fitting.

1. Get the following peices - all 1" PVC... A coupler, a 45* or 90* elbow, a tee, 2 caps, and a 10' length of pipe. (I picked 1" because I took one of my eyeball fittings with me, and found that a 1" coupler has an OD just bigger than that of the eyeball fitting.)

2. Chuck the coupler in a lathe and take off just enough with a file and some sandpaper so that you can pull the eyeball fitting out of a return (preferably the one with the most pressure), and push the coupler in instead. (This could also be done by hand, as you don't remove that much material, it wasn't enough to make a cut with a lathe tool, probably only about .010" at most.)

3. Glue a 6" length of pipe into the coupler, then add the 45* (This length is mostly so that if I need to take it apart and modify it later I can...) If you have a straight wall pool, you could use a 90* fitting, I needed to get farther away to avoid the curve in my pool wall) I put a 3' length of pipe in the 45* which results in it sticking up in the air about a foot, with the end about 3' into the pool.

4. Glue the tee on the end of the 3' length so it would go crosswise.

5. Test fit a 2' length of pipe into each branch, with a cap on the end.

6. Start by drilling a 1/8" diameter hole every 1/2" in a line down each pipe - this gives a 4' wide tee sticking out of the water and shooting about 44 thin jets of water out about 2' into the pool - makes lots of bubbles... The number of holes is optional, more holes will lead to more bubbles, but an excessive number of holes will cause the unit to dribble instead of spray. It seems optimal if the area of the holes is about equal to the cross section area of the pipe. On my pipes I ended up with two rows of holes, one on 1/2" centers and a second row on 1" centers offset to go between the first row about 10* up. It will be easiest to drill the jet pipes before doing the final assembly. Position the pipes to give a nice arc to the jets, the more they splash, the better the job it does.

[attachment=1:358tjg1l]aerator-4-hole-pipe.JPG[/attachment:358tjg1l]
[attachment=0:358tjg1l]aerator-5-holes-closeup.JPG[/attachment:358tjg1l]

7. When happy with the performance of the aerator, glue the jet pipes and caps in place.

This can be used (possibly with some prettying up) as a decorative fountain, or purely as a means of aerating the pool water when adjusting TA.

[attachment=2:358tjg1l]aerator-1-operating.JPG[/attachment:358tjg1l]

(will have a couple more shots in the next post)
Gooserider
 

Attachments

  • aerator-1-operating.JPG
    aerator-1-operating.JPG
    56 KB · Views: 303
  • aerator-4-hole-pipe.JPG
    aerator-4-hole-pipe.JPG
    39.9 KB · Views: 304
  • aerator-5-holes-closeup.JPG
    aerator-5-holes-closeup.JPG
    35.8 KB · Views: 303

Enjoying this content?

Support TFP with a donation.

Give Support
Thread Status
Hello , This thread has been inactive for over 60 days. New postings here are unlikely to be seen or responded to by other members. For better visibility, consider Starting A New Thread.