Got the pool kit from Pool Warehouse as well. Initial response on their end was great, very quick to request pictures and jump on it. Very happy with the initial response, hopefully it's smooth with the actual supplier of the liner.That is a tough break...who did you get your pool kit from? I used pool warehouse for my pool kit and they were very easy to deal with on a few missing parts from my shipment.
The liner was the absolute last thing I did...so while waiting on a replacement you can continue on along with the rest of the plumbing/electrical/bonding/backfill/decking.
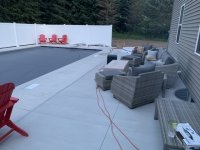
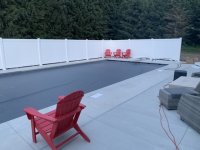
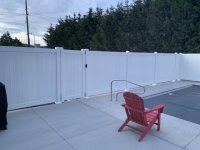
You are spot on, after the initial disappointment, I quickly realized that there is no shortage of work still to do lol! Working on exactly what you listed right now, got an aggressive timeline with the deck being planned on going in 6/3 and 6/4.