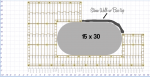
We are having the same pool, same size installed inground next year so I’m looking forward to following your thread. Are you treating the walls with anything? Backfilling with just dirt? How many pavers were needed? Thanks!
Mary,
With concerns about treating the pool wall...
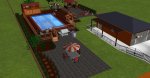
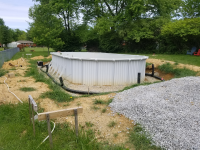
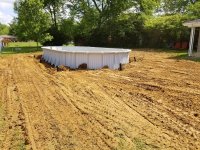
I am building a deck around 3/4 of the pool with a small section of one side exposed...which will later be covered up by a stone wall. I intend to build a bar top on the stone wall for a pool side bar.
")
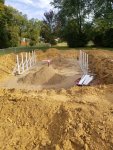
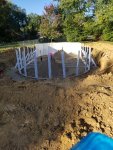
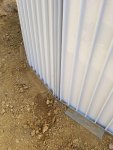
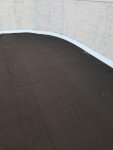
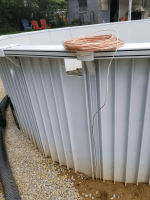
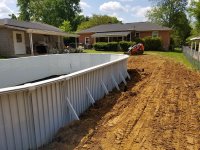
But back to the question of treating the walls...I did not treat the walls with anything however, I am also not planning to backfill dirt up against the walls (except for a small 12" cove falling away from the outside of the bottom of the pool wall all the way around)... because there will be a deck covering it. I would like to have the open area under the deck for when I need to crawl under there for whatever future maintenance reason
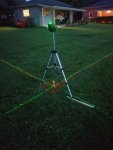
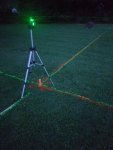
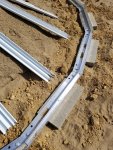
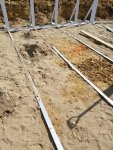
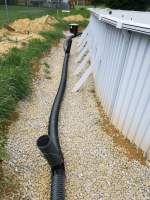
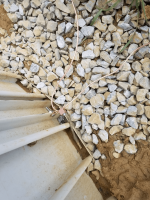
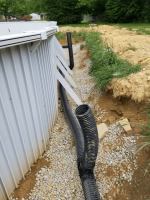
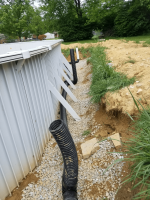
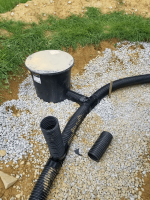
With that said, I am planning to dig a very shallow ditch all the way around the pool and lay corrugated pipe that will run over to an old septic lateral line system that is in very close proximity to the pool. My goal is so any groundwater will drain away from the pool walls and under the deck.
Finally, if I wasn't planning to have the pool walls open under the deck, I would probably treat the walls with something. Keep in mind though, this is an all-aluminum pool meaning rust and corrosion is at a min
As far as the pavers go...
I used a total of 56 pavers in the build-out. I explain below...
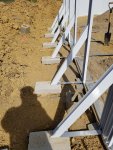
The straight side of the oval pool buttress supports and uprights:
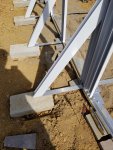
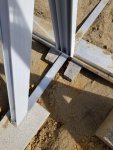
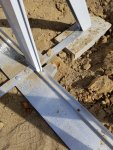
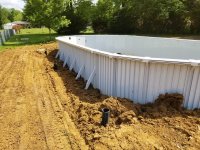
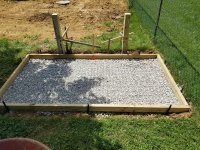
I used 4"x 8" x 12" inch solid concrete pavers (they are actually considered to be solid cinder blocks) as shown in pics 12 and 13 under the buttress supports. The pavers came from Home Depot (found in the lumber section by the concrete bags) and I think the cost was around 4.30 ea and I used 12 of them.
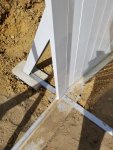
Also, I used triangle shaped pavers, also from Home Depot (1.18 ea.) and placed one on either side of the buttress upright as shown in pics 14 and 15. I used 24 of these types of pavers.
The round side of the oval pool buttress uprights:
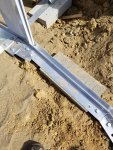
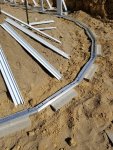
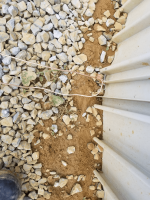
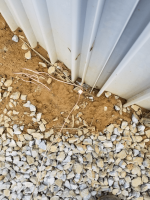
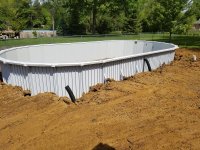
I watched a very good video from MKG Pools showing how to assemble the bottom sill on the round side and in that video he highly encouraged everyone to place a paver under each upright buttress of the "round side" of the oval pools. When you get into the install you will see that the big heavy-duty 1/2" bolts go through the bottom sill and bottom sill connector plate and they point downwards with the thread side down in the ground. This means that if you place a paver directly under the sill connector plate, the thread portion of the bolt would rest right on top of the paver. I did NOT like this setup, so I called the manufacturer (Buster Crabbe) in New Jersey and asked them how to address this issue? They recommended placing a paver under each side of the sill connector plate flush with the grade and so the bottom sill lays flat on the ground. Doing this does support the buttress uprights - but just know that the thread portion of the bolts will be buried in the ground. So with this in mind, this is what I came up with...
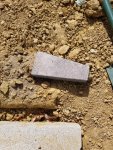
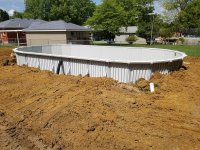
I found 2"x 8" x 16" solid concrete paves at Home Depot (cost is around 1.68 ea) and I placed one paver "longways" directly under each of the round bottom sills. The 16" length of the paver allowed it to extend very near to each of the sill connector plates - thus supporting the entire length of the bottom sill. You can see this setup in pics 11, 20, and 21. I used 20 of these pavers (10 on each of the round sides)
I hope all this made some sort of sense as my explanations probably are not that clear...
Regardless, I hope this helps and good luck! Please post pics of your build-out.
Matt