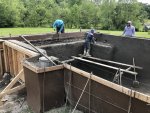
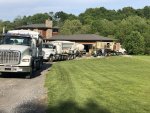
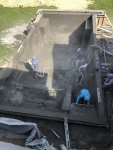
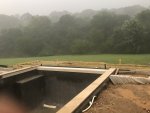
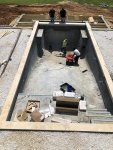
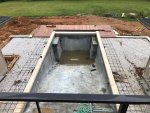
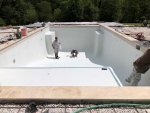
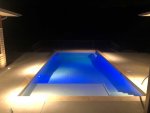
Here's an update. We had them straighten all the steel, they did square it up on the diagonals. I also had them cut and re-position the main drain. Measured, level, and visually correct. But...it still ended up crooked during the shoot. I told them to dig it up and it looked a little too set up to get it out. Our PB agreed that it looked crooked. It will drive me nuts to see it like that, so they are going to come back, jack hammer it out and re-center it. I have to say it was nice that our PB had our back on this. Hopefully it stays that way. I have a cool time-lapse of the whole shoot. I'll try to figure out how to post it.
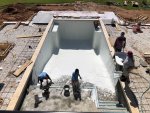
I've been watering it down 2-3 times per day when it isn't raining. It's kind of fun to get in there and imagine it full of water.
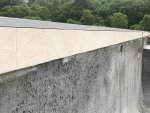
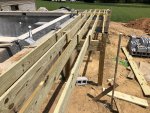
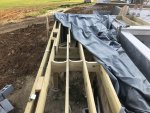
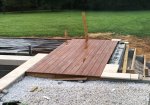
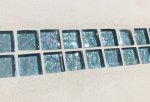
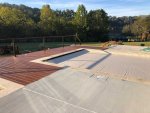
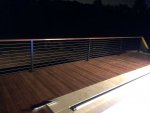
This weekend, I dug footers for the deck posts and have been breaking up piles of concrete (by hand). It's a good substitute for the gym. Next up is plumbing tomorrow, tile and autocover later this week.