Backyard Landscaping Project - Final Pics!

Re: Backyard Landscaping Project

Riles_J said:
One more question for you. Is your textured conrete slippery? I'm sure the texture helps quite a bit, but I'm curious to hear how it is in action.

Riles

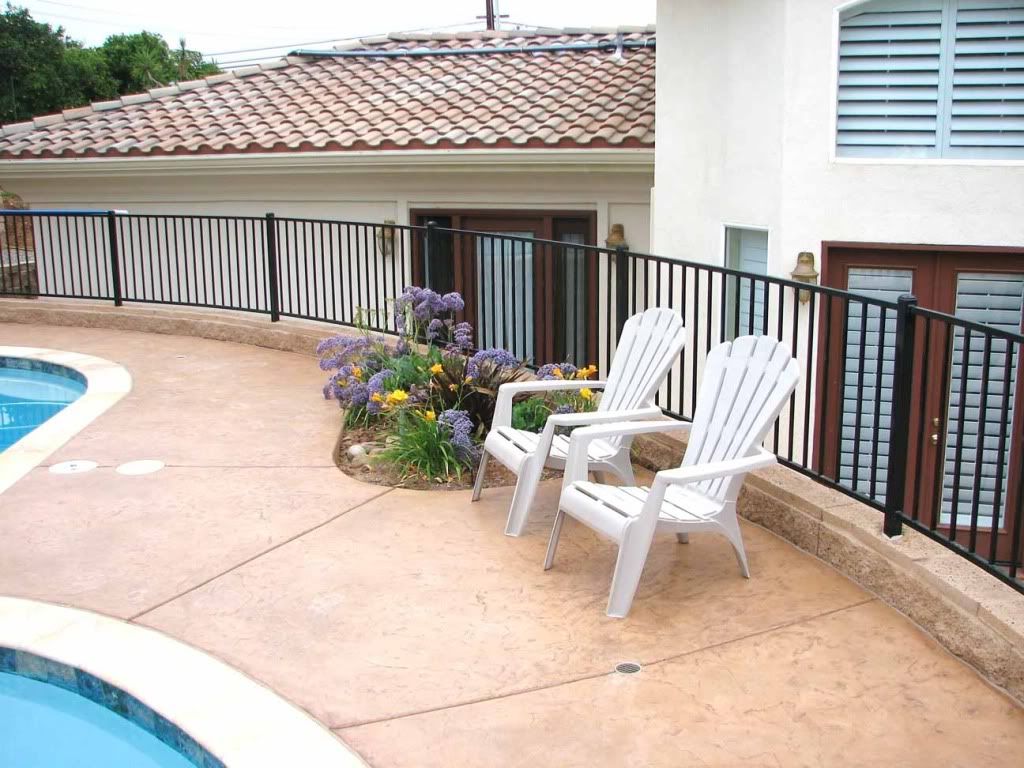
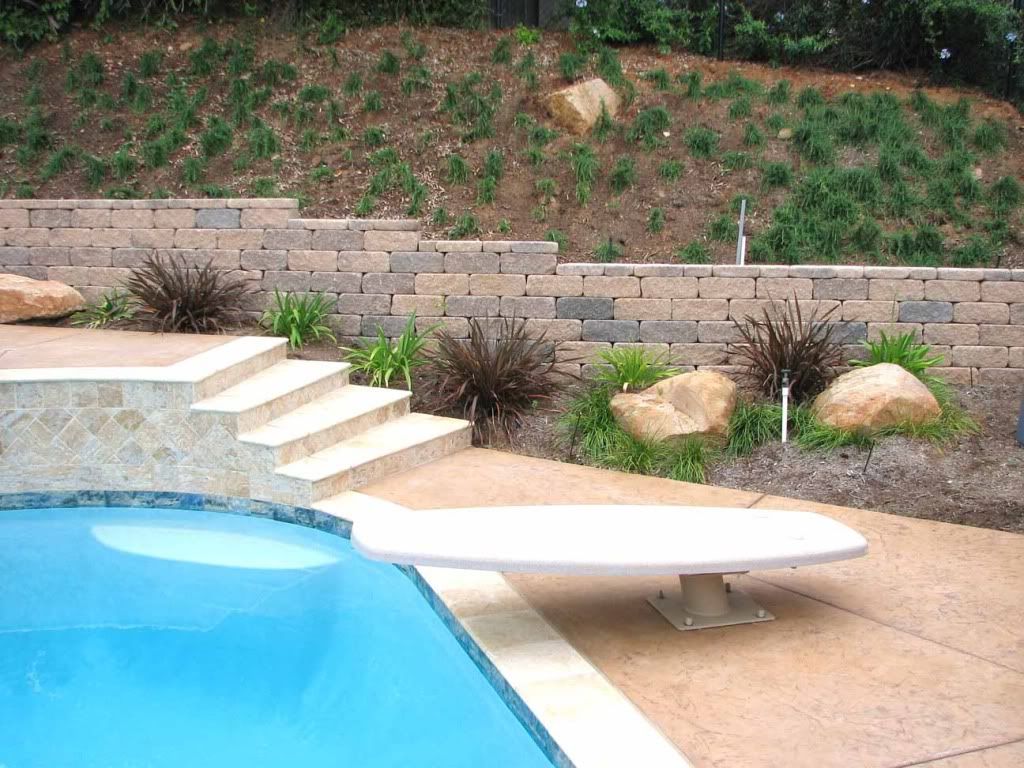
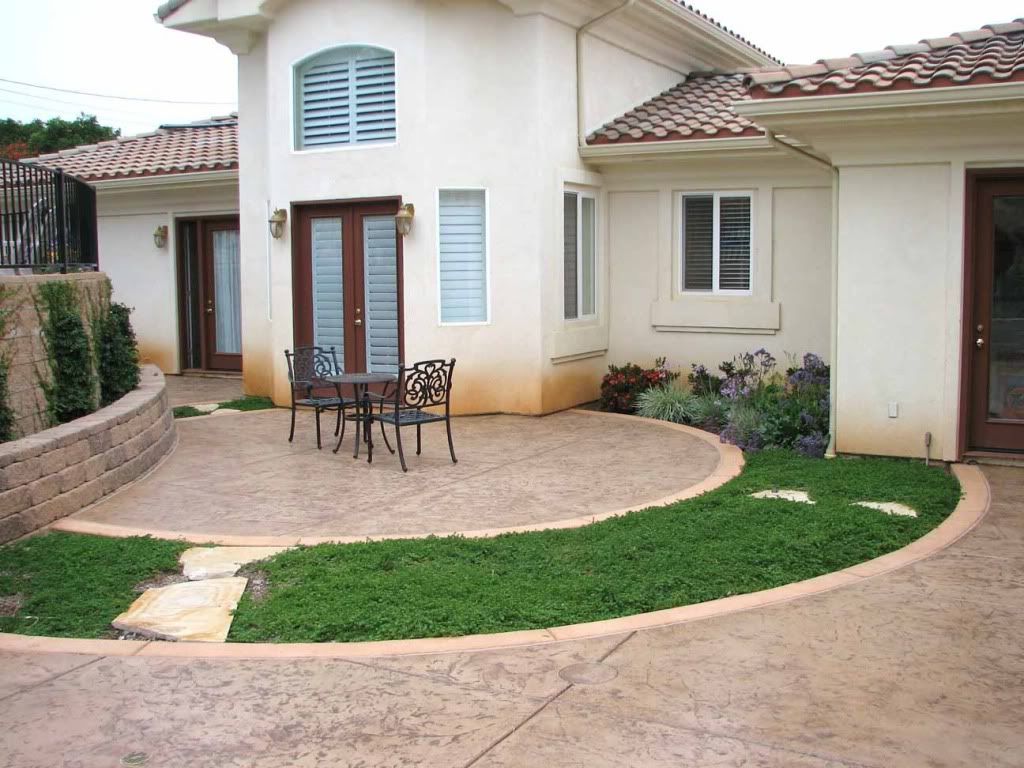
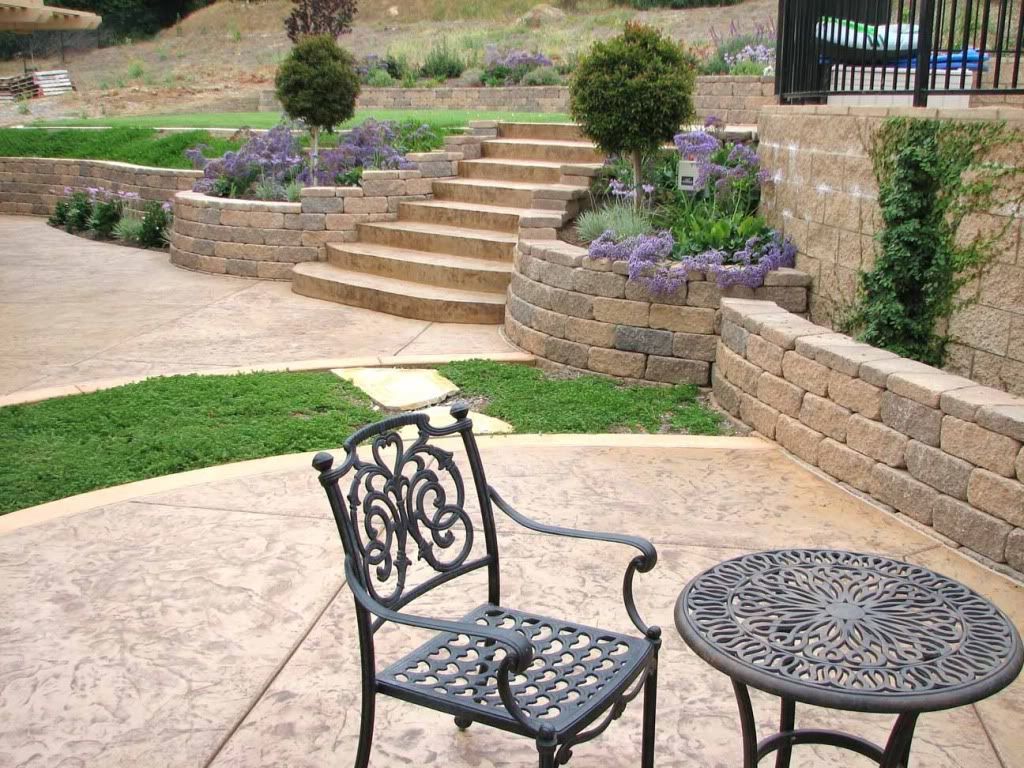
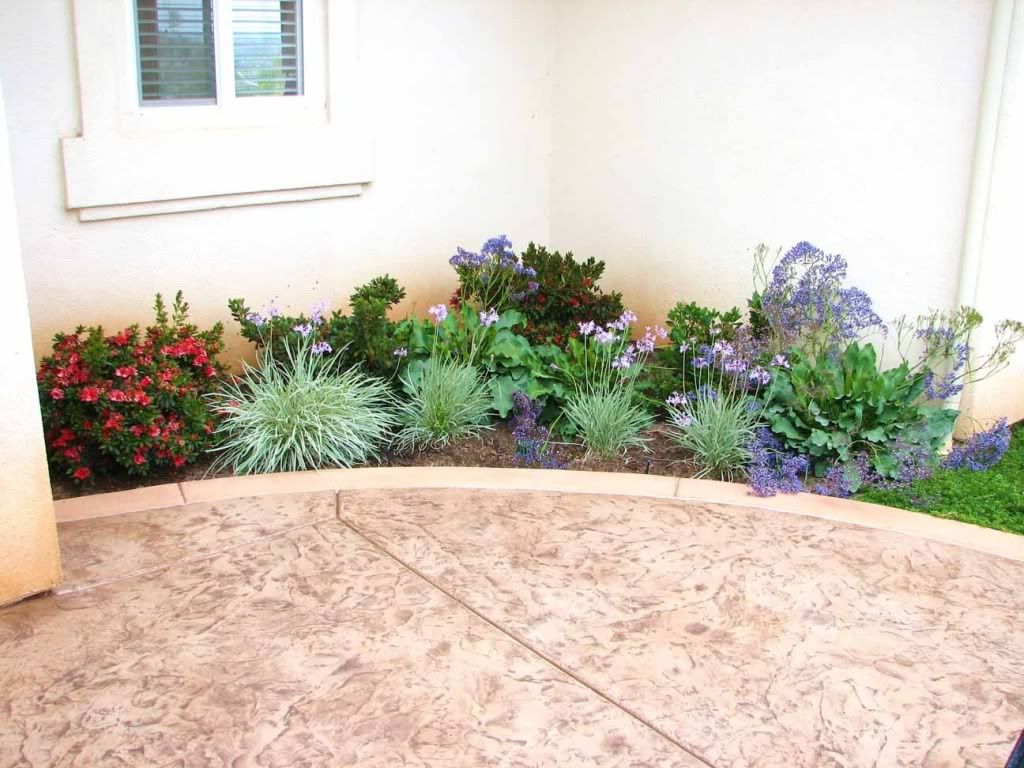
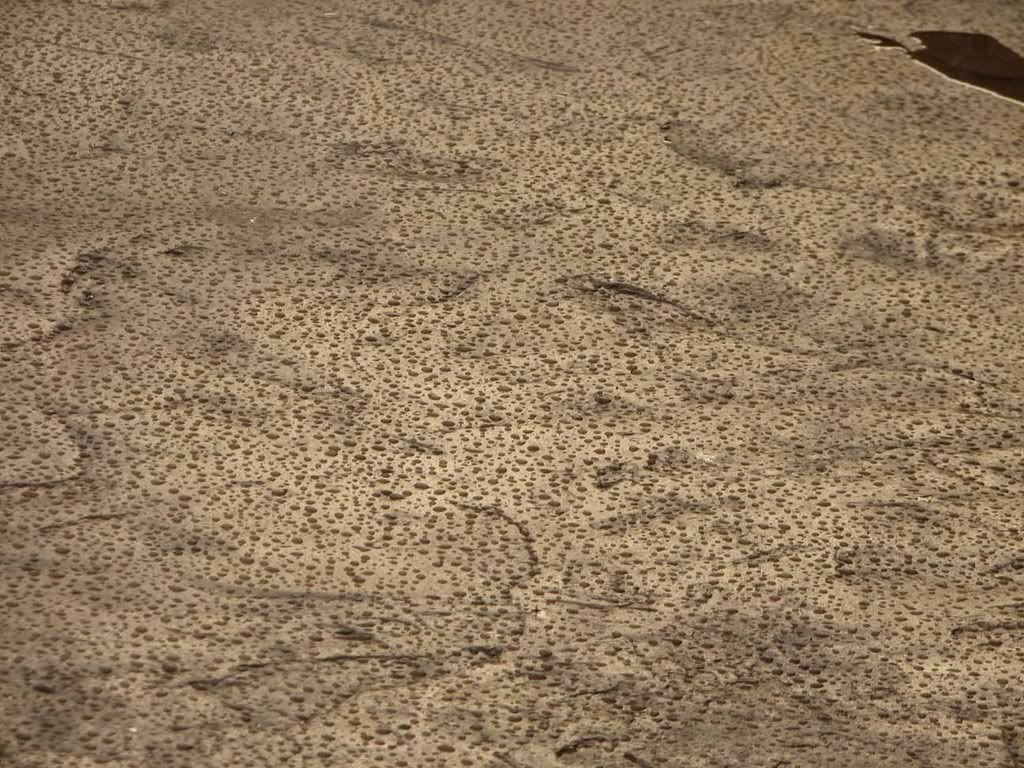
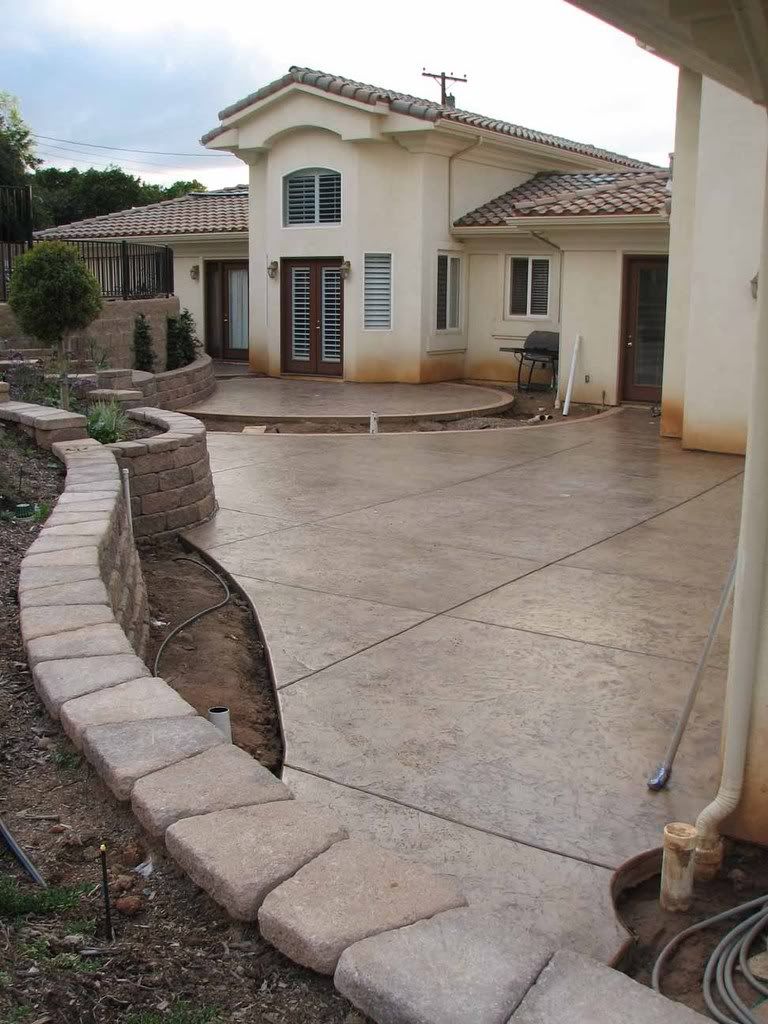
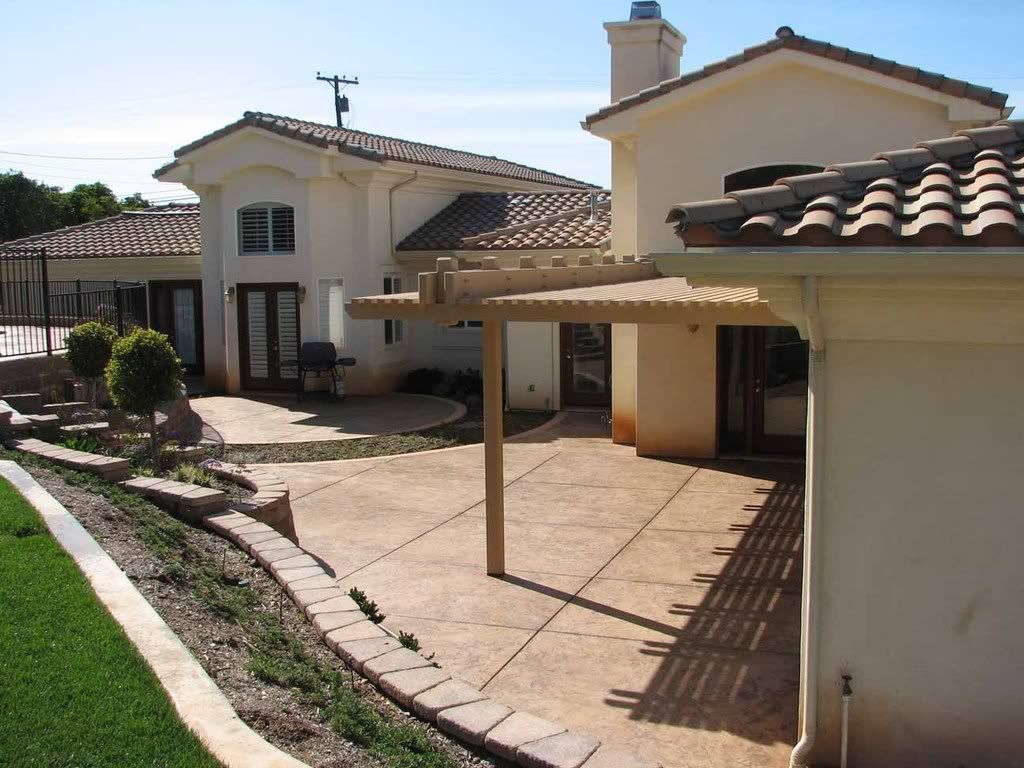
It is a lot less slippery than plan smooth concrete, though acid-washed concrete isn't too bad either. I was worried about it once it was sealed, so had a texture stuff added to in the areas around the pool and on the steps. You can really feel the sandy texture in these areas. Where the non-slip is not used (I don't know why I just didn't use it everywhere) it's a bit slick. With shoes on, it's 'squeaky' and not slippery, but bare feet....?? don't know.

It rained a bit today -- nice to see millions of little water beads on the patio -- very cool.

Steve
 
Re: Backyard Landscaping Project

As mentioned above, here are the 'wet' pictures and an overall pic. I wanted a mat finish sealer (sometimes contractors don't listen...), but the 'wet look' looks really good also.

drops of rain on sealed deck:
IMG_6816.jpg


Overall Patio:
IMG_6826.jpg


Grass (I can't get enough of it -- sorry):
IMG_6827-a.jpg


Steve
 
Re: Backyard Landscaping Project

The next project is to get some shade before summer. I played around with Sketchup again and have a few pictures of what I have in mind. Nice to be able to see where the shadows will be different times of the year and times of the day -- nice program.


(note that the housr is not yuck-green color... it just turned out that way when I ported out to a jpg)
BackPatio03-A.jpg


BackPatio03-B.jpg


BackPatio03-G.jpg


BackPatio03-F.jpg


[EDIT] -- refined it a bit -- angled the joists and routed the posts, added ceiling fans.
BackPatio03-H.jpg


The bummer is that the highest I can attach it to the house only allows for 7'-6" below. I want a couple ceiling fans to keep the bugs out of our food (they are great over outside dining tables!). I can mount the top of the fans at +8'-0" (top of the joists). Does anybody know of any (very) low profile ceiling fans for a 'wet' environment? The outside fans really limit the selection...

Thanks,
Steve
 
Re: Backyard Landscaping Project

Ok, the Patio Cover is all (mostly) done! :-D The pictures are from before the crilingn fans were installed, but they were installed today. Pictures will come later.

All members are painted con-heart redwood except the two 4x10 beams on the top. These proved to be too expensive in redwood. They had to be milled and shipped from Northern California and would be about $600 each -- so I hear. So Doug-Fir it is. They are big enough that they should not rot too fast!

You can compare the final product with the renderings from Sketchup above -- not too bad!

Starting at the bottom, there is only one post and it sits on a relatively new Simpson Strongtie stand-off base. This keeps the post from touching the concrete and rotting. This is made of what looks like ABS plastic. Much better looking than the steel post bases that have two flanges that nail onto the side of the post.
IMG_7120.jpg


The two beams were attached to the house and the single post. They run over the top and hang the joists as seen below. This keeps the sight lines very open and the cover as high s possible.
IMG_7124.jpg


You can see the 6x6 post 'stubs' hanging from the pair of 4x10 beams. The real post is cut to match.
IMG_7133.jpg


View from beneath:
IMG_7125.jpg


A few more views:
IMG_7116.jpg


IMG_7127.jpg


IMG_7131.jpg


The fans look good and are about 7'-8" to the bottom, so no danger of them whacking me (6'4" tall) as I walk by.

Thanks for watching!
Steve
 
Re: Backyard Landscaping Project - Almost Final Pics!

You did a great job and I like the grass in that area. Looks great! I don't have to worry about slopes as I am in FL and every thing is flat but do like how people overcome them.
 
Re: Backyard Landscaping Project - Almost Final Pics!

You have done an amazing job. Enjoy it! 8)
 
Re: Backyard Landscaping Project - Almost Final Pics!

Thank you DD50 and Casey!

It's been a long time coming, and we are very happy with the results. Not that it has always gone as planned, but -- nothing always goes just right. Half the fun is figuring out how to overcome a problem and then what to work on next. There's always something to so next. I want to put doors -- maybe a roof -- on the pool equipment area. I want to add a cover up by the pool. More fence work is needed. Then there's the grill, and the speakers. And if I finish all that -- the garage addition with bathroom. It's just time and money. Neither of which I have any of any more.... :cry:

Steve
 
Re: Backyard Landscaping Project - Almost Final Pics!

Stunning outcome...wow..and I LOVE the new pergola (you're encouraging me to down my own)...you've done great design work the whole way....looks like your own personal putting green, too....keep posting your work...fantastic! :goodjob: I hear you about running out of time and money after a major build...
 
Re: Backyard Landscaping Project - Almost Final Pics!

Thank you Pieces & XTremelyTropical! Now that it's spring, it's starting to grow in quite fast now. The bushes at the back of the grass will take all year to form a manicured hedge. I wish I had more shade trees, but I'm a bit obsessed with not having root damage. Either way, there's not much room for trees at the front (low) side of the grass (west side) where they would do the most good.

We've already used the pergola a lot -- can really say it has transformed the back area. It's a nice shady area.

Steve
 

Enjoying this content?

Support TFP with a donation.

Give Support
Re: Backyard Landscaping Project - Almost Final Pics!

Ok, it's been 3 months since hte last pics and things have grown in nicely. The patio cover was finished (fans installed) and the pool is being used again this year. I thought I'd post a few updated pictures now that there isn't as much dirt showing...

planter at pool deck:
IMG_8335.jpg


IMG_8337.jpg


IMG_8344.jpg


I love those Plumb trees:
IMG_8357.jpg


Groundcover all grown in:
IMG_8365.jpg


IMG_8369.jpg


IMG_8371.jpg


IMG_8414.jpg


Flush mount wet environment criling fan:
IMG_8504.jpg


Finished patio cover with fans (and new BBQ):
st-patiocover.jpg


Composite view of back:
st06.jpg


Thanks for viewing - please excuse the stained stucco -- paint will come in due time.

Steve
 
Even though you had limitations caused by your septic system, your yard looks awesome.

Have you tried gently pressure washing (I know that is a bit of an oxymoron) your stucco?

Exactly how did you seal your concrete? What did you use to make it non skid?
 
cobra46 said:
Even though you had limitations caused by your septic system, your yard looks awesome.

Have you tried gently pressure washing (I know that is a bit of an oxymoron) your stucco?

Exactly how did you seal your concrete? What did you use to make it non skid?

Thank you Chakara, Cobra46 and dd50!

I will try some CLR, can't hurt at this point (unless it takes the sealer off the patio...) The staining is from before patio and before gutters. The rain would splash dirt (with some staining clays) olto the stucco. I have tried to pressure wash it with little effect. :(

Patio guy sealed it with non-slip grit. Then when it was still too slippery did it again with a different product and more of it. Still more slippery than I would like -- you need to walk fairly carefully or you'll feel slippage. Kind of a bummer. I don't know which products were used. I may have to wait until it wears off and then just not re-seal it.... :cry:

Steve
 

Enjoying this content?

Support TFP with a donation.

Give Support
Thread Status
Hello , This thread has been inactive for over 60 days. New postings here are unlikely to be seen or responded to by other members. For better visibility, consider Starting A New Thread.