DIY IG started in Cincinnati, OH

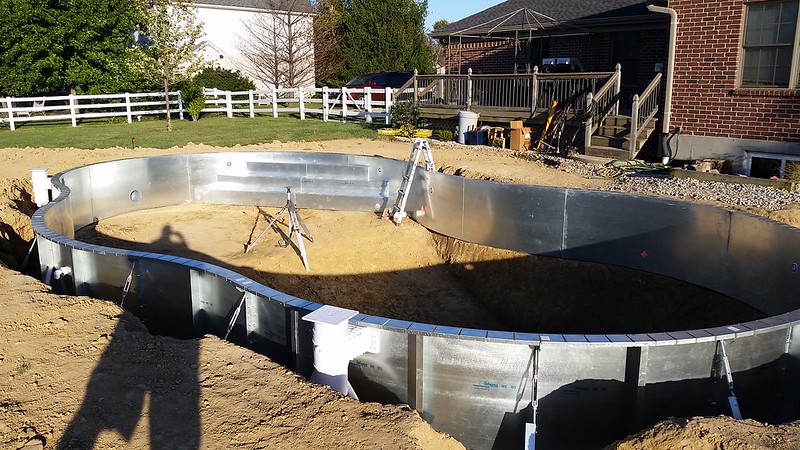
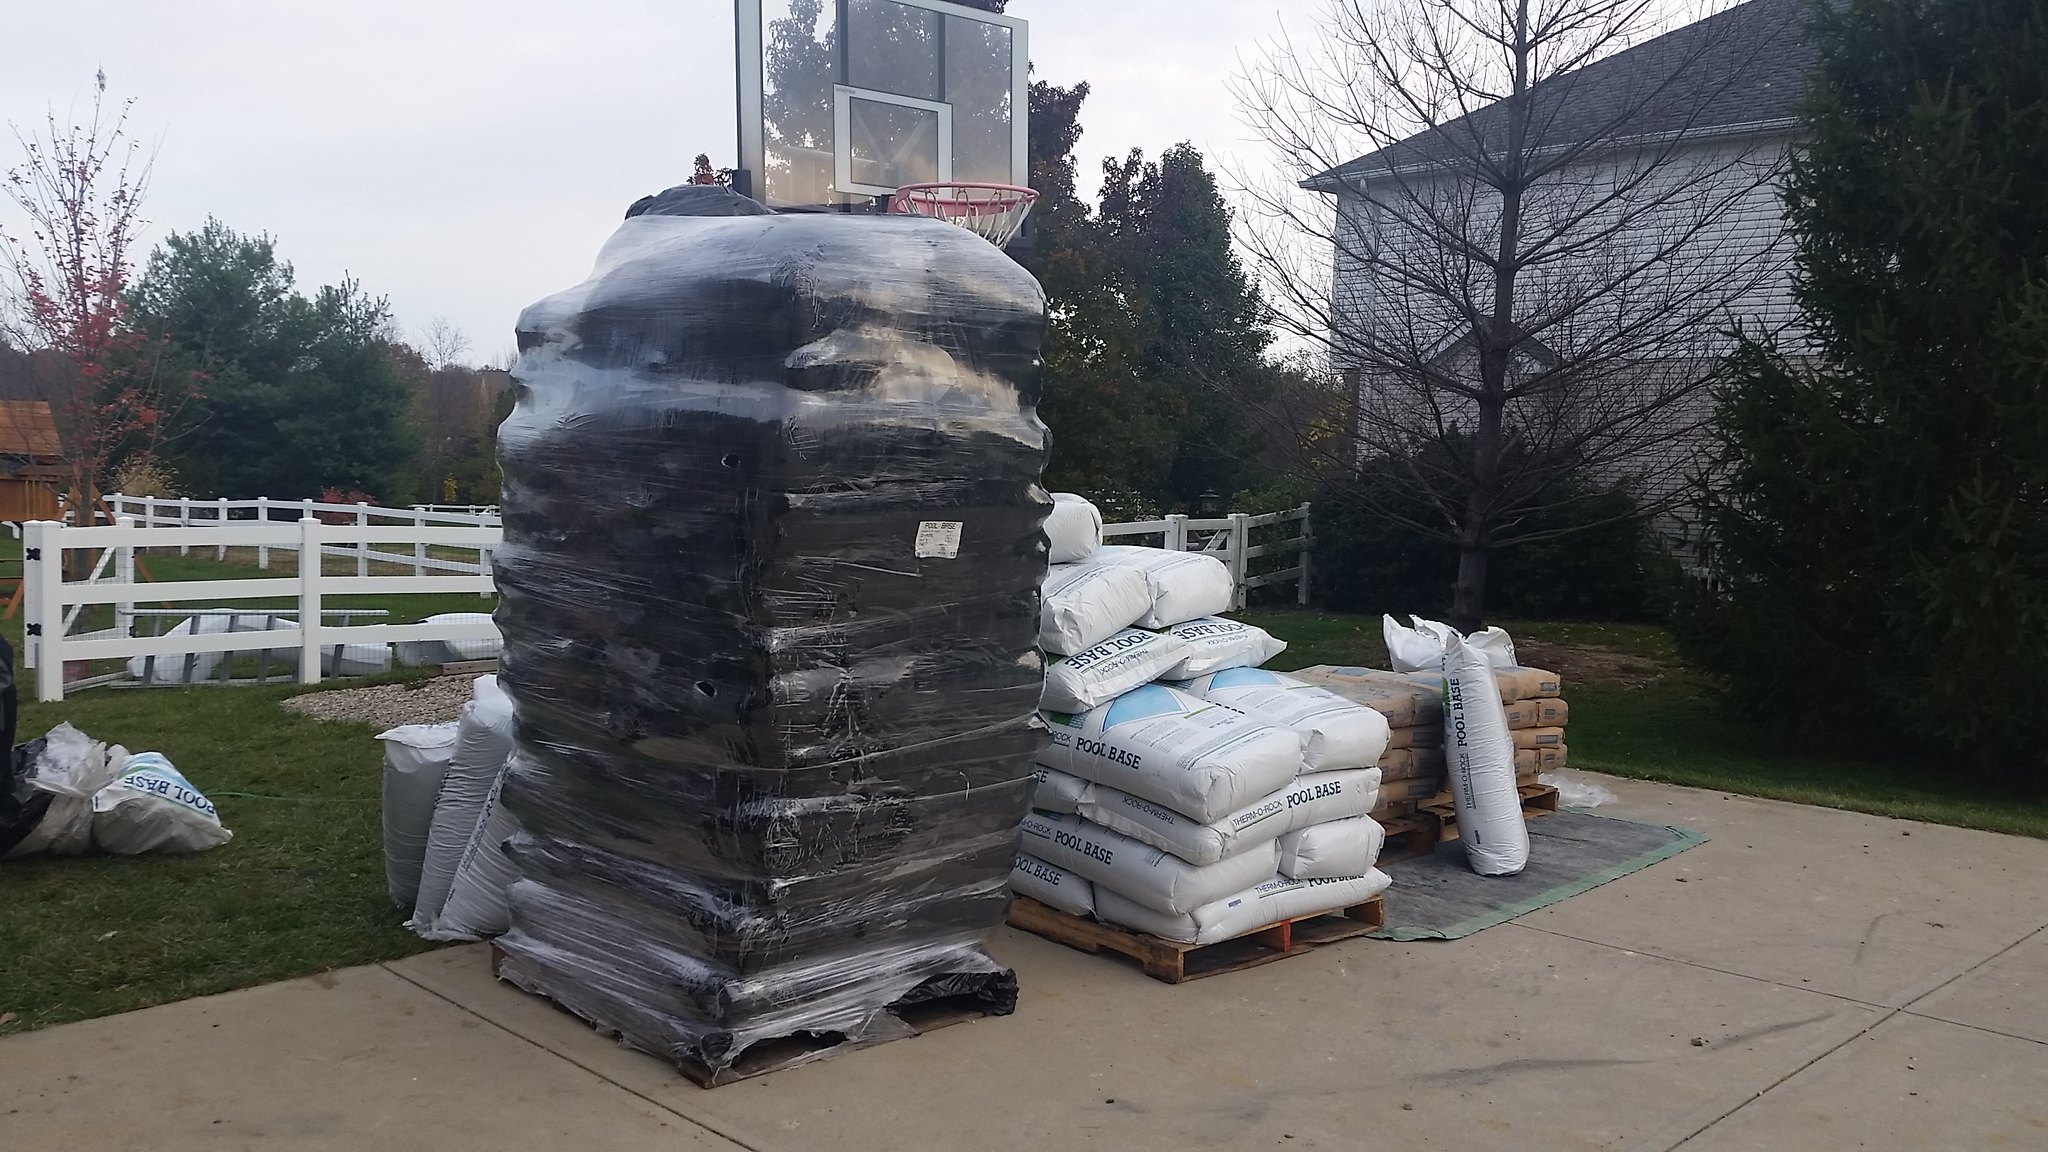
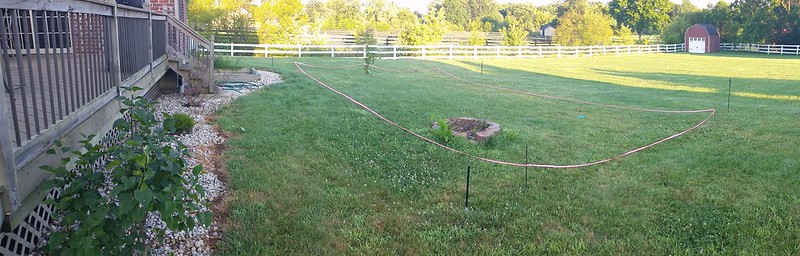
After months of research, I have finally started my pool. Ordered a 20 x 40 Mt Loch/Lagoon/Deer Creek from Poolwarehouse.com. So far everything seems decent quality. I was very nervous about buying from the internet. My only real issue with the order so far was with the shipper. Was supposed to have lift gate service and be able to use a pallet jack to get it up the drive way. At last minute they called said the skids were too big for lift gate and we had to unload by hand. Luckily I was able to get some last minute help to unload mid day on a Thursday which was a little tough. Getting the Poolwarehouse guys on the phone was a little harder than I would have liked at times, but they were nice when I did get them.

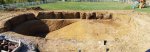
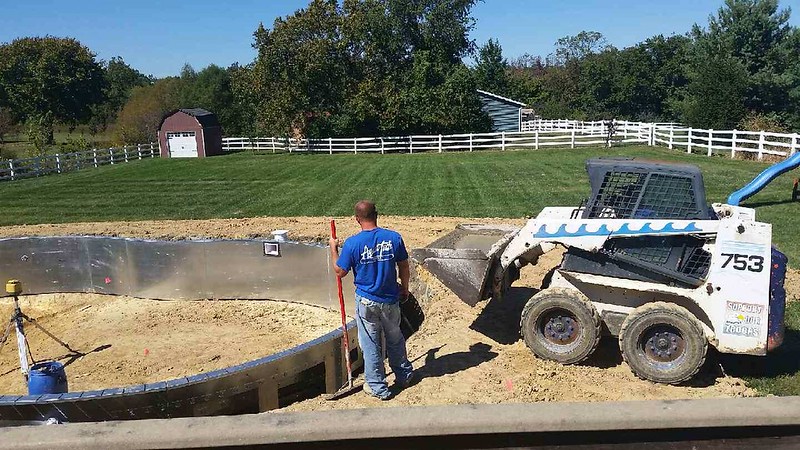
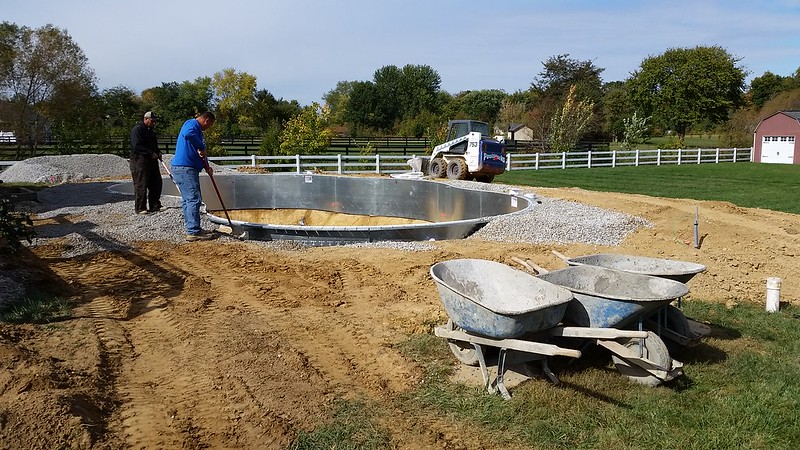
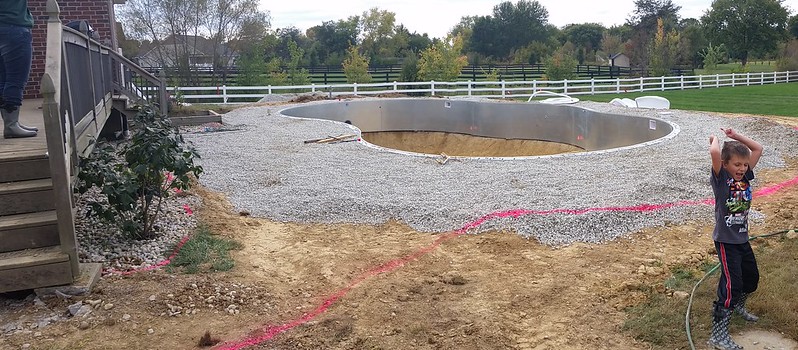
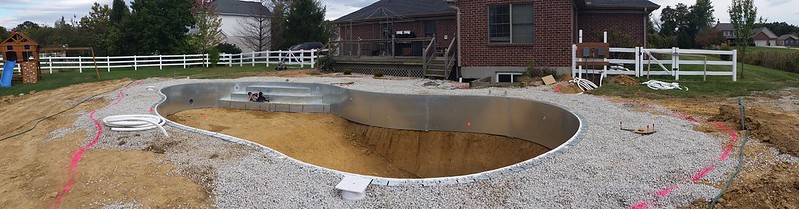
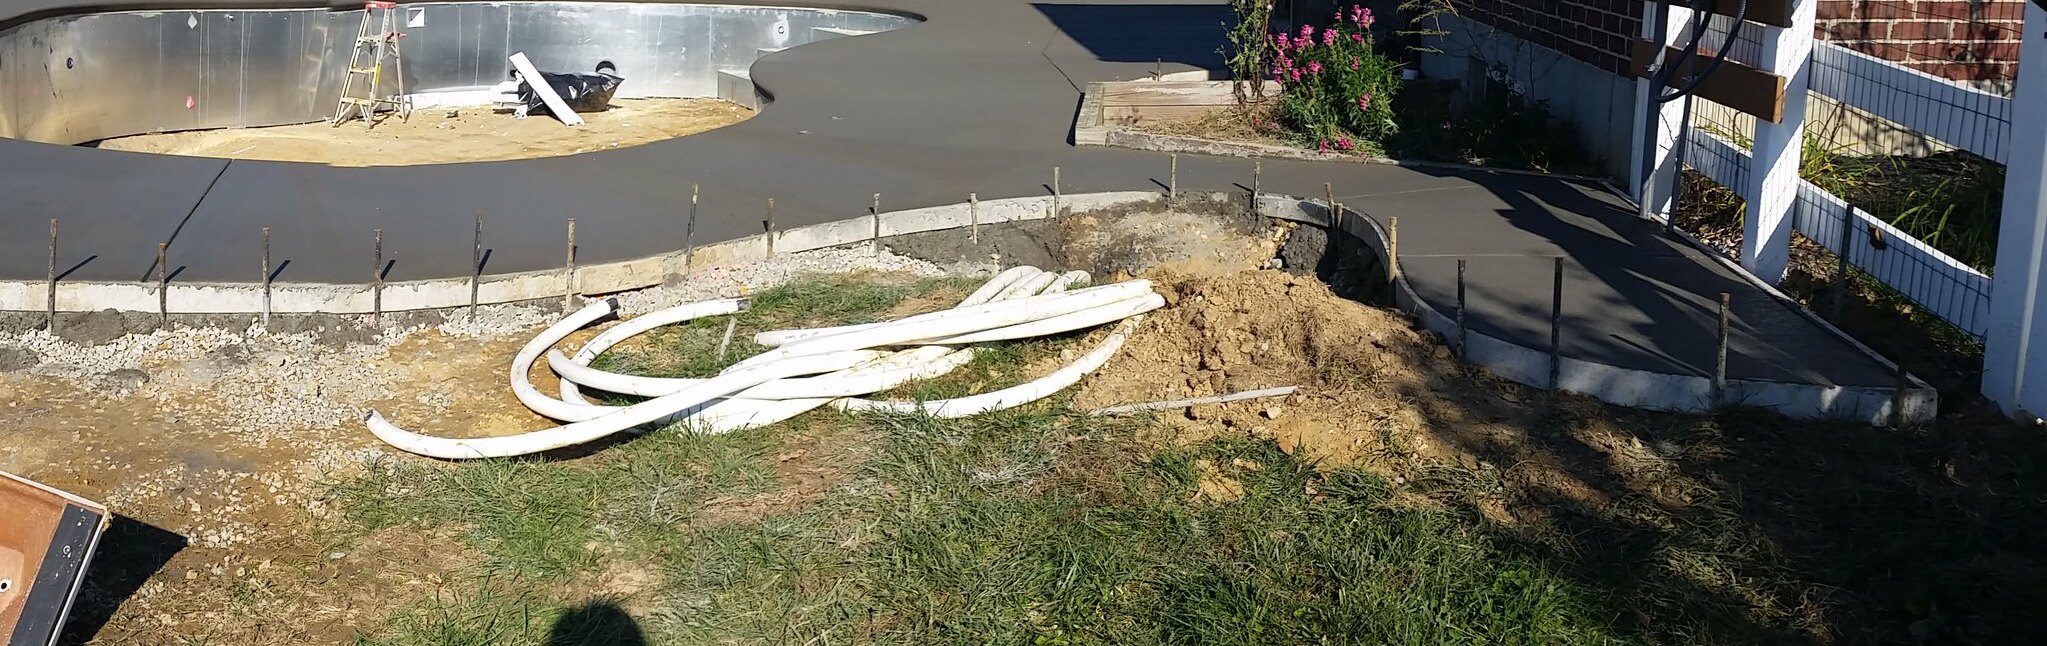
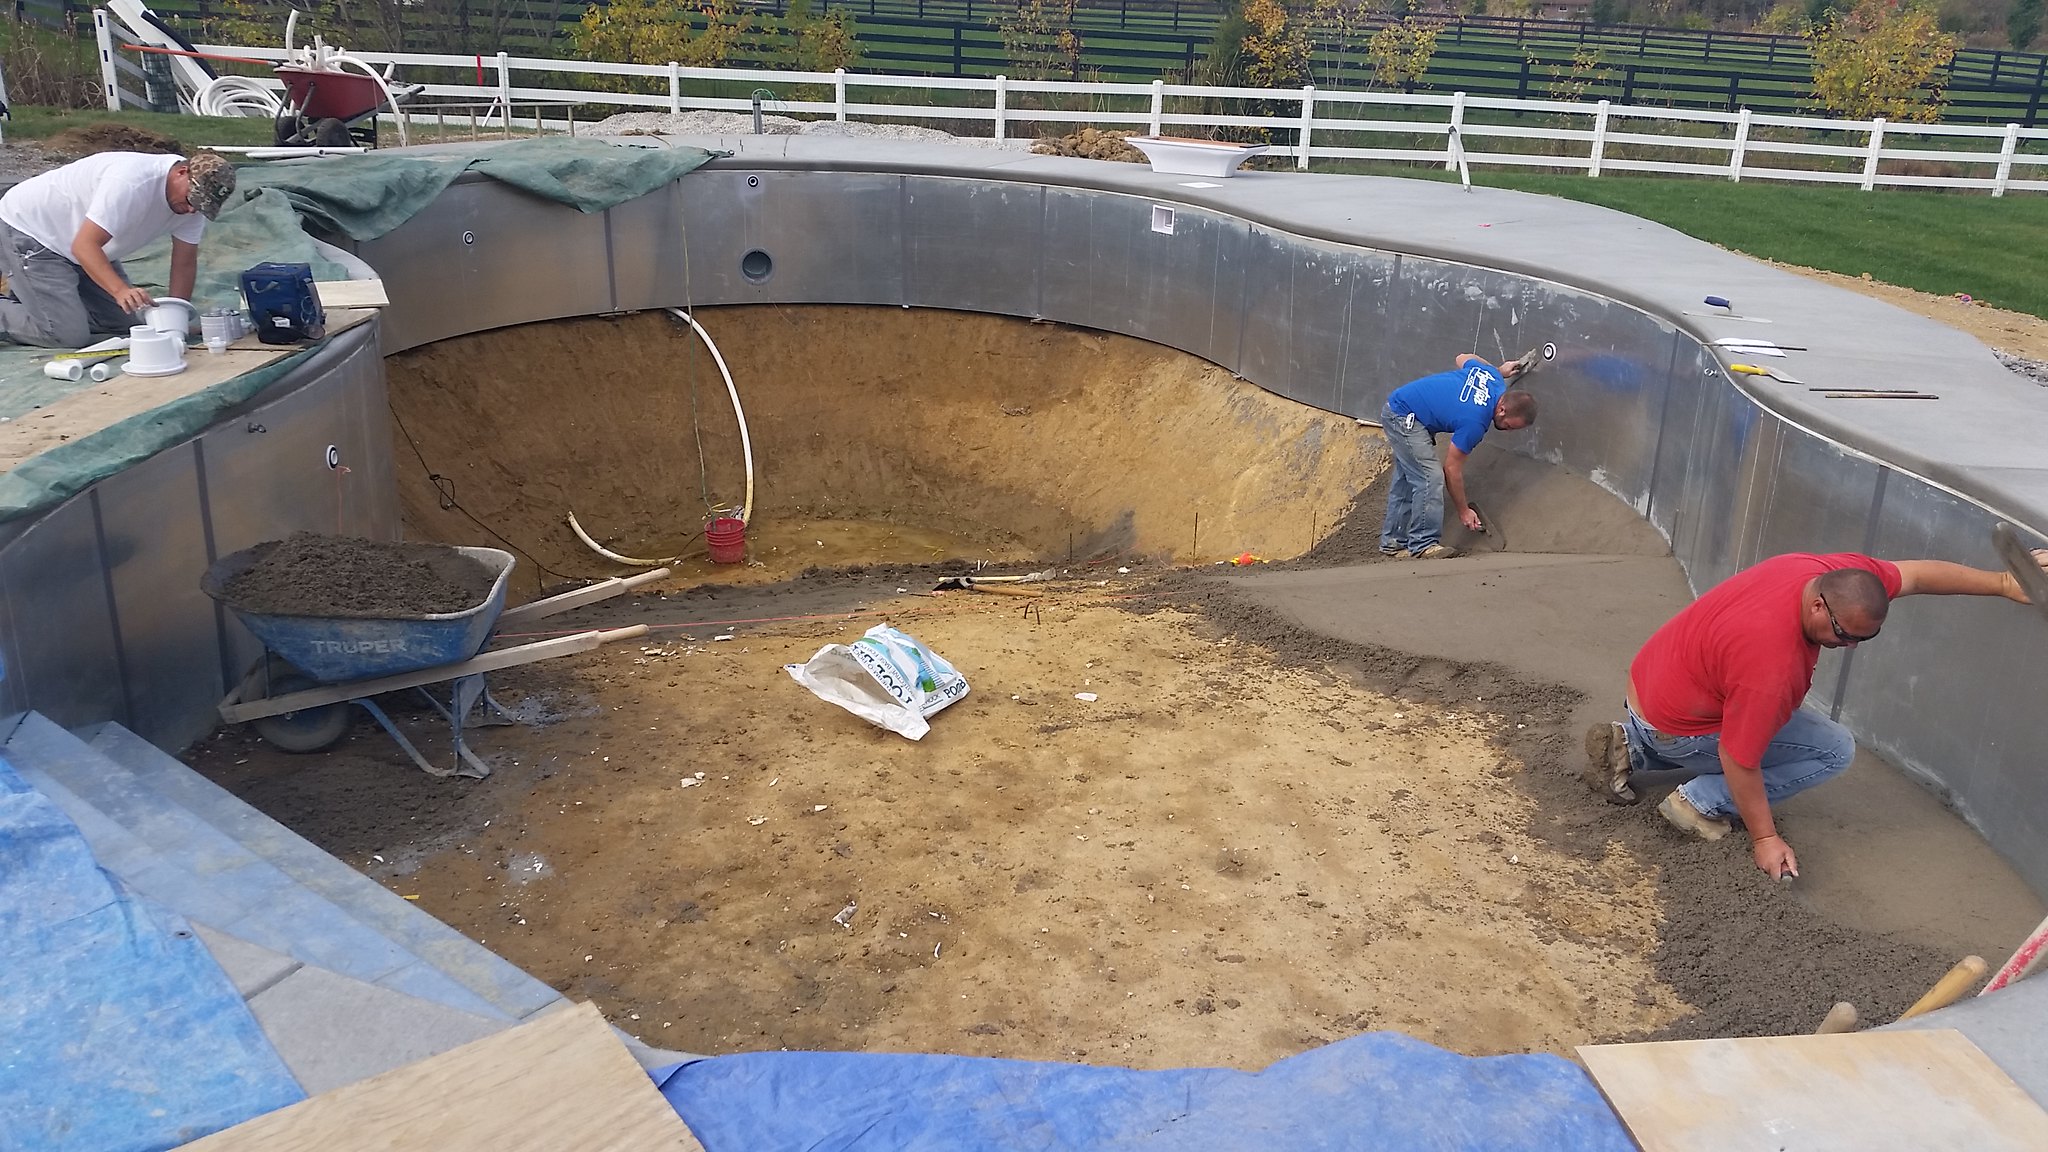
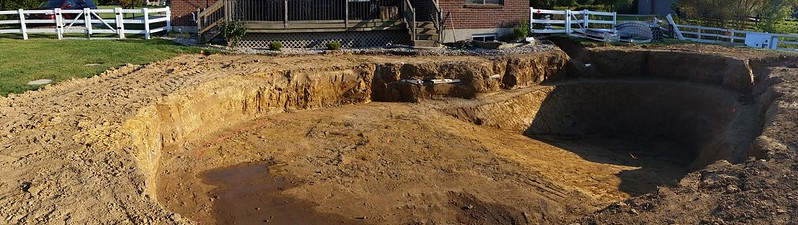
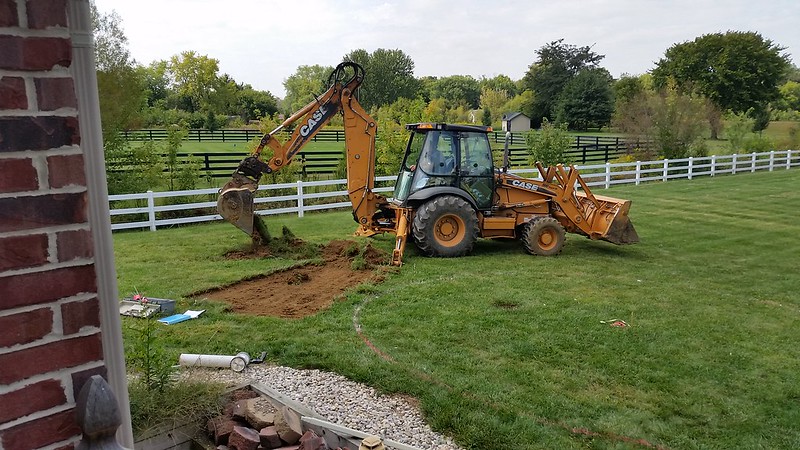
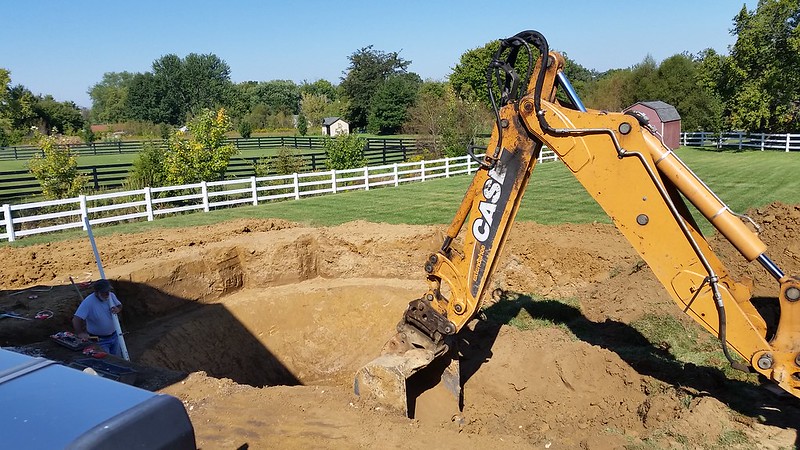
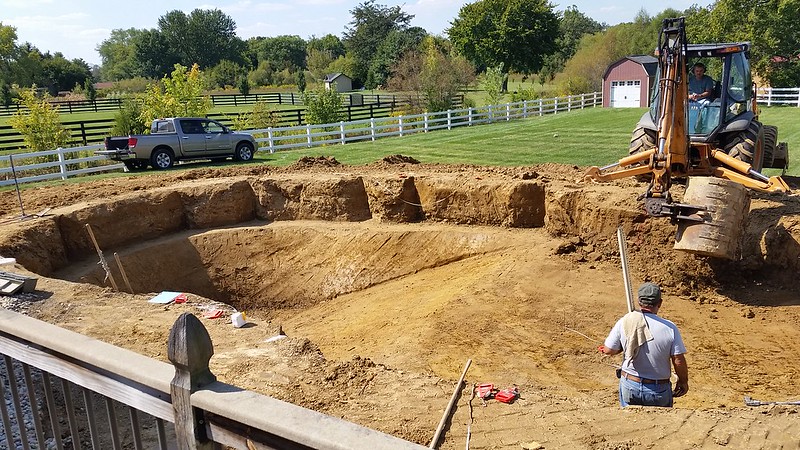
I hired an excavator that came highly recommended, and this guy was like a surgeon with his backhoe. Unfortunately we did just clip some underground drainage lines but I knew that was a possibility and they should not be too bad to fix.

15156741867_0d4bccf809_c.jpg


15156494179_1793745743_c.jpg


15342956162_d74cbc9be2_c.jpg


15156685358_8988574572_c.jpg


15342951242_1cf14af9fe_c.jpg
 

Attachments

  • 20140918_162754a.jpg
    20140918_162754a.jpg
    89.5 KB · Views: 591
@jjwalker you are dead on. Other than the plumbing repair for the drain line they clipped while digging I have had to do surprising little hand shoveling. The plumbing repair was more than enough though! I bought a spud bar at lowes and that was key for that job.
So a friend stopped by later that same night the kit was delivered and the excavator finished and offered to help me set the panels down in the hole. So far that was the hardest part of the job manual labor wise, but 2 of us got them all in hole in about 45 minutes. The only pic I have is from the next night when I was doing the plumbing repair after work.
 

Attachments

  • poolwallsinholeplumbingrepair.jpg
    poolwallsinholeplumbingrepair.jpg
    49.3 KB · Views: 506
Todays progress

15166749337_d3c1bf7079_c.jpg


15343010502_1f56e599b1_c.jpg


15320204106_d602117be2_c.jpg


15320283376_5368a78c6e_c.jpg


Had 2 buddies help me set the walls, pull the plumbing, etc. I greatly underestimated how many screws would need to be shot on this project! I actually can't believe how fast it went together and took shape. The excavator made the job cake. Very little hand shoveling!
 
Finally got all of my plumbing ran, the steel steps bolted in, the lights (2), the skimmers (2) , the returns (5), the main drain, the overflow, a backwash line and the footer drain in place. Tomorrow hoping to have to footer poured. After that only 1 small piece of downspout drain line to repair then ready for back fill and electrical.

15157256128_6bf542f6fb_c.jpg


15320718166_caf1c93c56_c.jpg


One item to note: When buying PVC fittings, make sure you don't get the ones that say Drain or Not For Pressure. I did not see this marked anywhere on the fittings, but it is on the boxes/bins at home depot/lowes if you read closely. The 1-1/2inch PVC fittings for pressure are made by Lasco at Lowes. The lowes closest to my house is a small one and does not carry these, just the drain/not for pressure ones.
 
Tonight started working on electrical trench. Rented a walk behind trencher that digs a 6in x 24in trench. So far it is not going well. My soil is rock hard clay with no rocks at all and the machine is struggling and not getting the trench deep enough. Going to try another pass tomorrow and hoping for some better results...
 
Tonight started working on electrical trench. Rented a walk behind trencher that digs a 6in x 24in trench. So far it is not going well. My soil is rock hard clay and the machine is struggling and not getting the trench deep enough. Going to try another pass tomorrow and hoping for some better results...

We had a similar issue in central Illinois. We waited until the day after ewe got rain and trenched then. Was much easier. Could probably do the same with a sprinkler??


Sent from my iPhone using Tapatalk
 
Thanks @bdex. I am not sure what piece of equipment I should have rented, but what I got was not the one for the job. I originally wanted to have the excavator do it, but he only had a 3 foot bucket on his back hoe. I got a buddy over this morning that helped me clean it out by hand and start pulling wire and running conduit. I have a couple of spots still to clean out but got it in for the most part.

15175386847_412097299b_z.jpg
15175391177_e490bbecec_z.jpg


fyi- this is the machine I rented:

T-09.jpg
 

Enjoying this content?

Support TFP with a donation.

Give Support
Nice. I went with 1.5" because the local big box store cannot get their **** together and stock all if the 1.25" pieces. L good though. I did a 50 amp sub panel with 4 #6 THHN and ran an extra 20a circuit in there.


Sent from my iPhone using Tapatalk
 
Finally got all my electrical conduit run and wire pulled for the sub panel and lights. Also dug 2 post holes and set two 4x4 posts to mount my sub panel. I am hoping to finish up my bonding tomorrow and get my trench inspection Monday/Tuesday and then start back filling.

I will admit the electrical materials are costing quite a bit more than I anticipated. I am over $230 just for three breakers and that is after shopping around! I had previously just priced the wire and sub panel (as I figured/guessed that is where all the money would be) both of which I thought were fairly reasonable but seems to be nickle and dime-ing me for all the other little pieces.

Late addition to the mix the wife wants a slide now. I have to pull a line for the water supply for that and figure out exactly where to stub it up. The manufacture's instructions not the best to pinpoint this!

I will be glad to be out of the mud/dirt and trenches here soon I hope!
 
After 2 SOLID weeks of rain (litterally every day) plus a week of drying out the yard and pumping out the deep end, finally poured the decking today.

15619283592_93eccd1e5b_k.jpg


15619280952_d804fe0a19_k.jpg


15618451215_a7038b3cf8_k.jpg


Tomorrow will be finish dressing out the concrete and removing forms (sub-contractor), and I will hopefully be hooking up the filter pad equipment. Hoping to get vermiculite on Monday and drop the liner on Tuesday.
 
I am certain this will probably be of no interest to anyone else, but I am a bit OCD on the plumbing setup as I worked as a laborer for my uncle who is a plumber through high school and college. I am also certain there is an obscene amount of over kill in this setup as well. All plumbing is homerun in 1-1/2 PVC with a pentair never lube type shut off valve and a backwash line. I went with an over-sized sand filter, 1.5HP Hayward super pump, Hayward SWG, Hayward automatic chlorinator (came with the kit and installed as a backup if the salt cell fails), and a Hayward heat pump. My electrical setup I went with a 100 amp sub panel.

15646371772_33968504b3_k.jpg


Let me know if anyone has a good way to label all these valves, better than a sharpie.
 

Enjoying this content?

Support TFP with a donation.

Give Support
Thread Status
Hello , This thread has been inactive for over 60 days. New postings here are unlikely to be seen or responded to by other members. For better visibility, consider Starting A New Thread.