DIY Pool restoration project

Jul 25, 2014
26
Vallejo CA
Keep all postings on your pool and any renovations in one thread as it makes it easier to follow. Casey~

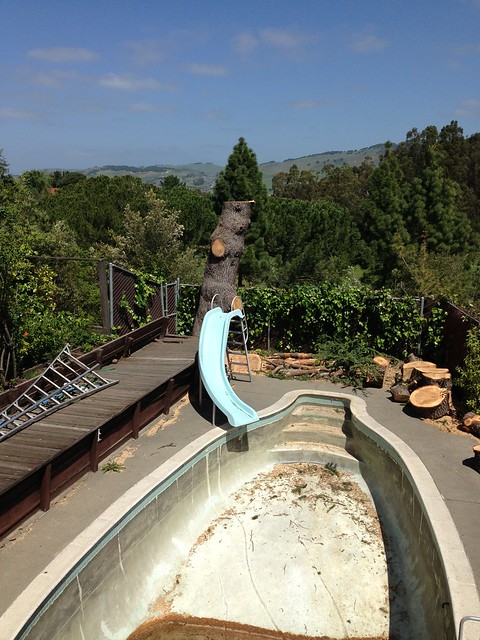
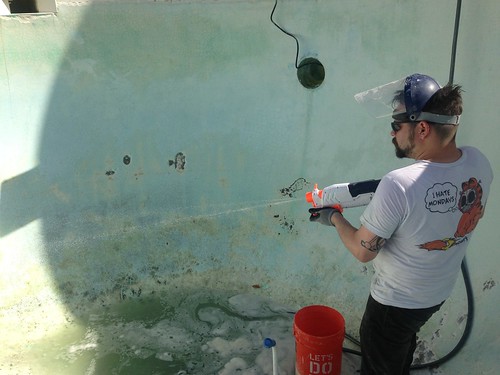
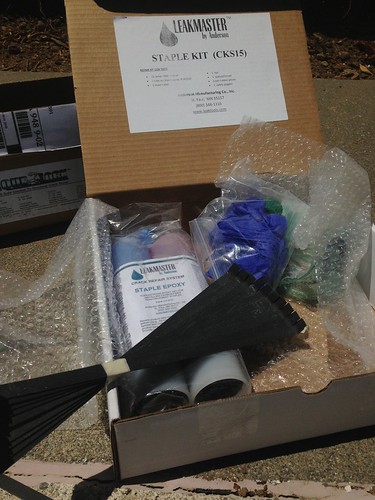
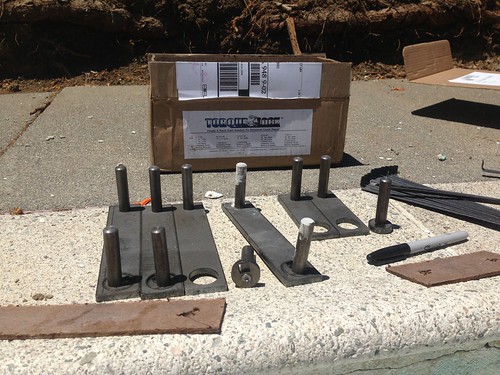
Hey Guys, this is my first post on the forum but I've been lurking awhile and looking up information for awhile now. Its a great community and I'm excited to share my project. I wish I'd started this thread sooner, because now I feel like I've got a long story to share. I'll break it up into a longer post eventually, Fortunately I've documented it all and taken lots of pictures :)

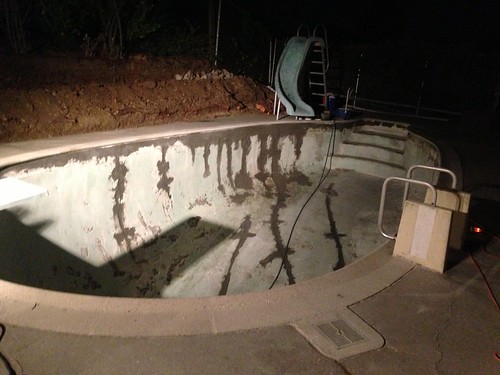
But first a question; I've read a lot online and here about the 'right' mix for plaster; using white quartz sand or marble and portland cement. I'm doing the replastering myself and want to do it in a darker tone. My goal is to have it a dark grey/black, I feel like it'll help warm the pool a lot. I was wondering if anyone knew reasons not to use plain portland cement, and an aggregate like silica or play sand, and possible a cement tinting agent, like the quickrete liquid dye.

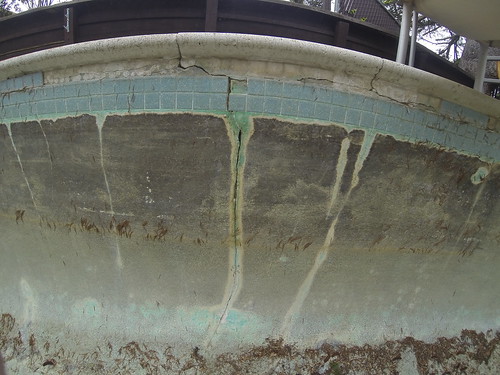
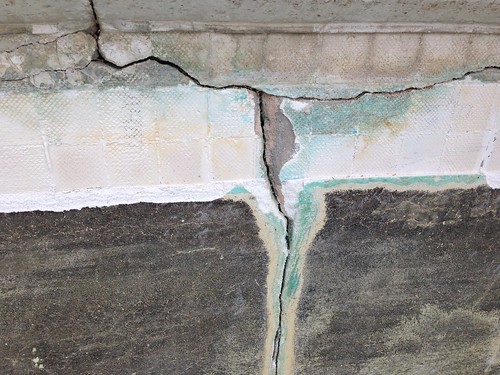
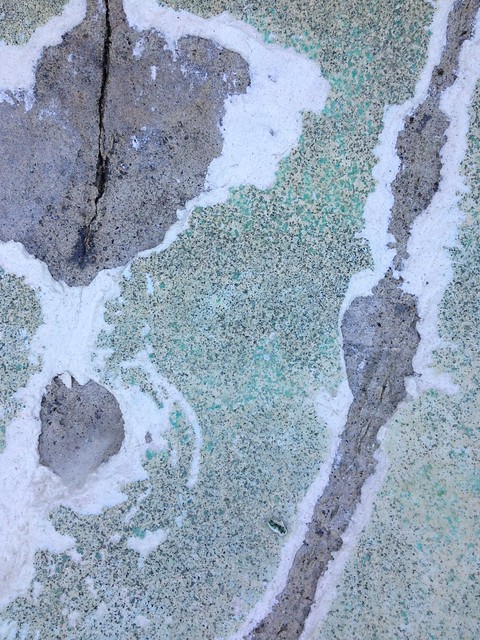
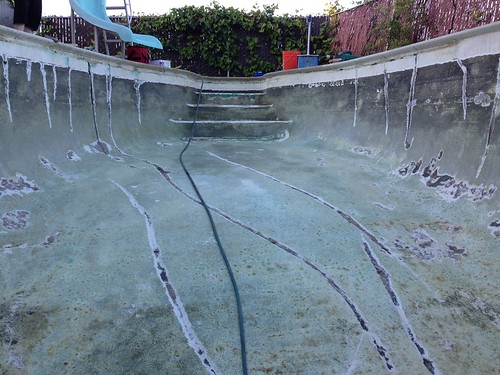
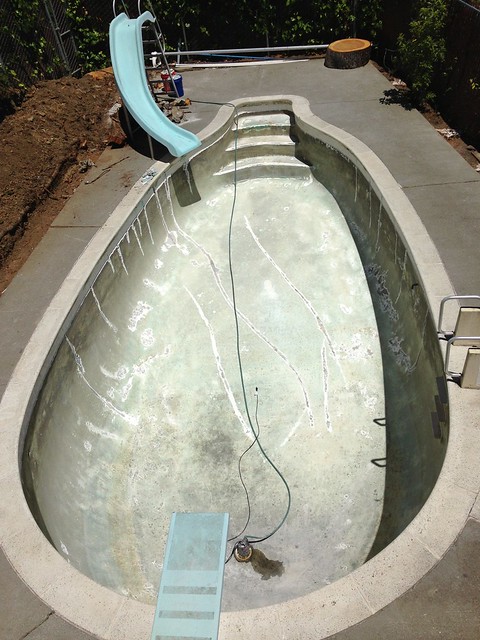
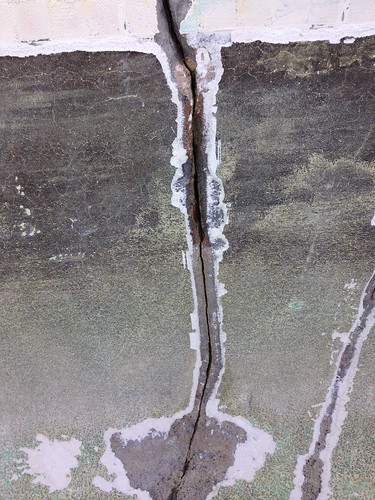
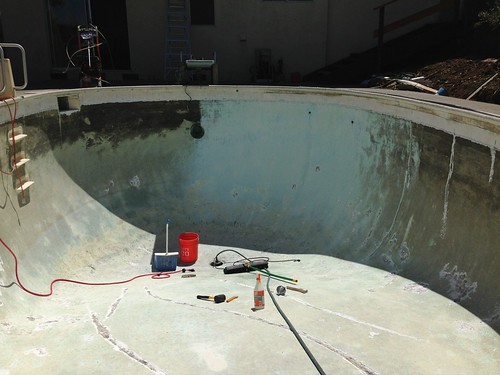
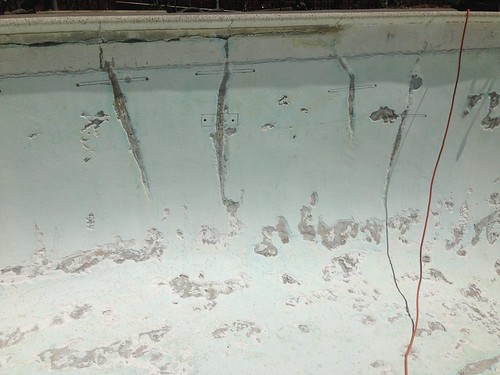
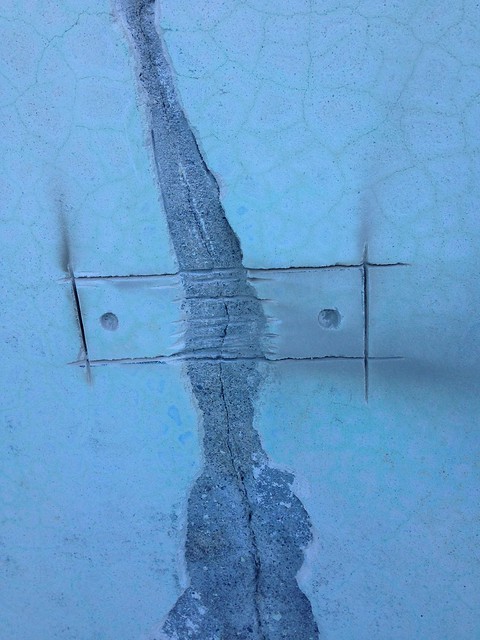
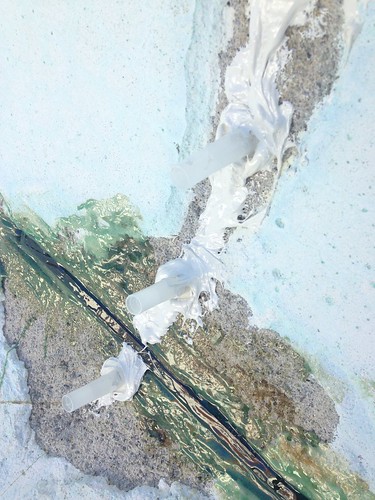
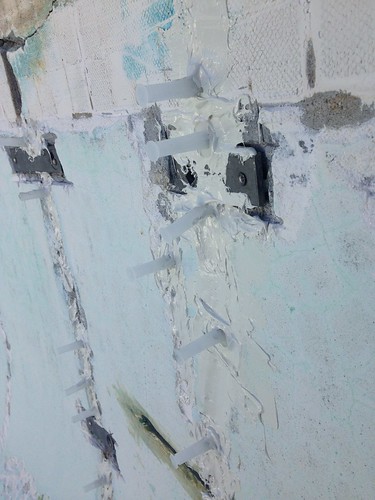
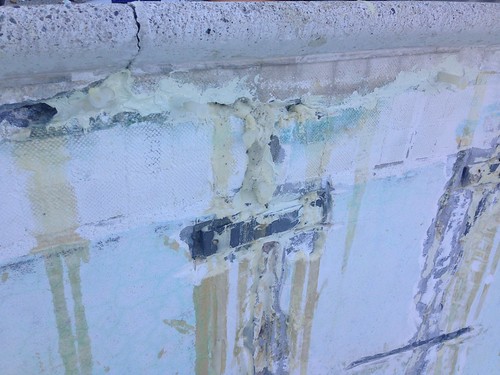
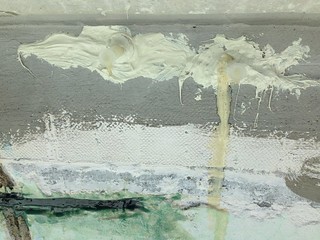
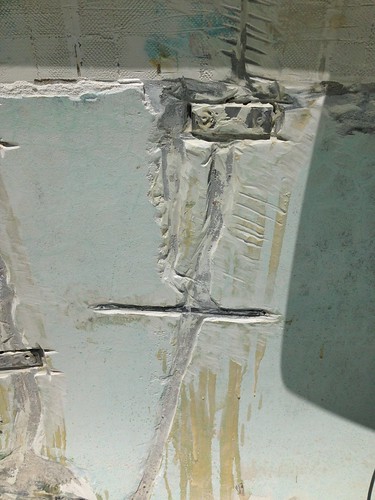
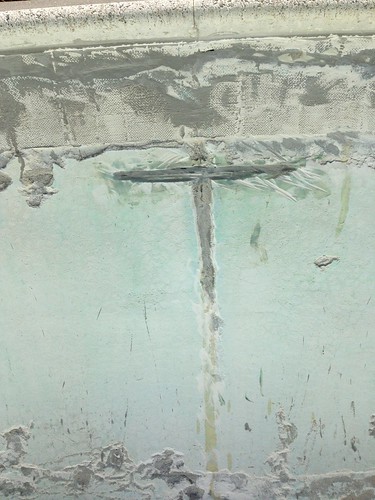
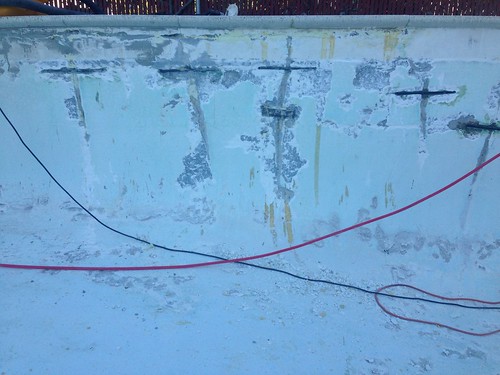
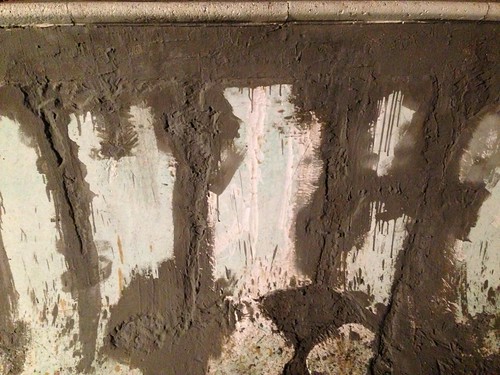
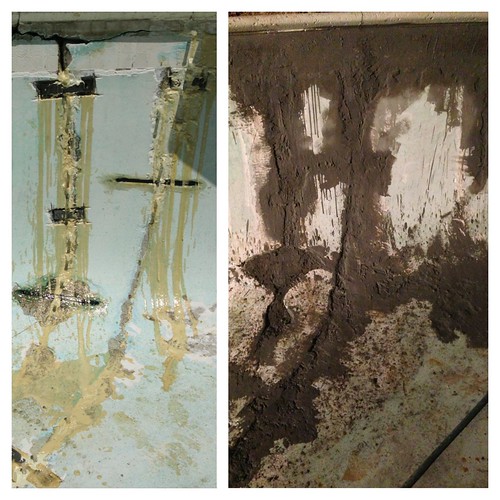
The other thing is that while i've removed the bad/delaminated plaster, I haven't removed *all* the old plaster, so I'll be completely patching the spots that need it, but also doing a 'skim' coat of about 1/8 to 1/4inch over the old and want to be sure the new coat adheres. I've read about acid washing and wetting the surrounding cement to prevent it drying unevenly, but other pointers and advice is appreciated.

I'm unsure about the dye/tint since I may have to mix it in multiple batches and getting the ratio to match may be tricky, and I'm unsure how the dye will last long-term etc. So I'm very on the fence about it, and the samples I've mixed of sand/portland look like they might be grey enough for my taste.

Anyone know a reason I shouldn't use sand and plain portland, any experience with tint/dye, anyone done 'skim' coat over old plaster, any other advice?


thanks,
-brad
 
When I bought my house back in March, I knew it was a foreclosed fixer-upper and there were a lot of things that had deteriorated after years of neglect, but I'm a sculptor at heart, have worked in construction before, and love getting my hands dirty.

I wanted to give the long version of the story and perhaps make this a project blog, but I didn't want my current questions to get buried and skipped, so I also also started another thread with some specific current questions here,http://www.troublefreepool.com/threads/82497-Re-Plastering-for-DIY-Pool-restoration-project


In the listings the pool looked like this;
Untitled by bradisdrab, on Flickr


either the previous owner started, or the leak drained it partway, because when I got to it it looked like this;
GOPR1748 by bradisdrab, on Flickr

Note the giant tree, which I suspect was the cause of the cracks;

GOPR1595 by bradisdrab, on Flickr


That and years of bad chemestry had left the plaster in pretty bad shape, a lot of bad staining, and softened corroded areas, especially around the cracks. The areas of blue/green aren't paint, it was just eaten from the old/bad chemestry I think. That discolored plaster was softer and crumbly.;

Untitled by bradisdrab, on Flickr

So the first thing was the tree, it had to come out;
Untitled by bradisdrab, on Flickr

Untitled by bradisdrab, on Flickr

Sad to see such a cool old tree go, but there was no point to restoring the pool if the tree was just going to continue breaking it up.

I drained it, knocked out the old tiles, and got a better look at the damage. About half the coping had seperated from the bond beam, and some of the cracks went pretty deep, through the gunnite,

Untitled by bradisdrab, on Flickr


Then a couple rounds of pressure washing, my fiance got in on the action as well;
Untitled by bradisdrab, on Flickr


I'd started by hand, but got an air-chisel to chip out the old/bad/delaminated plaster, and open the areas around the cracks;
Untitled by bradisdrab, on Flickr


It took a few solid days to chip out;
Untitled by bradisdrab, on Flickr


After the worst of the plaster was removed and a couple rounds of pressure washing it looked like this;
Untitled by bradisdrab, on Flickr

But I could see that simple patching wasn't going to cut it, a couple of the crack were pretty bad;
Untitled by bradisdrab, on Flickr

I'd come up with a plan to fix the cracks, but first I needed to finish preparing the rest.
(to be continued)
 
Here I've started the acid wash, using a spray bottle and scrub-broom, this was after the first gallon;
Untitled by bradisdrab, on Flickr

halfway done;
Untitled by bradisdrab, on Flickr

after etching through the dark/black stains I could see more to do, and I found the Anthony Pools tile;
Untitled by bradisdrab, on Flickr

It was in doing the second half that I figured out a better way of applying the acid; using a super soaker!
Untitled by bradisdrab, on Flickr

After acid washing the whole thing, and continuing to remove old/bad/delaminated plaster, basically anything that sounded hollow, was stained/softer than the rest;
Untitled by bradisdrab, on Flickr

(continued)
 
Re: Re-Plastering for DIY Pool restoration project

Welcome to TFP Brad! :wave:

I can not help you with your questions but I am requesting that you provide us with a boatload of pics! :mrgreen:

P.S. I combined your threads to make it easier to follow. :goodjob:
 
Now that the plaster was clean, the weak parts removed and cracks exposed I was ready to deal with them. I ordered a few different kits of materials; staples and epoxy.

I went with two kinds of staples, basically to reinforce the areas that I was worried may be weak and eventually crack again.

Carbon fiber from Leaktools
Untitled by bradisdrab, on Flickr

Steel from Torquelock - these ones interest me the most since they are engineered to apply pressure to the crack in addition to holding it.
Untitled by bradisdrab, on Flickr


I planned these out where I thought they could do the most good;
Untitled by bradisdrab, on Flickr


Masonry cutting disks in my angle grinder worked well for the countersink, but after drilling for a solid day and having my hands go numb I realized why a regular drill even with a good masonry bit is not the best way,
Untitled by bradisdrab, on Flickr

So I ran to Harbor freight and picked up a rotary hammer drill, which was AMAZING, so much better! Made the rest of the drilling a breeze in comparison. It was like the difference between when I was chiseling by hand vs when I got the air chisel.

Untitled by bradisdrab, on Flickr


A lot of staples... just cutting, drilling, and plotting them all out first;
Untitled by bradisdrab, on Flickr

Might have been overkill for some places, but figured its better that way, than not doing a spot and having that be where it re-cracks;
Untitled by bradisdrab, on Flickr


The staples were set with a special epoxy;
Untitled by bradisdrab, on Flickr

Starting with all the carbon fiber ones;
Untitled by bradisdrab, on Flickr

Then the steel ones, the epoxy is harder to see since its just on the inside, but it was applied to the posts and face surface, then pressed into place. After that I twisted the cam to apply more pressure by drawing the posts closer together;
Untitled by bradisdrab, on Flickr

(continued)
 
If you are interested in seeing the plaster mix that was used in our pool you can find it in our build thread. I give the number of bags of each per batch in there somewhere. They used Diamond Brite Onyx to tint it.

Do keep in mind that colored plaster will not be a uniform color. It will be mottled, from some to a lot depending on the pool. The darker the color the more obvious the variance.
 
That staple work looks really cool and professional. I hope that it does the trick. Certainly seems it is all you could do to give it a go.
 

Enjoying this content?

Support TFP with a donation.

Give Support
The next step was the epoxy injection.

Basically this is a two part foam which needed to be injected into the cracks, where it would expand into there to fill any deep spaces and fill/prevent any leaks.

The way it works is you cover the surface with a surface seal epoxy, and attach injection ports every so often;
Untitled by bradisdrab, on Flickr

These are the places to inject the foam, so its important to block/seal the rest of the crack and be sure the foam will fill/flow inside.
Also interesting to note how the stale's epoxy has changed color over the last week as it cured;
Untitled by bradisdrab, on Flickr

Lots of ports mounted, I did this for all the cracks in the pool surface as well as the split at the bondbeam;
Untitled by bradisdrab, on Flickr


Then I injected the foam itself,
Untitled by bradisdrab, on Flickr

I used three kits and did it in several passes,
Untitled by bradisdrab, on Flickr
 
Thanks guys, I'm hoping the next two posts will bring this build thread up to speed, I can get more pics up now, but I've got some work to do today too!

bmoreswim - Thanks I *love* your pool! The Deck and retaining wall, all of it, looks fantastic! I'll ask around for that Diamond Brite Onyx, checked two materials yards so far but hopefully it isn't limited in it's distribution.
 
The foam/epoxy made a big mess, but I think it got everywhere it needed to be (and then some)
This was in the middle of applications, as you can see the top near the bondbeam needed a bit of patching;
Untitled by bradisdrab, on Flickr

More injections!
Untitled by bradisdrab, on Flickr

I also started doing some testing with hydraulic cement; patching over the exterior of minor cosmetic scratches, in gaps near the bond beam, and on exposed gunnite.


Untitled by bradisdrab, on Flickr

After the foam had cured for a week or so, I started removign the ports as well as the surface seal;, first pulling the ports and chipping away large chunks;
Untitled by bradisdrab, on Flickr


This is what I wore while doing that, feeling like a sci-fi character
Untitled by bradisdrab, on Flickr

Then hitting it with the grinder to knock back more of it, and leave a sort of 'keystone' shape and roughed up surface so that the plaster/cement over top the epoxy wouldn't be able to pop/shear off.
Untitled by bradisdrab, on Flickr

It seems like everything near the pool has become covered in dust from the grinding, bit it was starting to look a lot better!
Untitled by bradisdrab, on Flickr

This took way longer than I expected/planned, I've now officially lost track of how many bucket loads of debris I've carried out of here
Untitled by bradisdrab, on Flickr

I knew better than to do too thick a coat of the hydraulic cement, its more there to provide a non-shrinking plug and seal, rather than structural strength, so I tried to keep it around 1/8 inch, and wet the surrounding area to prevent it drying unevenly
Untitled by bradisdrab, on Flickr


I couldn't stand thinking of looking at the epoxy for another week, so I worked well into the night, patching and coating it with hydraulic cement.
Untitled by bradisdrab, on Flickr

Ended up using three buckets, about 30lbs of hydraulic cement
Untitled by bradisdrab, on Flickr


Its come a long way!
Untitled by bradisdrab, on Flickr


Thanks for reading, there is plenty more on the way, but now I've got to run outside and get to work!
 

Enjoying this content?

Support TFP with a donation.

Give Support
Thread Status
Hello , This thread has been inactive for over 60 days. New postings here are unlikely to be seen or responded to by other members. For better visibility, consider Starting A New Thread.