Oasis Backyard Reno with AG in Central PA

May 31, 2013
8
Central PA
Before I begin, I would like to say that this forum is fantastic as a resource for not only pool chemistry and maintenance, but also landscaping and poolscaping. I wound up here originally because of someone's AG pool deck slideshow. As I was planning my project, I viewed a number of the posts here to get ideas of "how to hide" an above ground pool. My yard is big, but not big enough for an inground pool. However, I am not a fan of having a big ugly tub sitting in my yard. So the idea became... let's put an AG in and poolscape to hide it.

At first I considered burying it. But that seemed to be a bad idea for longevity (another bit I learned here) unless I bought a pool designed for it which was definitely out of my budget. I could always have built a retaining wall around it to "bury" it, but that seemed like a lot of work or a costly hire. In the end, I decided that I would get a pool going first and then build a deck and the camouflage later.

Last year I lucked out on craigslist and found a fantastic deal on a 3 year old Leslie 15' round AG pool. The seller was including the pool structure, a brand new liner, pump system, the solar cover, a premium ladder, and all his DE, hoses, vacuum, etc. For $600. Score! I went to get it immediately. It was in great condition. Thus began the backyard renovation to prepare for the pool.

It... took... all... season...

So without further ado. Put on your hard hats.

533461_10200921587231613_1840559270_n.jpg

Welcome to my humble little plot of land in Central PA.
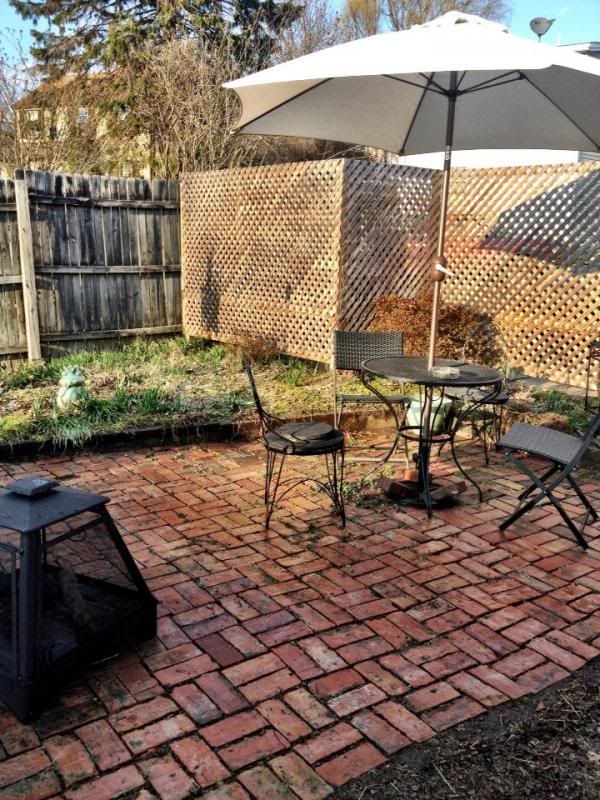
374435_10200931828127629_748169476_n.jpg

Here's a shot of my backyard as it was at the beginning of last season when I was working on repairing my patio items. I had had a lattice privacy fence built behind my herb gardens two years prior. About 8 years ago the reclaimed brick patio was laid and had been there ever since.

For the pool to be installed there were a number of things to do first.

1) Move some bricks. I decided to create a brick walkway from my kitchen door to the side alleyway (which would become a gate).
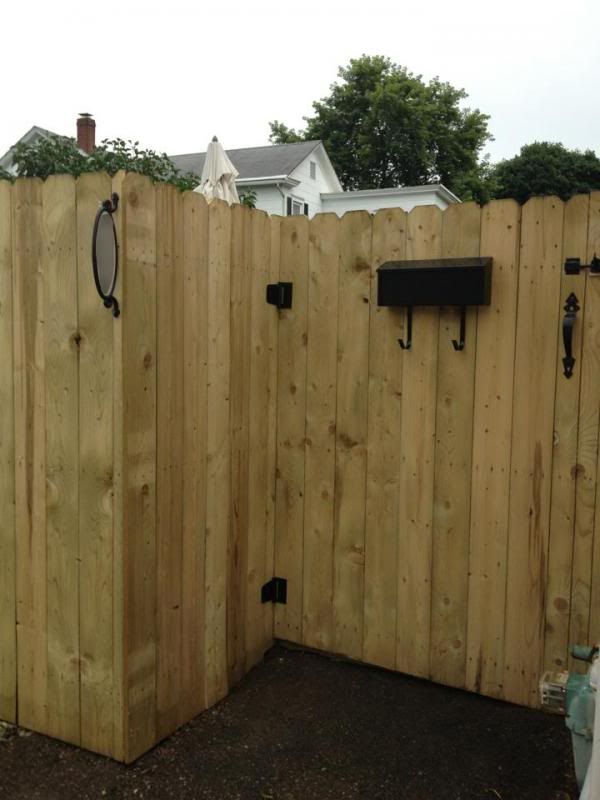
2) Put up a fence with self-latching gate(s). I live in town and we are required to have self-latching spring hinge gates.
3) Remove a 10x10 metal shed and take 2 feet of concrete off the pad.
4) Level the pool area.
5) Install the electric.

Obviously, these things became big projects all on their own. I'm sure you all know how that goes. But here are some photos.

Brick Relocation/Reclaimed Brick Walkway
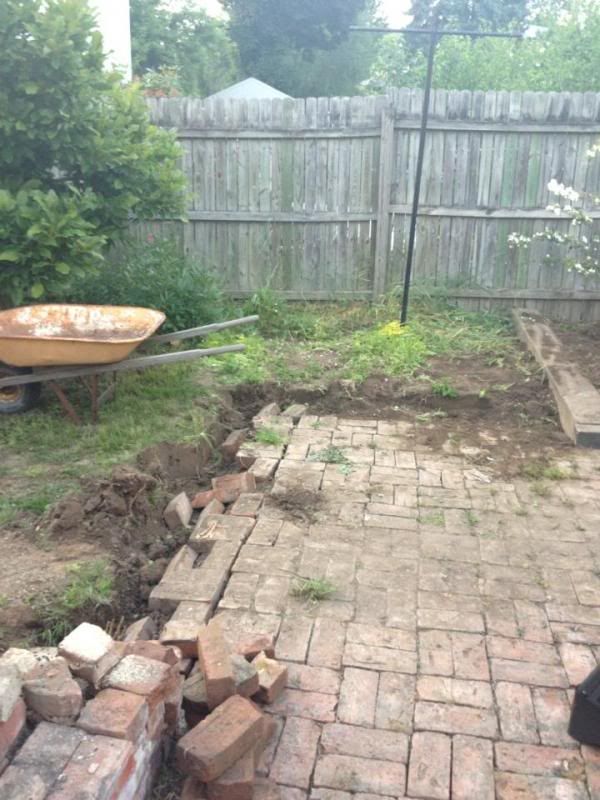
995832_10201293434207555_1333959125_n.jpg

This is the beginning of the brick removal. This is also probably the best photograph I have of the backyard including where I planned to put the pool. See the magnolia tree there? Yep, that's the place where I decided the pool should go. This was because it was the furthest spot from the house and pretty much the only spot that the pool was legally allowed considering setbacks. You can probably imagine already that this posed a number of problems when we got to #4, level the pool area. If you haven't caught on... I'll also say that 10-11 years ago, we also cut down 3 80ft pine trees on the property lot and that 2 of those were located in this little spot for my pool. Dun dun dun...
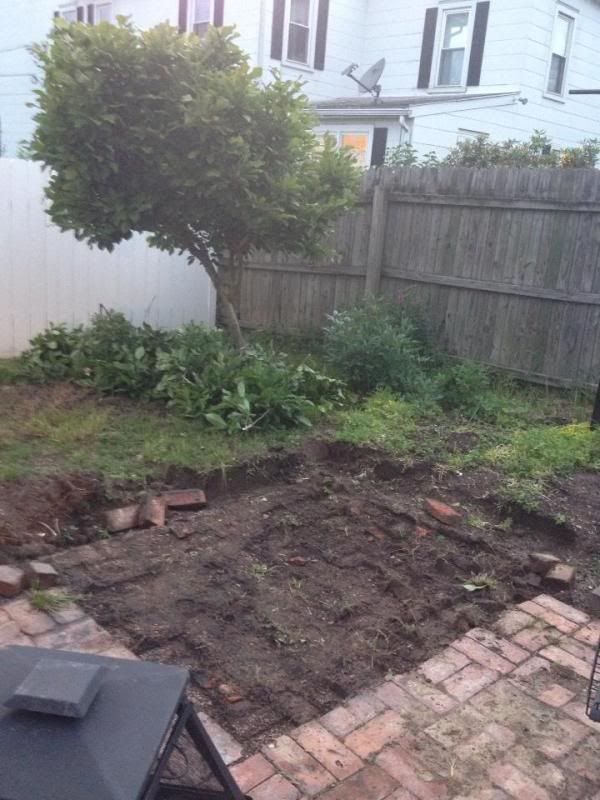
943464_10201306627337375_1058406405_n.jpg

A better shot of the corner the pool will go in with some bricks removed.
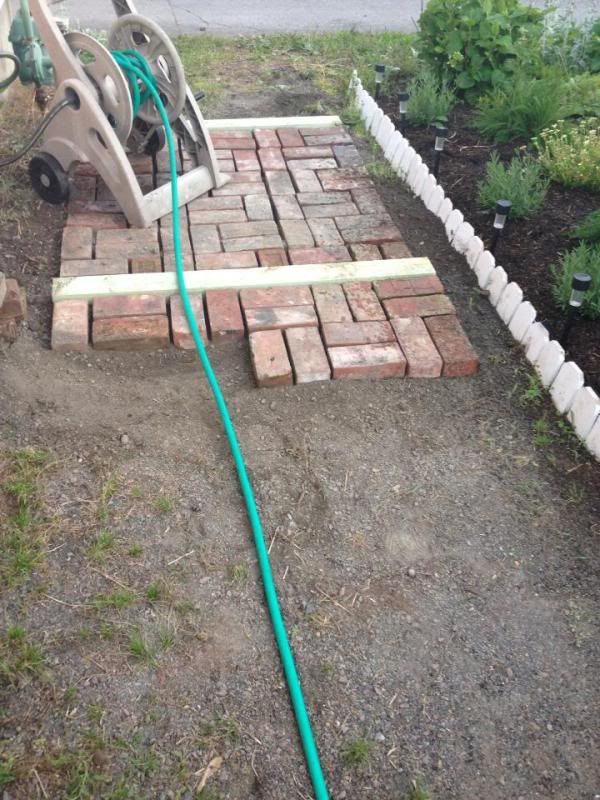
998878_10201293434847571_1380314500_n.jpg

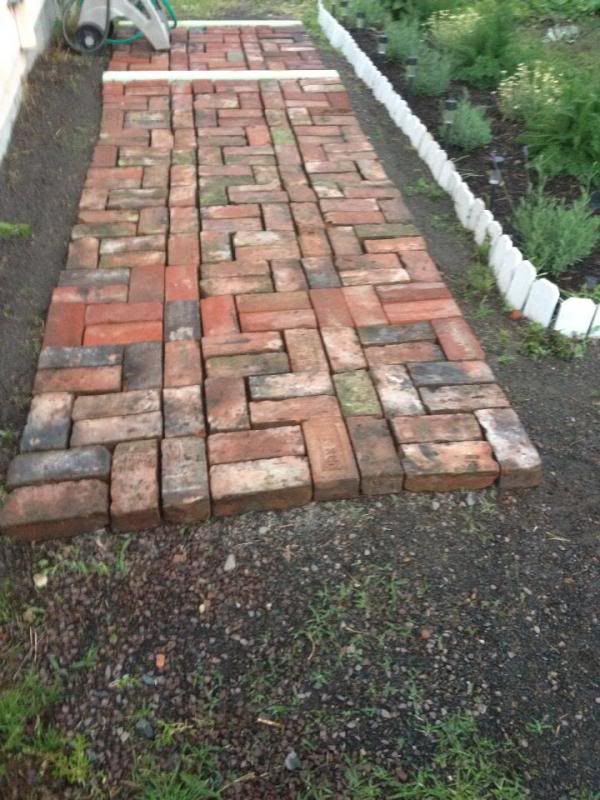
Beginning to lay the bricks.

My mother found a great video on YouTube of a shortcut for brick walkways.
945520_10201306627097369_1723103074_n.jpg

You level the ground as you go and lay out all the bricks in the pattern you want.
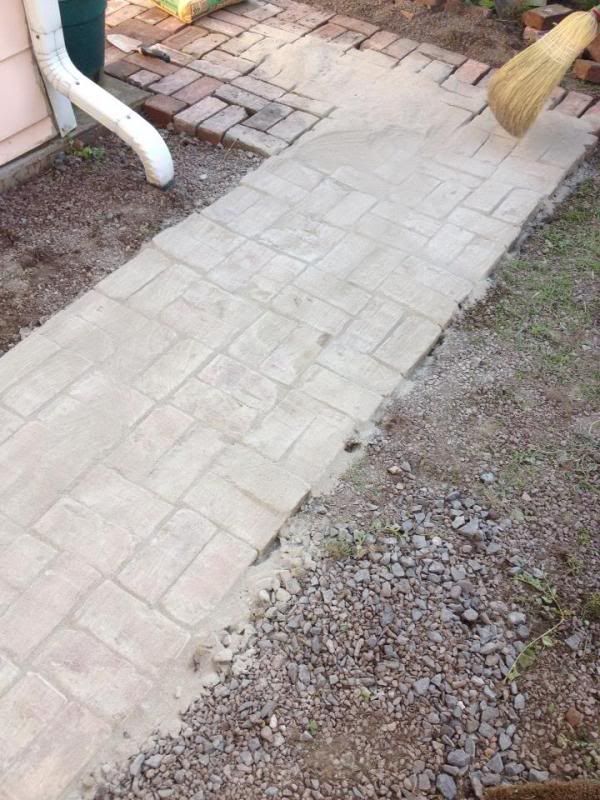
1016604_10201331905489313_486785607_n.jpg

Then you brush quickcrete into all the cracks.
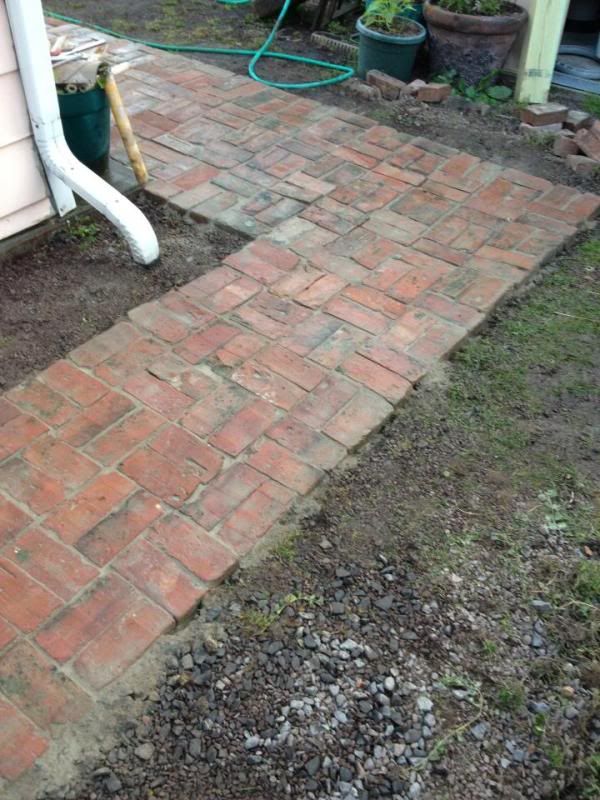
945655_10201331905929324_1976796874_n.jpg

Then you hose down the quickcrete and repeat until you have filled the cracks.

Let me give you a bit of advice about this method. If you live anywhere where the ground freezes up pretty bad in the winter, this is a very bad idea. This looked great when it was finished last year. It was beautiful. Then we had a heck of a winter with polar freezes. And those bricks looked TERRIBLE in the spring. They had heaved every which way and the quickcrete was cracked and chipped all over the place like the house had been in disrepair for 20 years. I don't recommend this method for anyone with ground freezing in the winter. It's definitely not a long term method for northerners. Please don't do it. Ever. It will make you sad no matter how easy it seemed. Trust me.
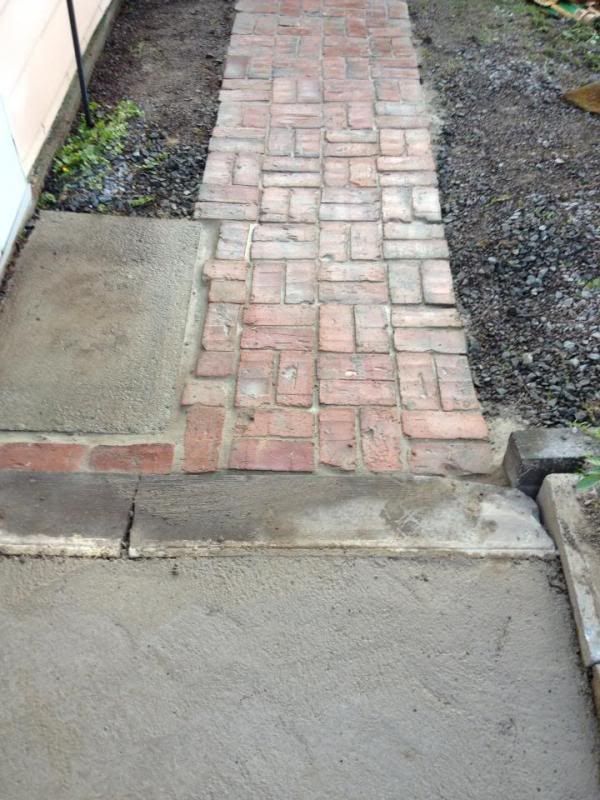
7275_10201331905689318_861880049_n.jpg

But so this is how it looked up by my door. Notice that ugly concrete step. That's still being worked out because that concrete didn't hold up either. And that was actual concrete. This winter hated on my projects.

But last year before we were schooled, we considered the walkway complete after the quickcrete set.

Put Up a Fence with Self-Latching Gates
The next part of my project was to fence in my yard. I am lucky in that my neighbors on two sides of my lot have 6' fences already. I only needed to fence in 2 sides of my backyard. I already had a privacy fence so we shortcut that last year also and only installed a section of fence and gate on that side before winter. But the side that faced the alley was open to it so that was the next step.
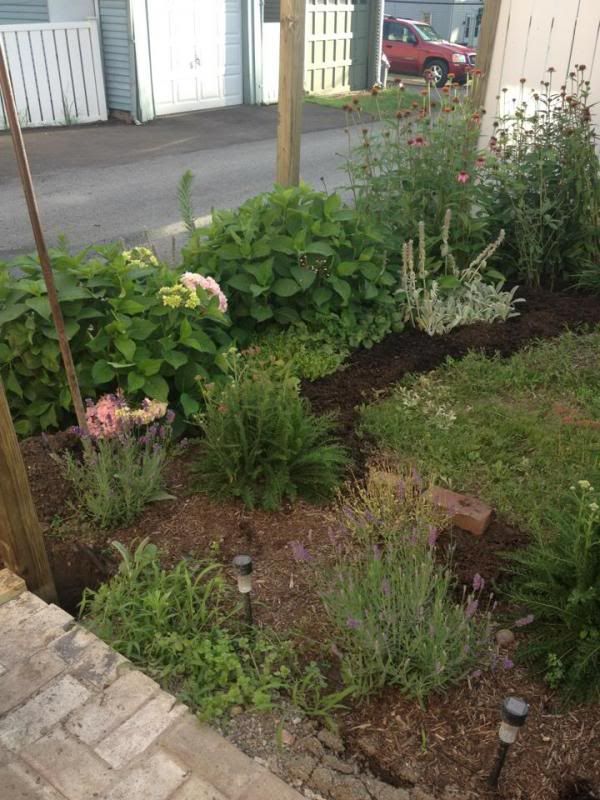
1013197_10201461709214325_1623532781_n.jpg

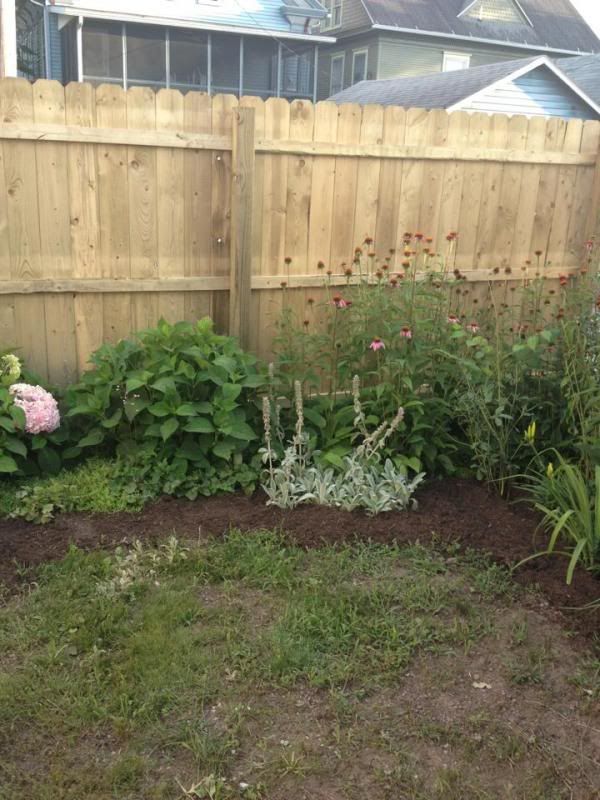
Here are the posts going up behind my garden.
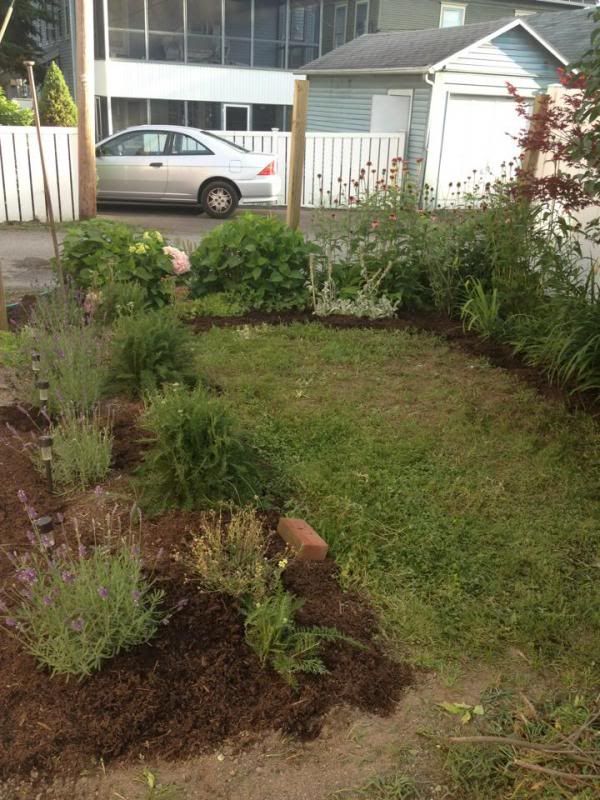
1013137_10201461708974319_188861957_n.jpg


969500_10201461709854341_1708032787_n.jpg


And here are the fence panels on...
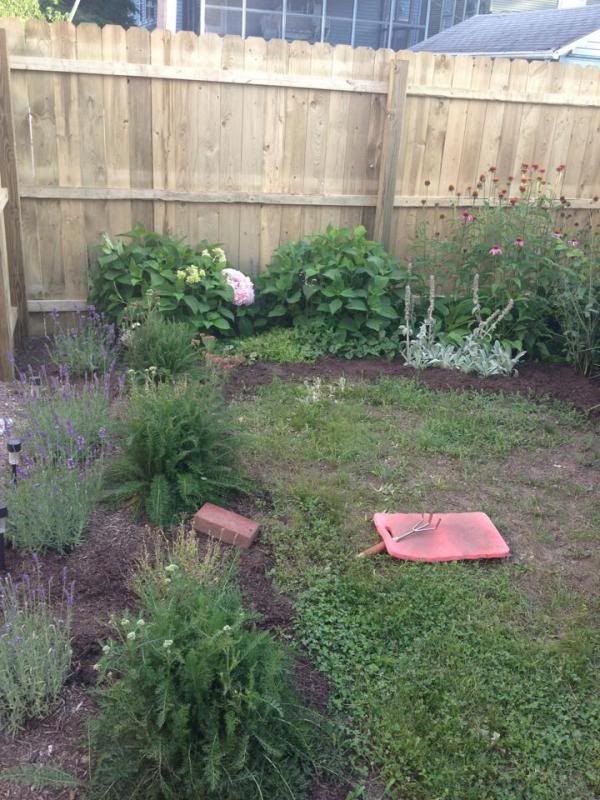
1010070_10201469355965489_1729759229_n.jpg


1005953_10201469356405500_846136664_n.jpg


1001615_10201469356685507_851038046_n.jpg

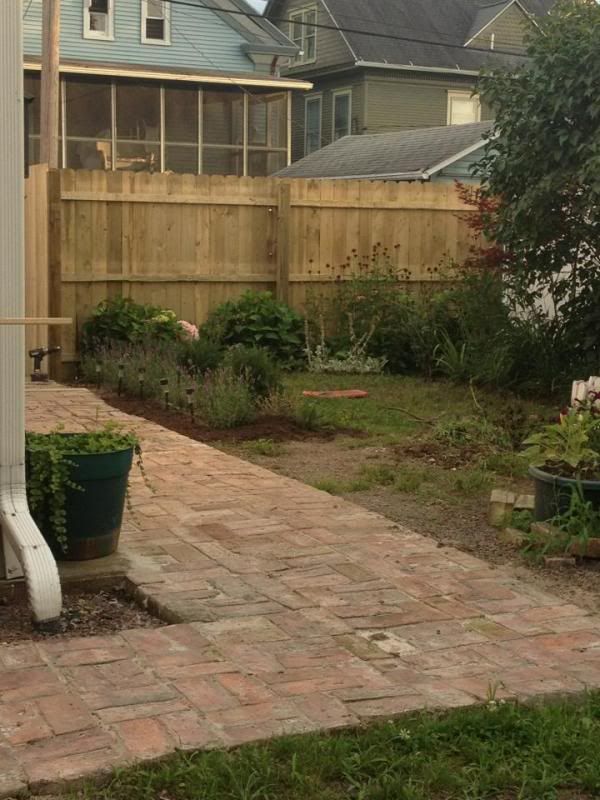
A wider view.

1003418_10201481381746126_302935276_n.jpg

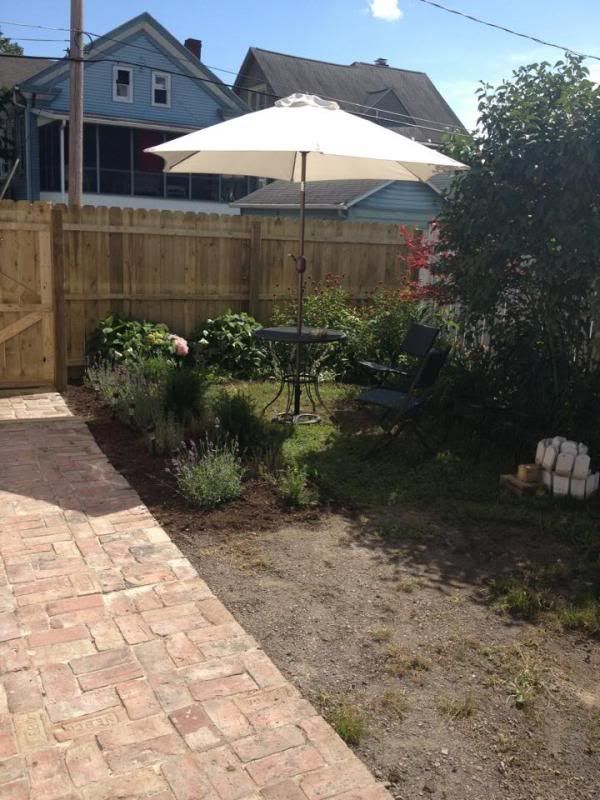
With the gate and my umbrella table.

1005600_10201482538735050_638300853_n.jpg

And from outside, here is my gate area.

1005600_10201482538735050_638300853_n.jpg.html

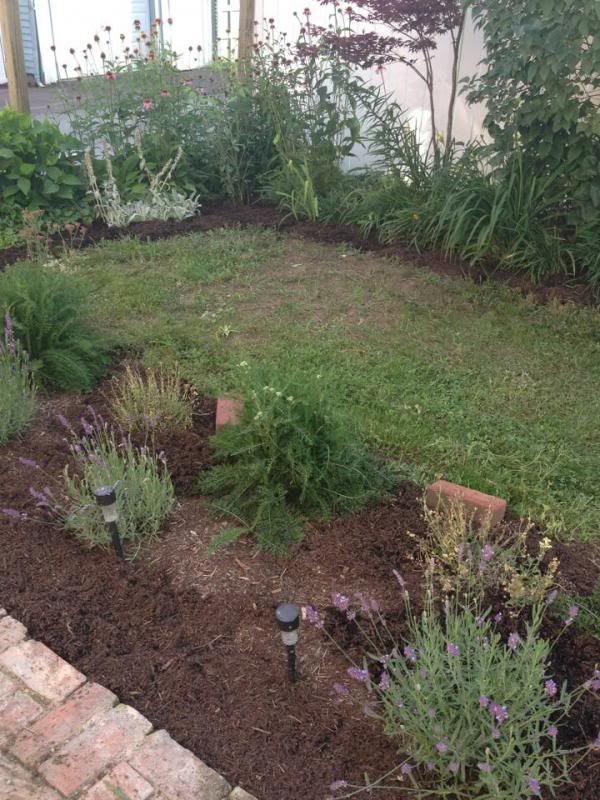
And this was the other side where we added a panel and a gate to the privacy fence.

To be continued...
 
Ohhhh welcome! Can't wait to see this unfold! Love your little garden by the new fence!

Our winter was horrid! We do things and we learn from them and then we do them over! :mrgreen:
 
Ohhhh welcome! Can't wait to see this unfold! Love your little garden by the new fence!

Our winter was horrid! We do things and we learn from them and then we do them over! :mrgreen:

Hi Casey and thank you. The garden got a little destroyed during the electrical dig but it seems to be back to its pretty normal self now, finally. You are in PA too, right? I believe it was your build I followed last year and was glad to see a happy ending for you guys. And if so, I was inspired by your leveling too! Yes it was a very rough winter. Too harsh and way too long... I'm glad the sun is back!

Here is my continuation...

Remove a 10x10 metal shed and take 2 feet of concrete off the pad.
So I had this big metal shed painted to match my house (the paint is called peach puff... it's nearly pink... I hate it and that's on my to-do list too) sitting on a concrete pad in the backyard that needed to be dismantled and removed, and the concrete sliced down to make room for the pool space. I don't have good pictures of this process because it was extremely hot when we attempted this part of the renovation and everyone was too miserable for any thoughts of photography. But we did tear the shed down without major incident.

The concrete slicing and issues with leveling prompted us to seek professional help. (Not the Dr. Freud kind... although, by the end of the season I'm surprised we didn't need to seek that kind too.)

Level
We began to level without a systematic approach in mind because, well, live and learn. There were a few loud arguments on this matter in my backyard. I was convinced we needed to have a system for getting the level right. I was also pretty sure, since we had chopped down a tree and came into contact with two old pine tree stumps two feet in diameter, that we needed a little help with pulling out some of the earth.

We began with handtools and a rented rototiller:
1.jpg


2.jpg


After reading quite a bit here, I realized that we had to either fill with crush and compact the area where the pool would go (due to the removed stumps) or dig down to the earth below them and level from there. Since my budget didn't include stone, delivery, and professional labor, and since my yard was way too small to get any of the equipment necessary in to do that work well, I decided we were pretty much going to dig down and put up a retaining wall where necessary. It just sounded like the most inexpensive and least labor intensive option.

Ha ha ha.

So after a few days (I think this was two weeks perhaps) of tilling and wheeling out dirt after work, and considering our concrete issue, we called in a friend of the family to help us out:

8.jpg

He cut the concrete with a saw. I was impressed by the neatness of his cut and the straight line of it.

3.jpg


4.jpg


6.jpg


5.jpg


7.jpg


In the end, we had our concrete cut and 8 tons of earth removed from the yard. As you can see in the last photo, there are roots and other things in the dirt left behind. It also wasn't perfectly level. Thus began our quest to level properly.

This was the longest and most grueling part of the build to date. We had some crappy weather on weekends which limited our abilities to get work done in good time. Also, it was largely two women doing this work: me and my mom. We had help from my step dad occasionally, and from my cousin occasionally, but mom and I did the bulk of the work. And bless her, I think she did more of it than I did!

After seeing some build posts here and researching elsewhere, we realized we had to level that outer ring first. So we began digging using a 2x4 and hand tools, and a very handy garden aerator from Black & Decker which was some of the best $60 bucks spent ever.

2-1.jpg


4-1.jpg


We got partially around and realized our level was just continually off. It was frustrating.

Then I read Casey's build and saw how she leveled as she went around the ring. And I took a stand.

5-1.jpg


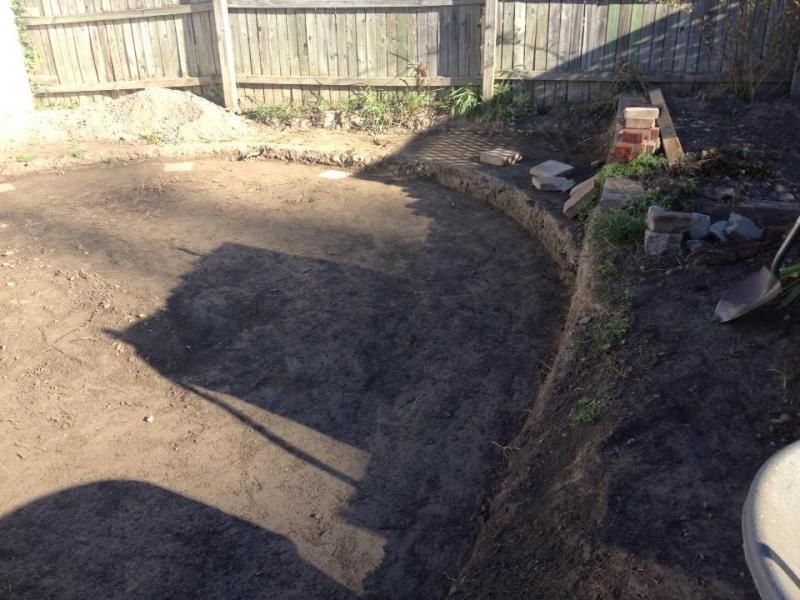
I can't find photos of this process (because I was continually grouchy and didn't touch my camera during most of it) but basically... we started at the lowest spot and used a flat shovel to dig the dirt around the outer ring in small sections at a time. These were probably 2-3 foot sections. Once we dug out a bit of dirt, we set the level on the ground at the previous spot, then where we dug, then where we would dig next and made sure it stayed level. If it didn't stay level we dug a little more dirt out. Inch by inch. It took us a few weeks to get the outer ring level. Once we were certain we had level (yay), we dug out the inside, also making sure to level.

1-1.jpg


During this digging, I discovered all manner of ridiculous **** buried in my yard. Broken bottles, china, rusty nails, ancient plastic toys from the 70s and 80s, pieces of animal bones, and roots, roots, roots, roots from the magnolia tree.

The best thing about taking so long digging to level was that between that, it rained quite a bit and hardened the ground for us. It was a pain to dig it as that happened but it was also a blessing because it basically compacted our ground for us.

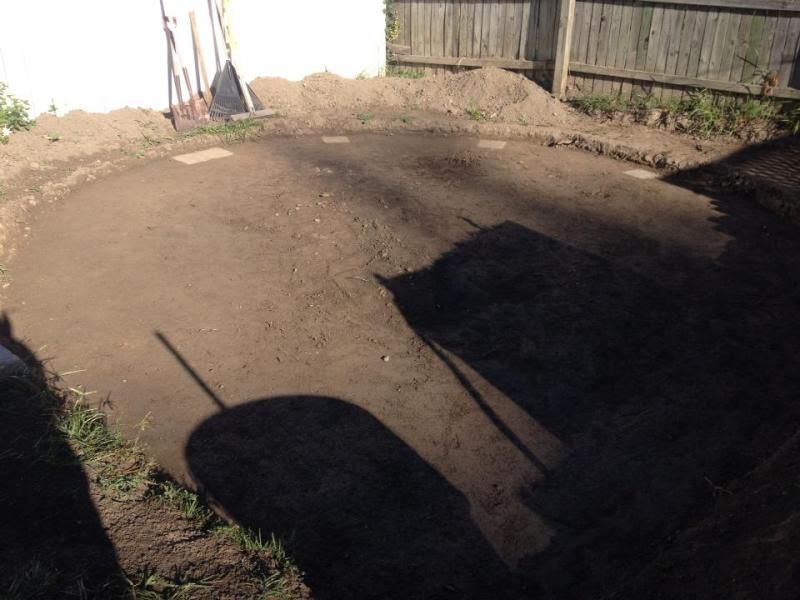
Eventually, in approximately the end of SEPTEMBER (we had started in June), we had this perfectly level (it's within a quarter of an inch level, thank you very much), smooth, hard spot:
6-1.jpg


I can not tell you how glad we were to have this done. I think we danced around and may have had a couple beers.

Also during this time period we were working on

Installing the electric.
I happen to be very lucky to have a cousin who basically knows how to do anything you ask him to do for you. If he doesn't, he'll learn and do it anyway. I don't know how he contains the knowledge that he has of so many things, but I'm glad he does. Because if he didn't, I would have had to hire an electrician and I didn't want to do that.

So to be to code, we had to have our electric 12" down in a trench, grounded, and the plug for the pump 5' away from the pool at a minimum. We also had to have this line on its own breaker in my box.

Enter my cousin who knows all manner of things including electric.

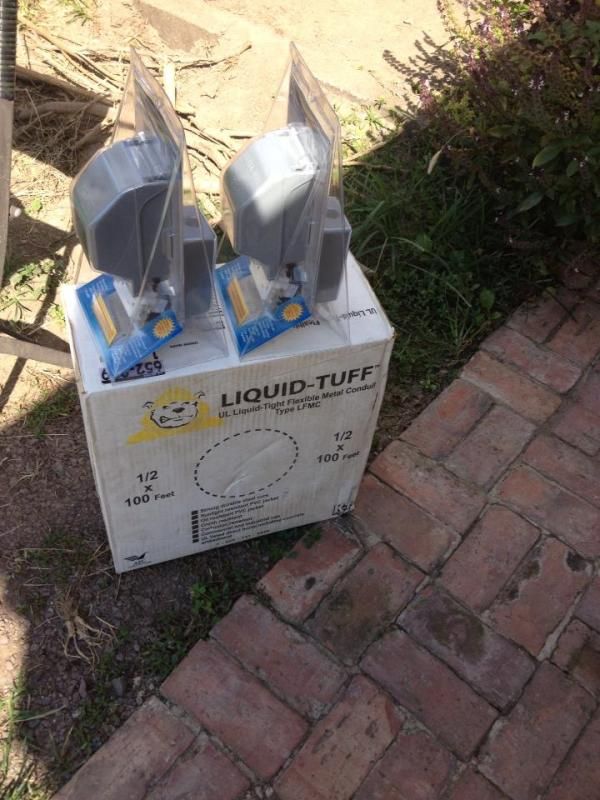
We went one afternoon to Home Depot to buy the things we needed. The cost was higher than I expected but I was on a mission to get this pool project done. So I sucked it up and paid a lot of money for copper wires, outlets, conduit, and other things. Here are some of those:
1375157_10202206186705797_2079368396_n.jpg


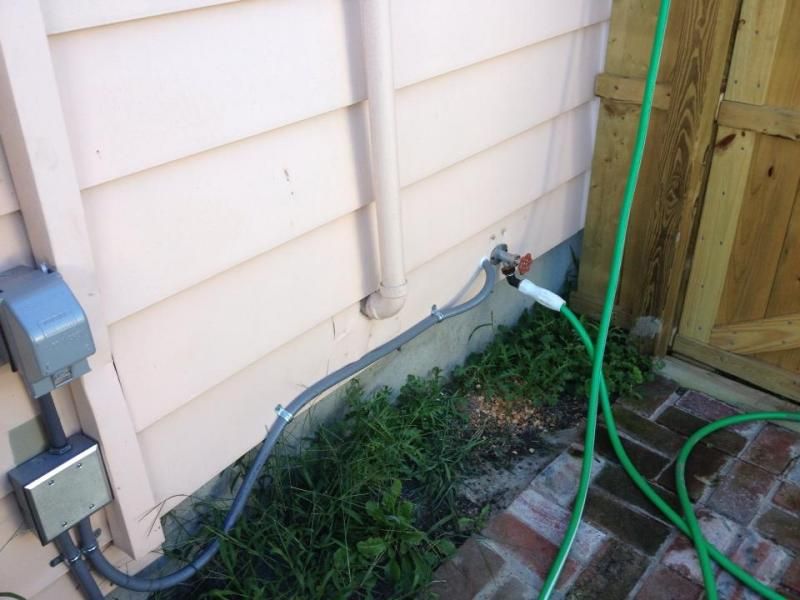
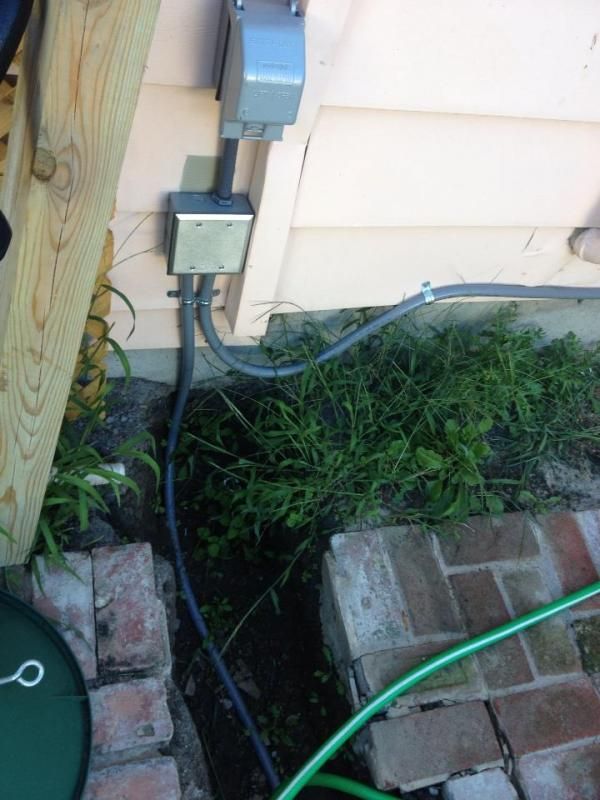
And here is the cousin's handy work:
1385615_10202206189465866_1671997181_n.jpg


1003802_10202206189225860_1292250227_n.jpg


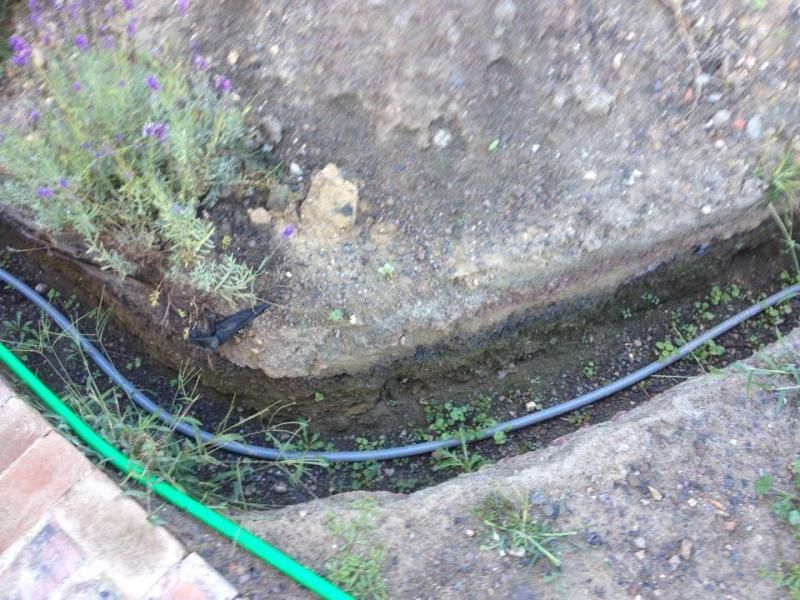
And here is the conduit with electric in the 12" trench dug by my stepfather (which ruined my one garden at the time):
1395835_10202206189025855_1912138476_n.jpg


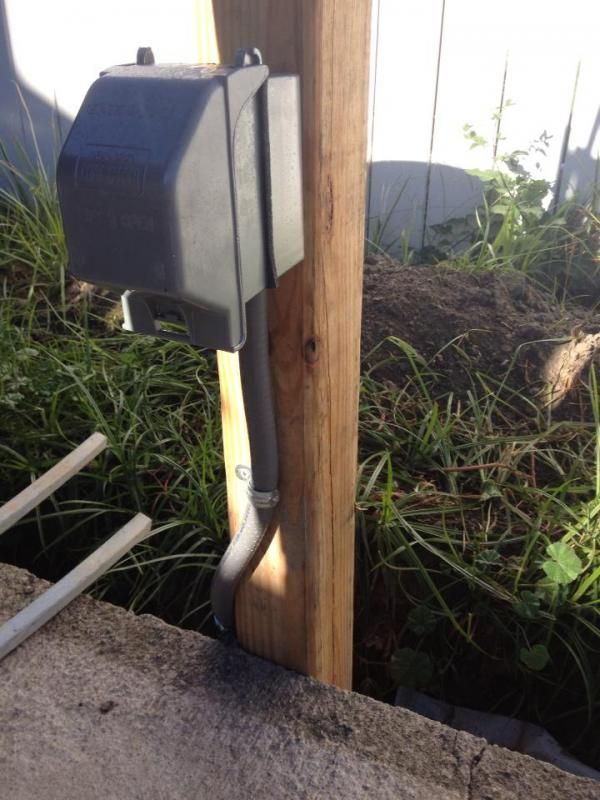
And here is the pool pump outlet post:
1379415_10202206189865876_37352804_n.jpg


By this time it was getting pretty late in the season and we didn't know if we should put the pool up or wait until this year to do it. In the end, we did decide to put the pool up. We did our best, but we did make a few rookie mistakes.

To be continued...
 
I am so freaking proud of you! You did it right and you followed me to a T! It is hard work but you got it done! I would have finished mine if I didn't have what happened happen. I was just as determined as you are proving to be! I can not wait to see it completed! Keep the pics coming!!!
 
Wow... Great job so far... :)

Thank you! It was quite a process. I'm glad we did some things right haha

I am so freaking proud of you! You did it right and you followed me to a T! It is hard work but you got it done! I would have finished mine if I didn't have what happened happen. I was just as determined as you are proving to be! I can not wait to see it completed! Keep the pics coming!!!

I thought it was you! Yes, I definitely followed your method for leveling. I was impressed by yours. That hillside was something else. It seemed like the only method to get it "spot on" in my mind. I mean, it was impossible to eyeball it and get it right. When we first started it seemed that we were leveling but when we would check it, it was so off. So I thought... there has to be a better way. I started reading your build, and I said "THIS is the way to get it right by hand."

I insisted we follow your method, and I have to thank you for sharing that because I really don't know where we would be without it. Probably another two feet down in my yard! After we got down to the stumps, we kept taking earth out to get it level and ended up about 1.5 feet down further than we intended. Not a really big deal but then we had to put a retaining wall on two sides we probably would not have had to. Also not a big deal but it did add some work to our project.

Our next step was

Installing the Pavers

After we got everything level and decided to install the pool, it was probably the end of September and getting chilly but we plugged on anyway. The next step was to lay the pavers that go under the uprights. We constructed the frame for the walls on the ground and located where each upright would be. I can't find photos of this step but it's simple. You just put your metal track together and find each location for a paver. Then you have to dig the spots you found for the pavers. The "trick" is to dig out just enough earth to get the pavers level with the level ground. My best advice to anyone starting out is only dig out a tiny bit of earth at a time. Plop the paver in your spot. Check your level. If it's not level or its surface is higher than the ground, dig a little more earth out. Try again. Do it until the top of the paver is level and even with the ground.

We had some 9x9 patio block left over from another property that we used for this step.

1374157_10202206188145833_1747019614_n.jpg


1393840_10202206187825825_956490141_n.jpg


We then re-constructed our frame to make sure it was solidly together. The important part of this step is to make sure you have the proper spacing between the metal frame pieces as you connect them through the uprights. I believe it's supposed to be that the metal pieces are 1/4" apart (on most pools) to get the circle to be a circle and match the dimensions of your pool wall.

Once we had the track together, it was time to put the wall up.

Because my mom was on a "no men allowed" kick, we called my aunts up to help and ended up with six women to help raise the wall. In the end it was two aunts, a cousin, myself, my mom, and my Mimi (yes, my 80 year old grandmother who gets ticked off if you remind her she's 80) who put that wall up. Man, was it heavy.

This is where we made a few mistakes; nothing that would cause a huge problem, just little things that would have made life easier to do them as intended rather than off kilter. There are a few things that also went into this process that we had done before getting to this point as well.

New Stainless Steel Hardware
Because my pool was used and some of the hardware definitely looked worn, I decided to get new stainless steel hardware to construct the pool (except for the pieces that had to be copper for grounding). Before we got to construction (probably some time during our leveling process if I recall correctly), we measured each screw and nut and went to our local hardware store and replaced them all with new stainless pieces. Since some of the pieces were so worn down, I felt that replacing them would do a number of things all at once. Using new hardware would mean that each piece would be appropriately tightened, thus not creating any weak spots in the construction. Also, the new pieces would be less likely to corrode or degrade. I'm not sure the original pieces were stainless steel since they looked pretty bad. I felt that replacing them would add to the longevity of my build in the long run. There are many screws and nuts so it wasn't inexpensive but it was worth the cost, I think.

Liner Protection
I had also decided that in addition to sand, we needed to add a layer of protection. This was because, as I said, we were finding all manner of junk in the dirt as we dug to level. And a lot of it was busted china or glass. We got visible pieces out, but I wanted extra protection under the pool. Adding that much weight could cause pieces to "reveal themselves" eventually, and I wanted something down to help prevent any of those "revelations" from piercing my liner. I went back and forth between adding foam bottom or Gorilla Pad, but in the end I went with the Gorilla Pad. I ordered it from a pool supplier at some point during our dig.

Sand
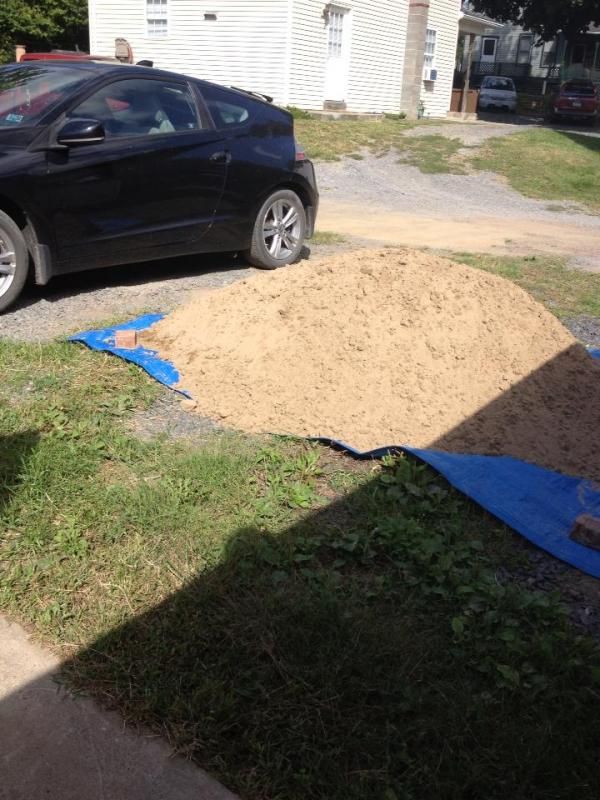
We ordered our sand a little early so it sat covered in my parking space for a little while.

1385380_10202206186465791_2130041678_n.jpg


Placing the Pump/Filter
We had to figure out the best place for the pump/filter which was extremely limited due to the short cord and the necessary placement to code of the electric for it. Our code called for the pole to be at least five feet from the pool. The cord to my Hayward system is about six feet long. So the unit had to be pretty close to the pole and the pool. Originally the plan was to place it on the leftover concrete pad. But because the pool was sitting down, somewhat sunk in my yard, this meant that the system would sit at or even above water level which I've read makes the system less efficient and can cause some pressure problems. It was decided that the system would sit at the end of the concrete but down in the space by the pool.

Here's one of our mistakes. We should have, while unrolling and placing the wall, made sure that the skimmer and return were close to where our system would sit. Generally, this is what you do. It just makes the distance shorter between the water hoses/pipes and the filtration system.

Well, we didn't do that. We got our wall rolled out and popped in our track, and we six women were so exhausted, that we just left the skimmer and return where they ended up.

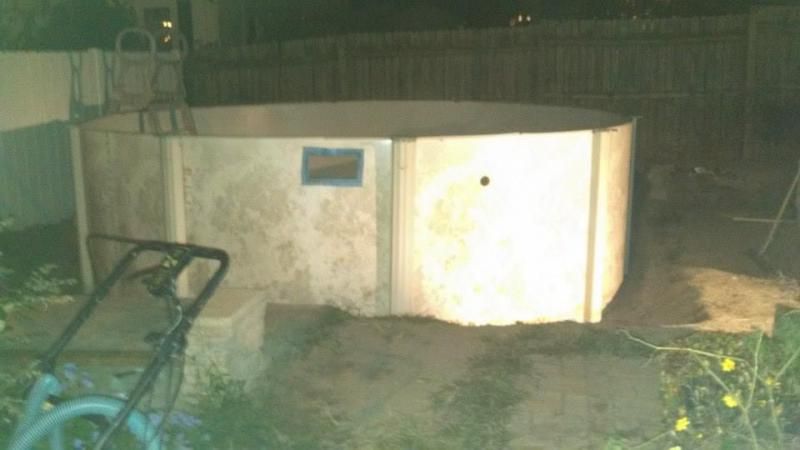
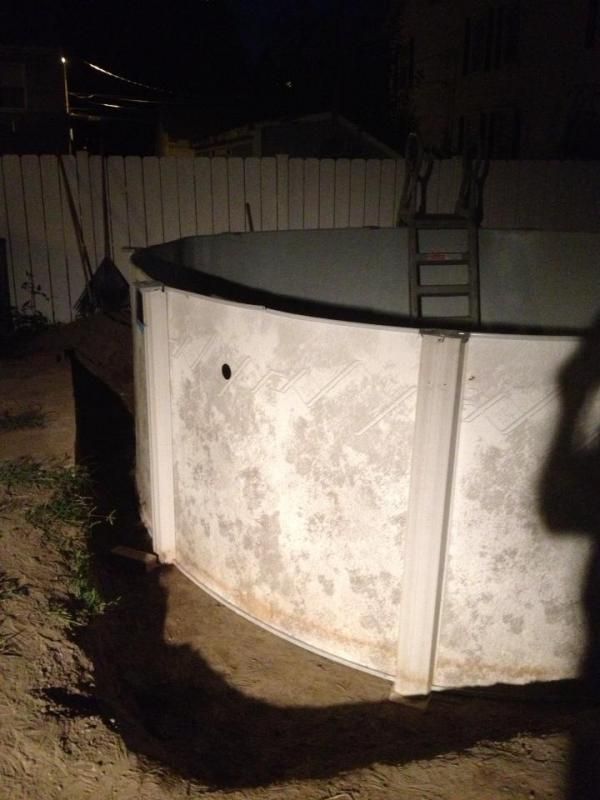
Here is the wall up at the end of the day:
1538862_763981216959229_6807333239899855990_n.jpg


1374770_10202206190425890_1350332606_n.jpg


Once we had the wall up, we added our sand. I had decided to use foam cove rather than build a sand cove. So we just leveled our sand and tamped it.

Once the sand was level and smooth, we added the Gorilla Pad and the foam cove. I believe we added the Gorilla Pad prior to adding the cove as suggested on the internet. Getting the Gorilla Pad positioned correctly was kind of difficult but we managed. The cove was also a little weird to work with at first, but I suppose anything is going to have a learning curve when you're a beginner.

To add the Gorilla Pad, cove, liner, and the holes for the skimmer and the return, I insisted we use the "Pool Guy Trick" we saw in a video from a pool builder in the South. To keep from leaving footprints in the sand beneath, you strap cardboard on your shoes like a snow shoe anytime you get inside the pool area to work. This Pool Guy Trick works!!!!

We were sort of in a rush at this point. It was going on October and we wanted to get things done and winterize as soon as we could.

Here's another issue we had. Since it wasn't so warm when we added the liner, we didn't get as much stretch as we should have. My liner has some wrinkles at the top in some spots because of this. It may need replaced sooner than it would have if we had installed it in the hot sun correctly.

But I'll be honest... I'm not worried about it. If I need to replace it, I'll get the pretty liner with the blue pebbles all over. :)

We can't really "fix" it at this point since we cut the holes for the skimmer and return. The liner is pretty smooth where they are, and there have been no major leaks so that's good for now.

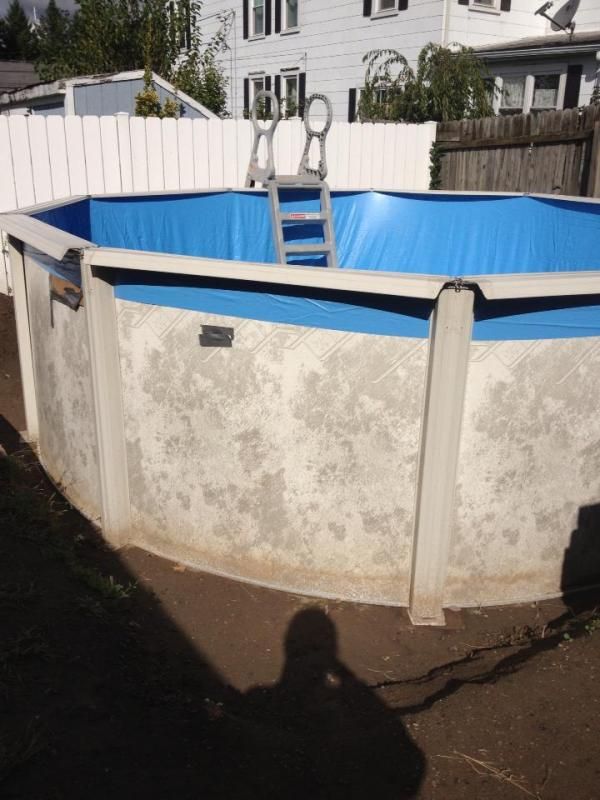
Anyway, here is a shot of after we added our uprights and top rail to see how it looked.

1396036_10202206190625895_1302603482_n.jpg


We did remove the rail and adjust and adjust the liner to get it as tight as possible as we began to fill with water. It still ended up with some wrinkles.

Lesson learned... install liner in hot summer sun, not October.

We figured that since we were winterizing we would leave the pool as is, not add chemical, and not attach the filtration system. We filled it up and it sat for a few days waiting for a winter cover.

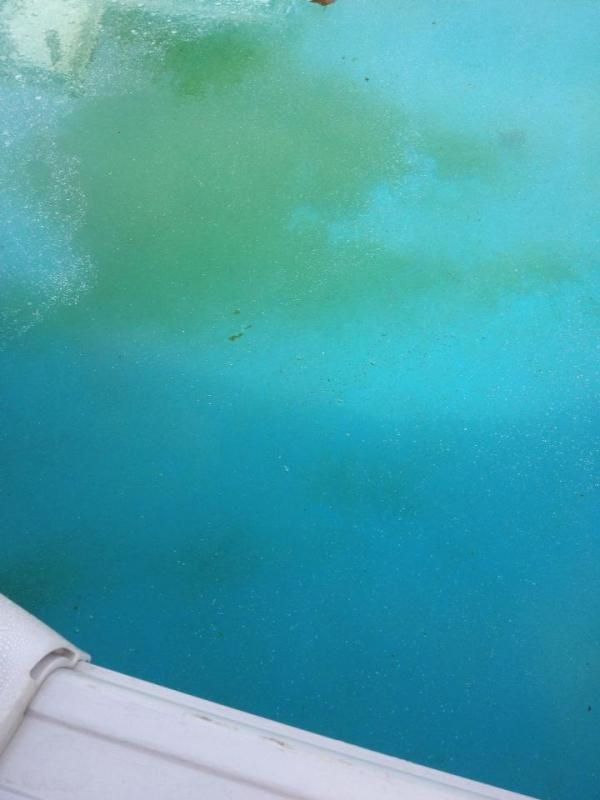
In these few days, we had a little wind, a little rain, and some freakishly hot for October days. And basically... we got some algae.

1395166_10202206191145908_768545761_n.jpg


I posted here asking for opinions on whether or not we should attach everything and run the system. It could have waited until this year as it's not uncommon to open with some green. But, in the end we decided to hook everything up and shock prior to winterizing.

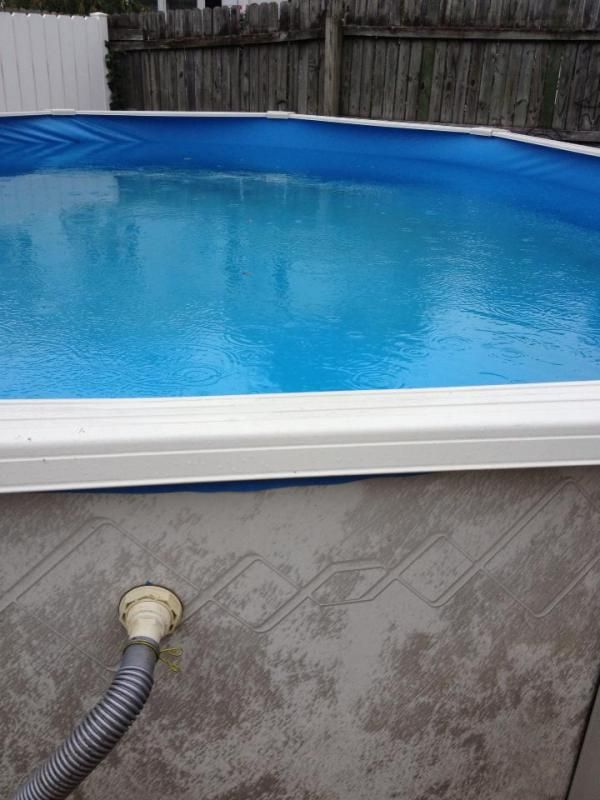
1376317_10202206191345913_653453814_n.jpg


Within a few minutes of shocking, the water began to clear up.

We ran the system for a few days, brushing the sides, vacuuming, and checking some basic levels. Then we winterized the pool, added the cover, and hoped that we would open without a swamp this year.

To be continued...
 
Thread Status
Hello , This thread has been inactive for over 60 days. New postings here are unlikely to be seen or responded to by other members. For better visibility, consider Starting A New Thread.