
Resurrecting an old pool from the beginning
- Thread starter Kellychaison
- Start date
You are using an out of date browser. It may not display this or other websites correctly.
You should upgrade or use an alternative browser.
You should upgrade or use an alternative browser.


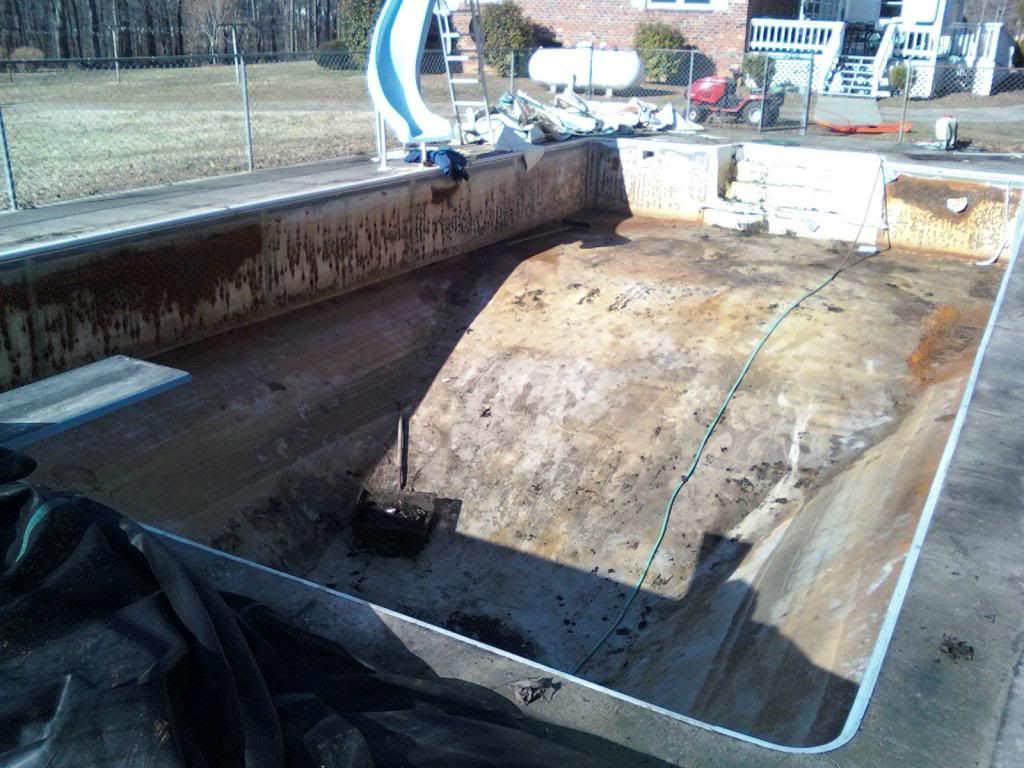
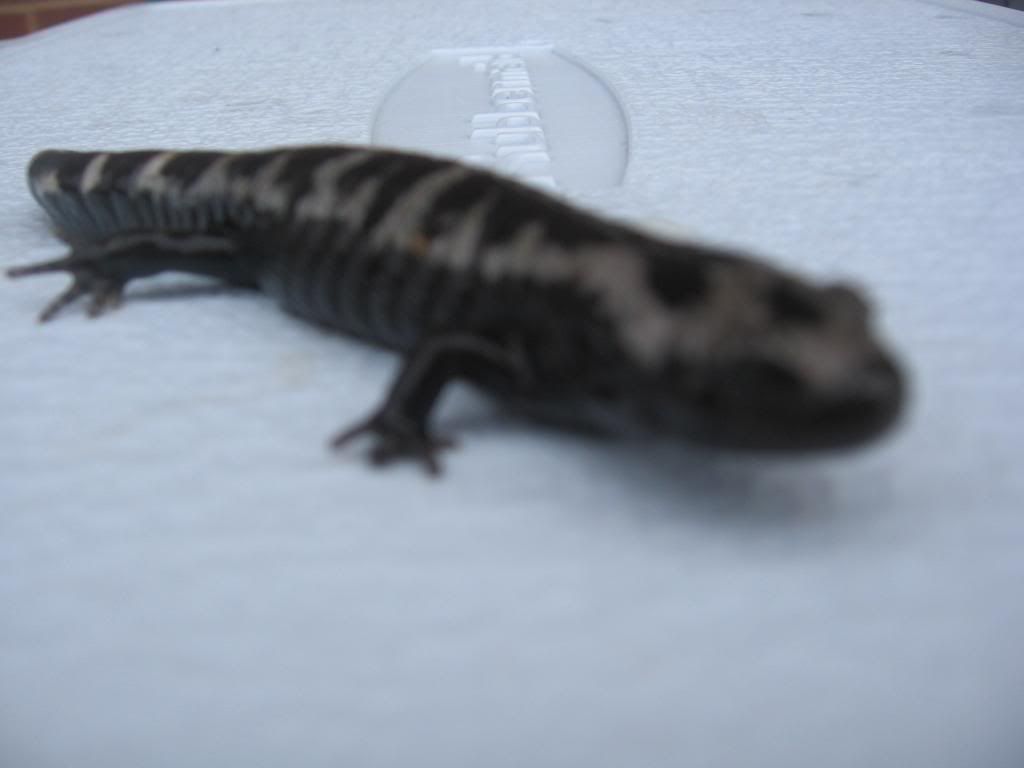
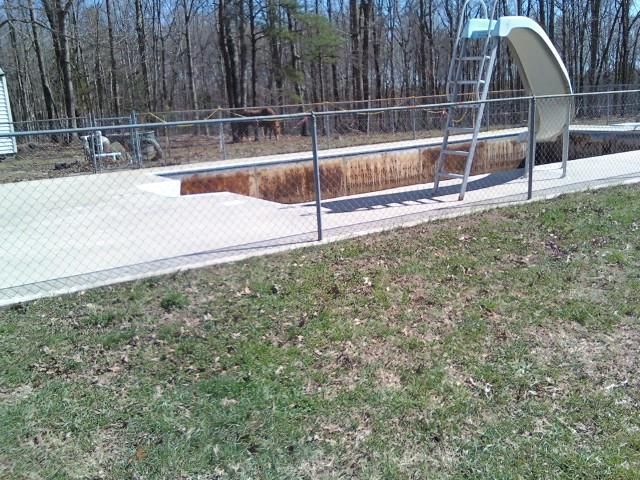
So I got the sump pumps working, as the water level dropped I started scooping out mud and there was about 3 feet of it. There was frogs and salamanders and turtles that i had to re-home. I tore out the liner as I went. I tried to keep up with the sump pump as the water level dropped doing all the scooping and tearing. I kept a wheelbarrow in the pool and made a ramp to get it out. I was hard to push that wheelbarrow up that ramp when it was full.
- - - Updated - - -

- - - Updated - - -

Are those pool walls just dirty fiberglass, or are they corroded metal? Can't wait to see your progress!
Looks like you're off to a great start!
Looks like you're off to a great start!
So the panels around the inside of the pool were steel ( see rust ) the bottom was clay but it had something on top of it, some kind of sand. Fortunately even with the water getting inside of the liner all that was still intact. I had to be careful when I was shoveling that I did not dig into that surface.
- - - Updated - - -
It is going to take a lot of time to find some of the pictures we took of this project. It took 3 months to do this from begining to end.
- - - Updated - - -
It is going to take a lot of time to find some of the pictures we took of this project. It took 3 months to do this from begining to end.

Looks like some great work put in so far. One step at a time... getting the dirty work done yourself will be satisfying!
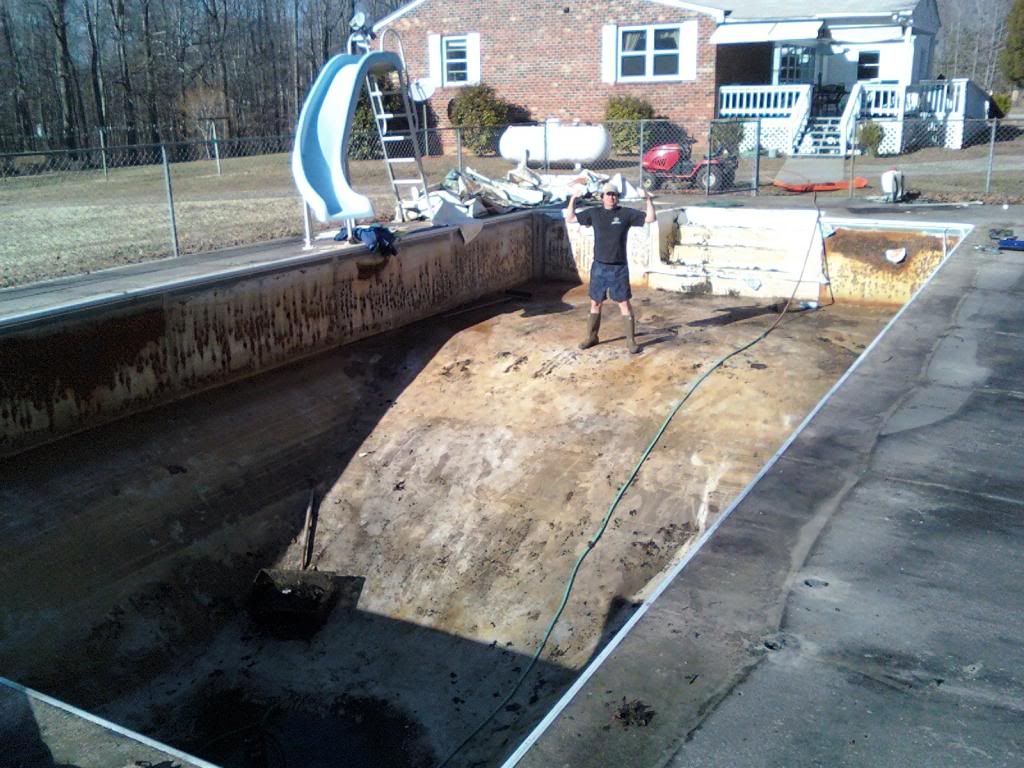
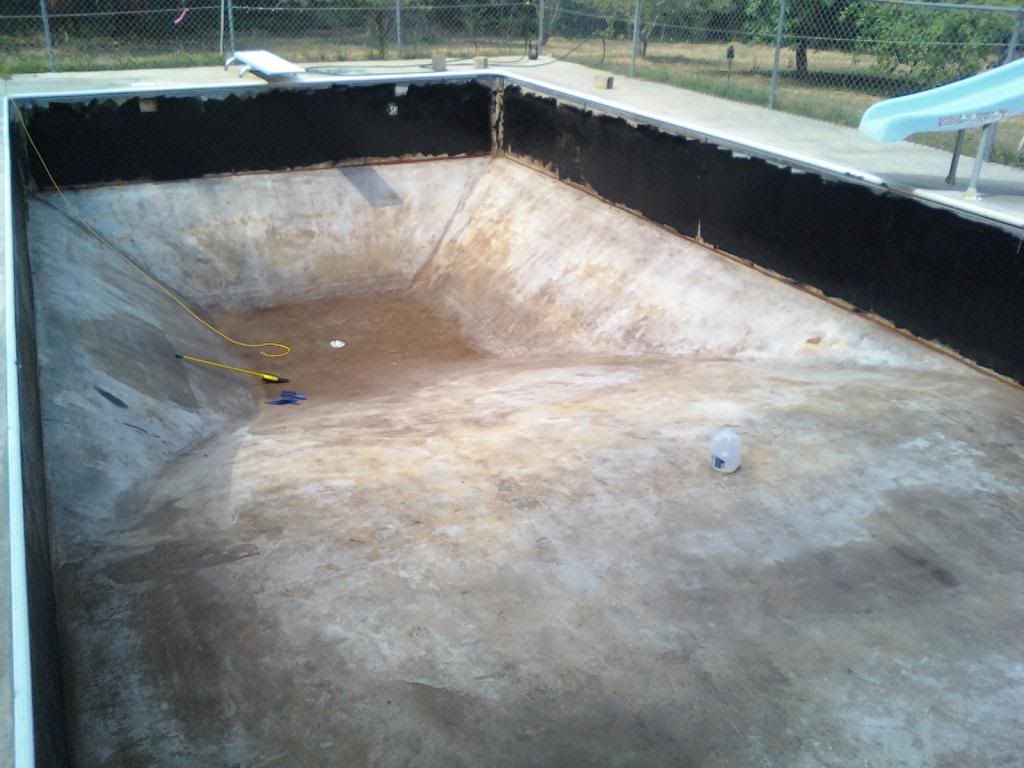
So all the mud and water is out now. Notice how filthy the concrete is. The ladders and railings were missing. We did find a solar cover on a spindle in the woods but was all torn up and unusable. Not surprising that was in the woods. Seems like people in this area love to use the woods to Dump stuff they are to Lazy to take to the dump. In the previous picture you can see the sand filter. Electricity was unhooked from the breaker box so I had to track that down, I know little about anything to do with being an electrician but I plugged on. I finally found the wiring and hooked it back up. Motor ran but made a god-awful noise. At this point I stuffed hose's in the return jets to get all the gunk out of the plumbing system, and lots of BIG salamanders.


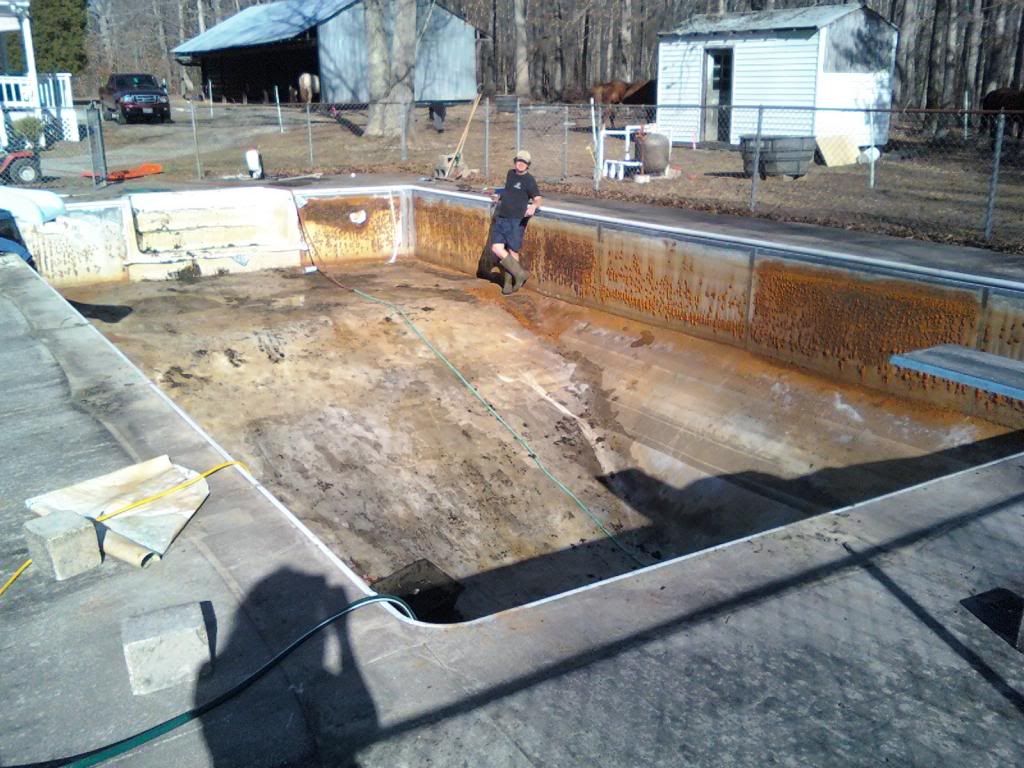
so at this point it was time to measure for the new liner since it had to be made custom. I turned this part of the operation over to my wife who is a locomotive engineer and is a stickler for detail. Her friend Amy who is also a locomotive engineer started cleaning the concrete deck area and you can see how nice it came out. Just by power washing until her arms ached! Amy also helped us install the liner. Measuring for your liner is critical. Deb came up with a system of laying rope across the pool at different intervals and then measuring down with a measuring tape. It is important to measure every crease and depth. Liner companies give you a measuring guide but all pools are a little different. One thing we had to be careful with was making sure the ropes that we laid across were very tight and had no sag. Once we had all our measurements we sent it off to the liner company and then it was time to finish all the repairs of the inside structure of pool.

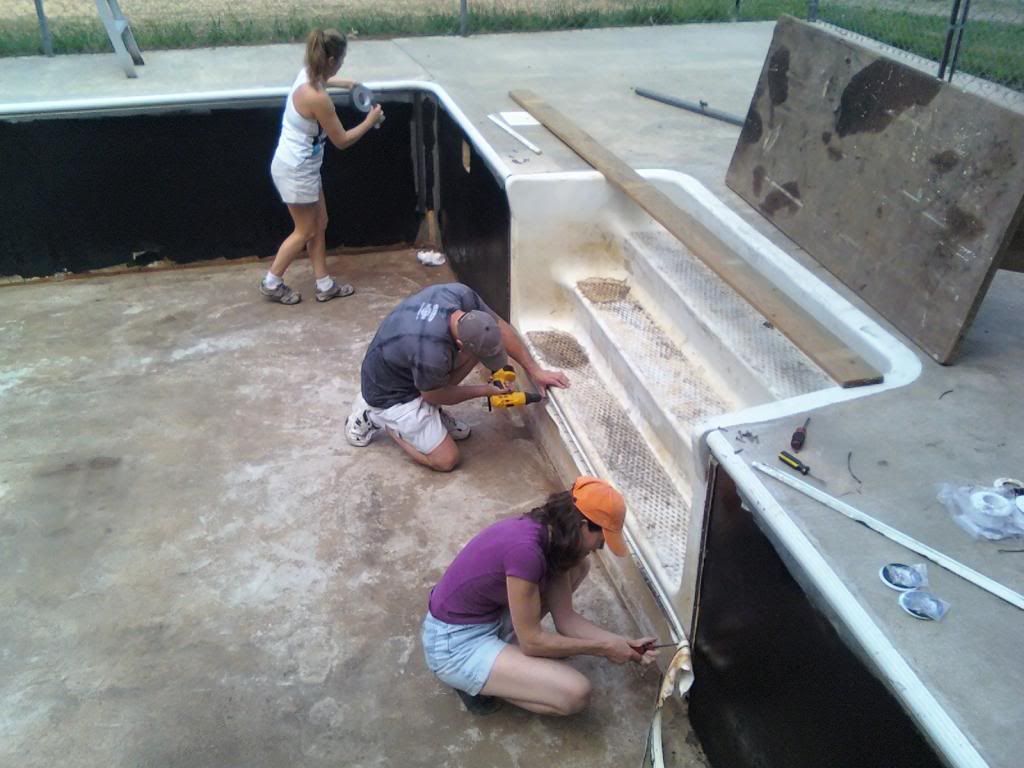
The steel paneling was rusted to the point that some of the rust was sticking out 1/2 to an inch from the steel panels. I had to take a grinder and grind down all the rust. This took about a week. Of course After grinding I had to washed the sides so now I had water in the pool again which I needed to drain out and dry before installation of the liner. After I had the sides looking nice we painted the walls with black rustoleum paint.

From here we concentrated on the coping. some of the old liner was still under the coping so we had to go through and check and remove. We used all the old coping in this project. Amy on left is duck taping underneath all the coping around the pool to protect the new liner from rough spots that might compromise it.

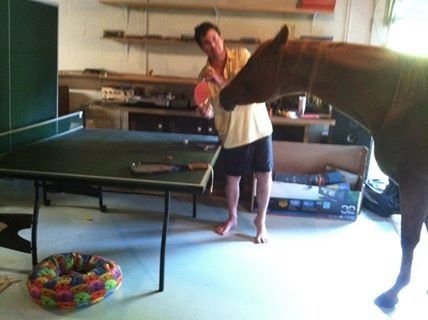
Now that all the inside repairs are done it is time for a little ping pong with the horse's!

I was suprised how they packed the big liner into a pretty small box. I was like really our liner is in there? Anyways we ordered a medium grade thickness. we were confident that we did everything we could do to protect the new liner.
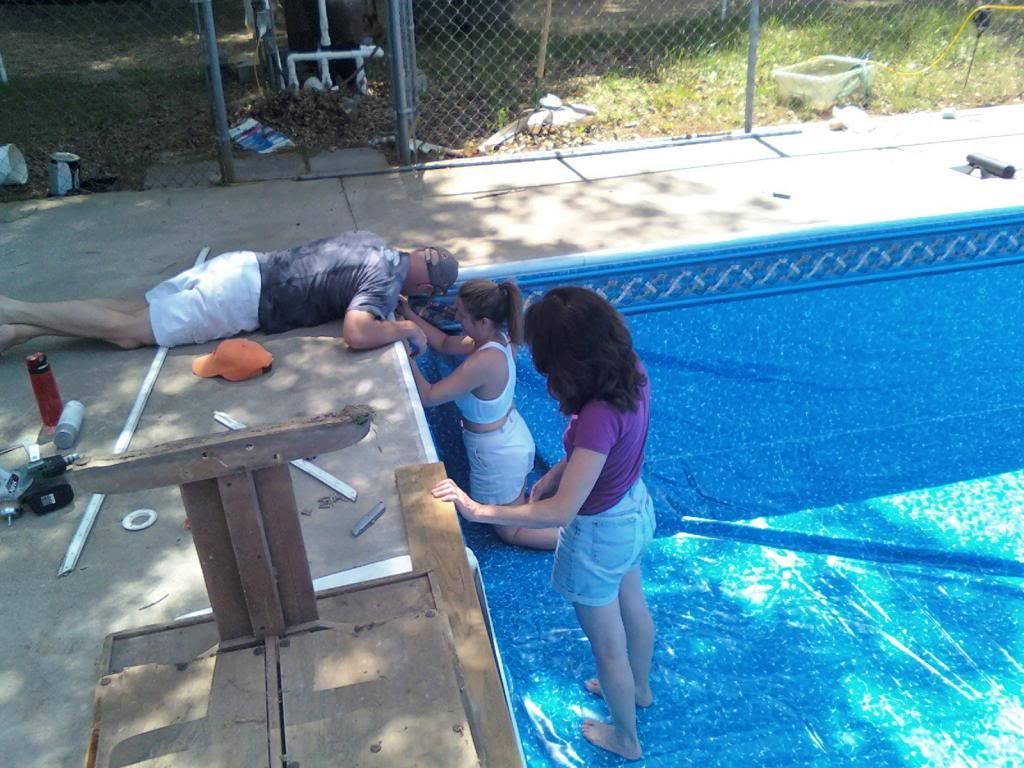
This was very important. Deb made us all watch the installation video that came with the liner before she would let us touch it. Amys friend Bill was brought in for his brute strength and did we need it!
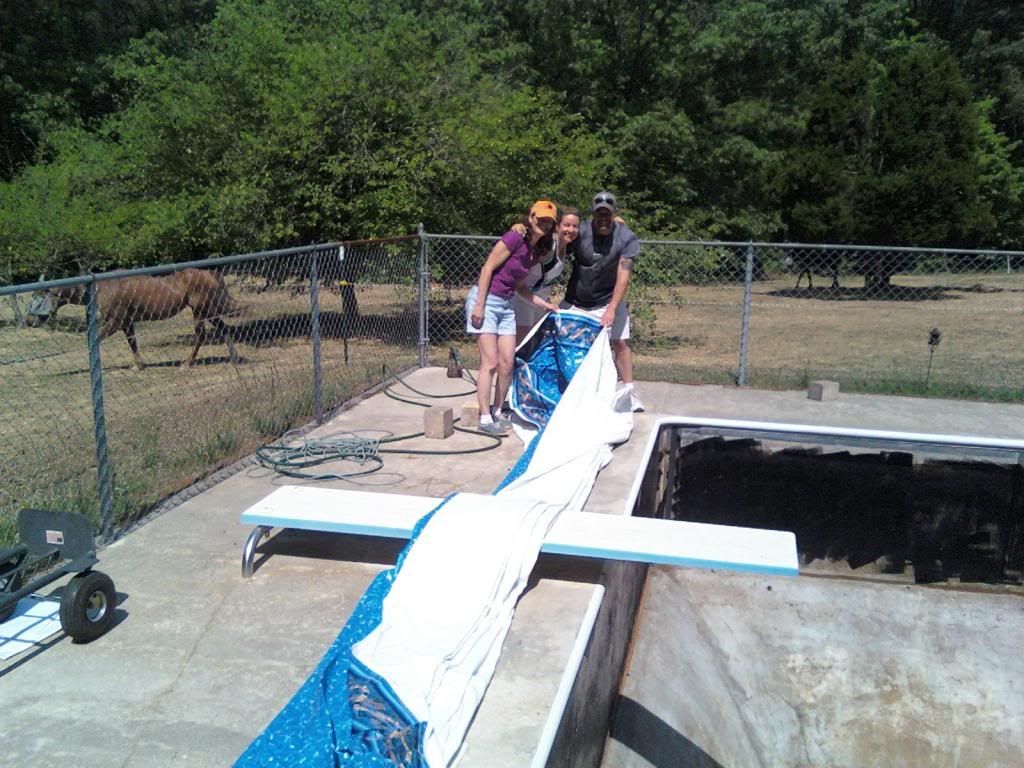
This was very important. Deb made us all watch the installation video that came with the liner before she would let us touch it. Amys friend Bill was brought in for his brute strength and did we need it!


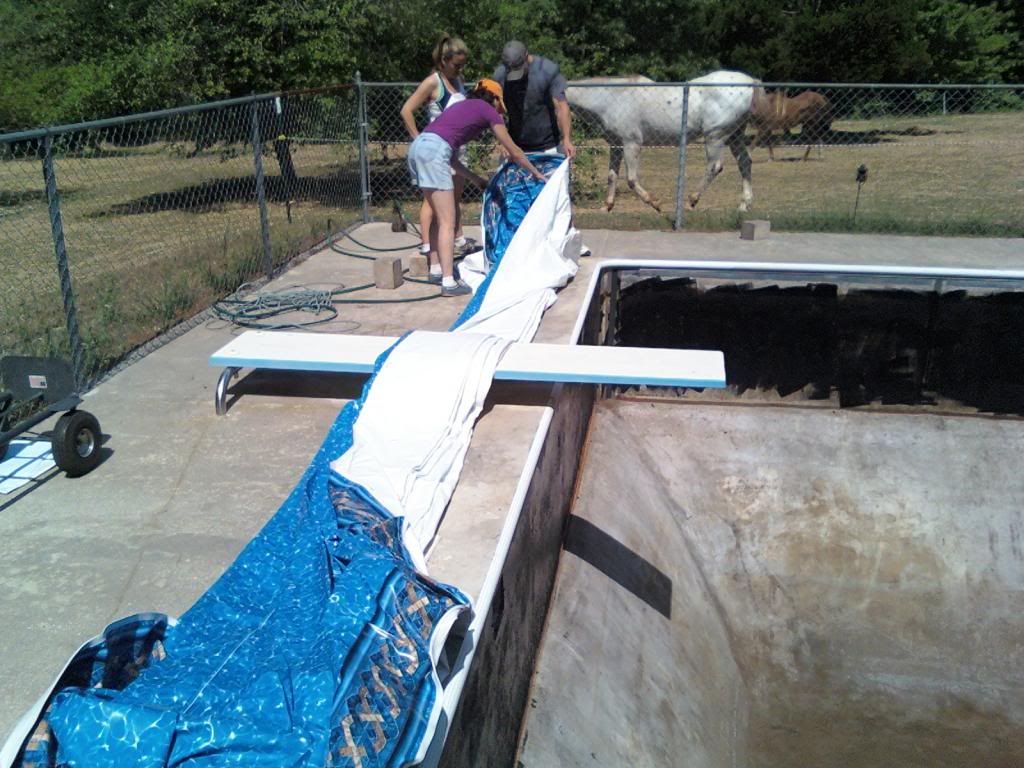
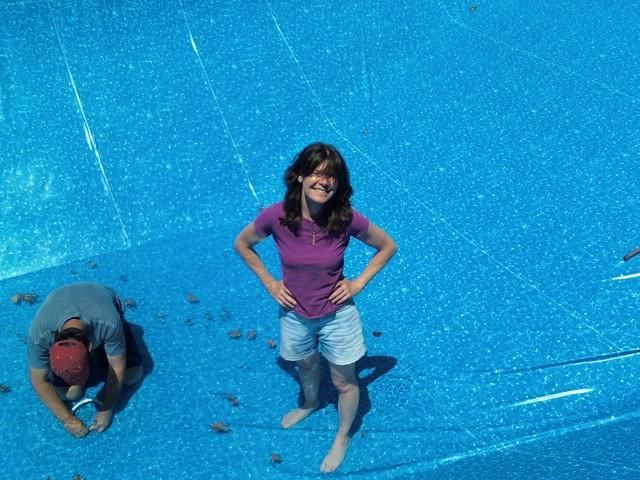
I cant stress how important it is to install a new liner on a hot day. It makes the process much easier. following the video we laid out the liner in the pool and started attaching it to the coping. Stretching and smoothing, stretching and smoothing. it took one person to stretch the liner and another to get it under the coping. of course Bill had to stretch!

- - - Updated - - -
Then after a lot of hard work we had the liner in! Notice the shop Vac taped to inside of liner to suck the air out
- - - Updated - - -
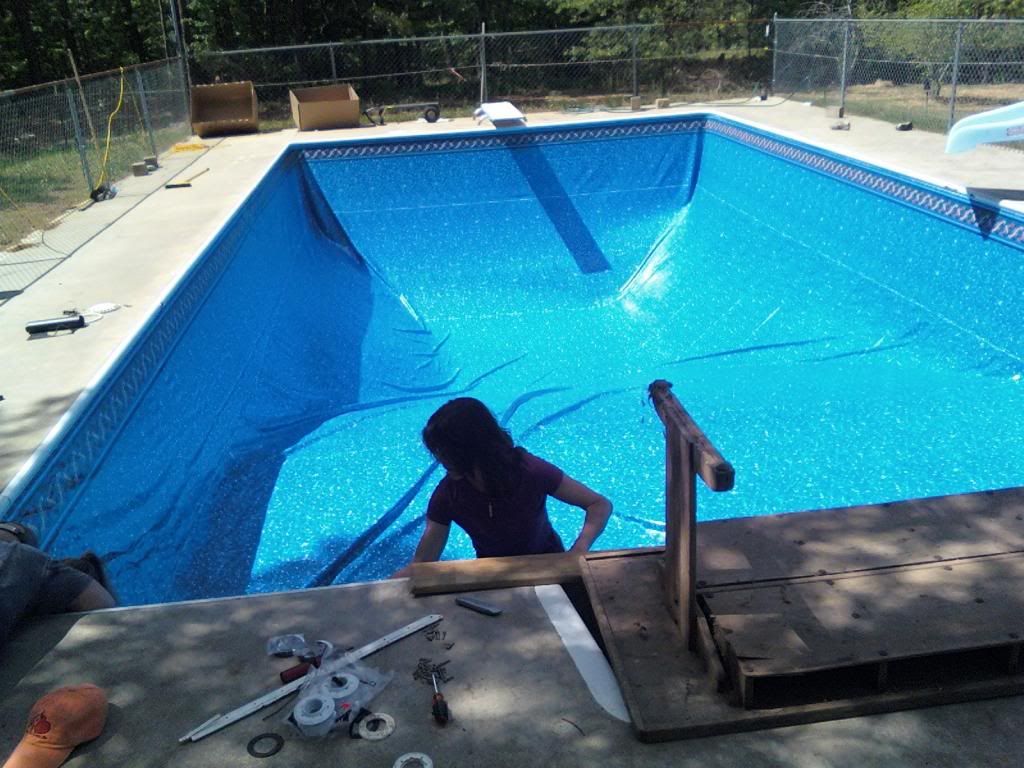
now it was time to cut out the holes for the bottom drain, skimmers, jets.
- - - Updated - - -
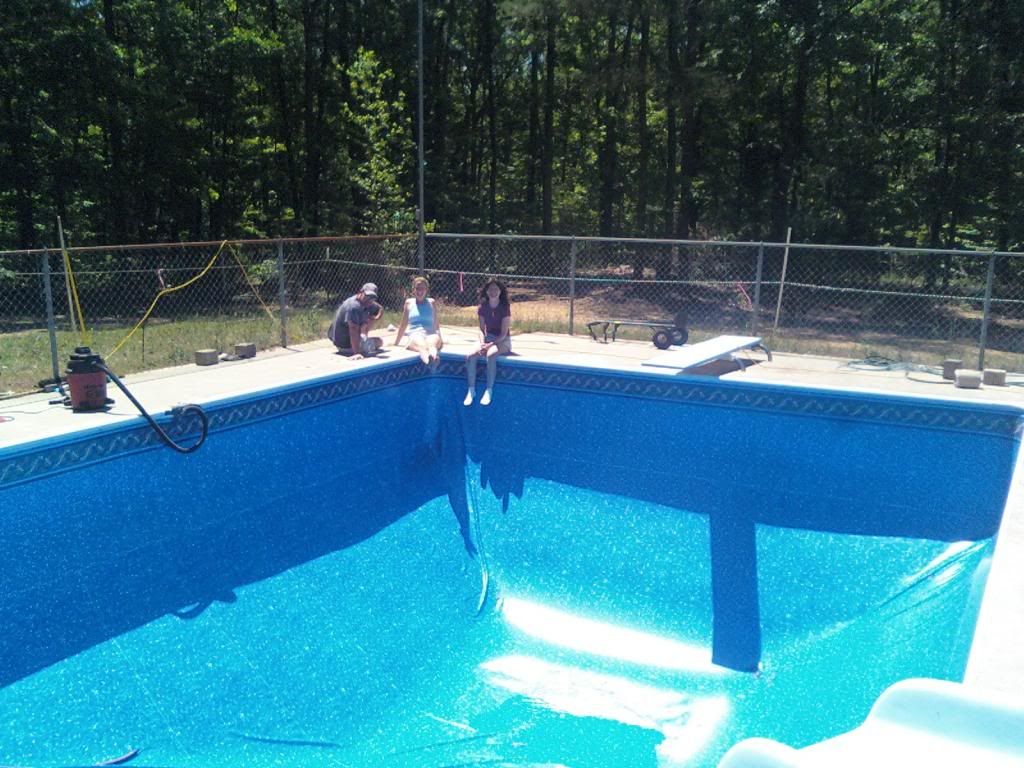
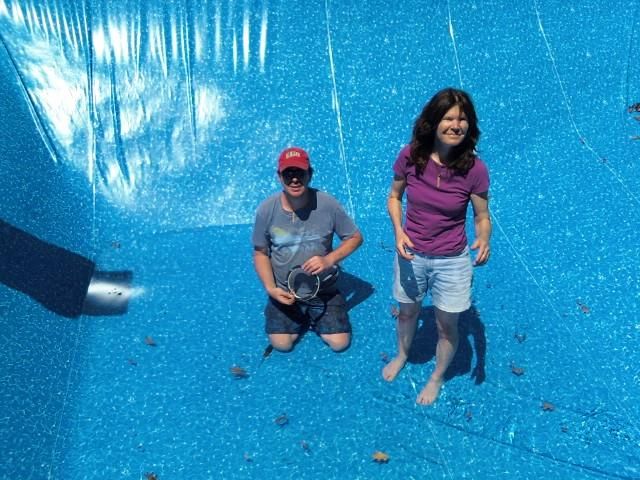
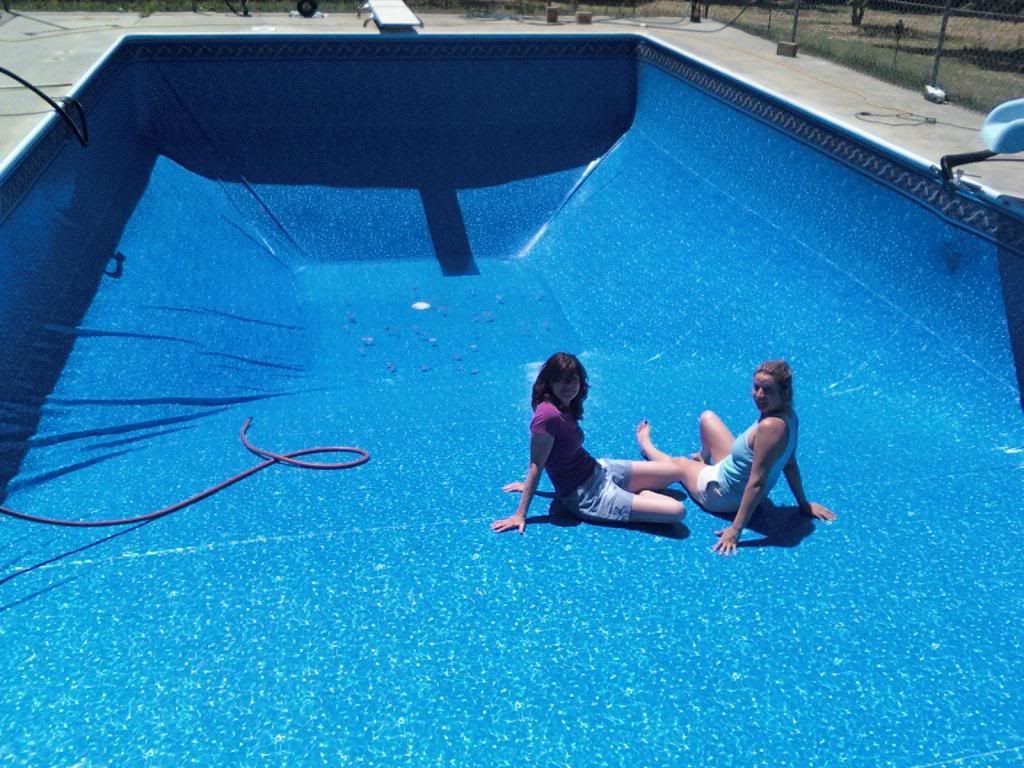
Break time for Deb and Amy. Very satisfying doing a project like this on your own!
- - - Updated - - -
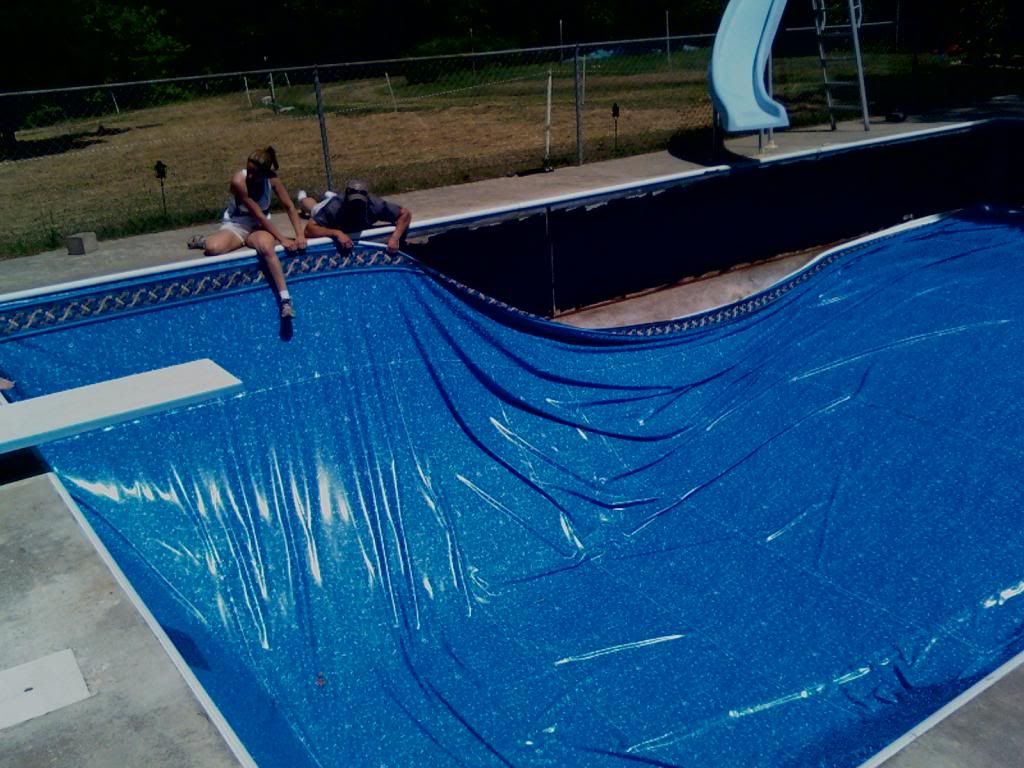
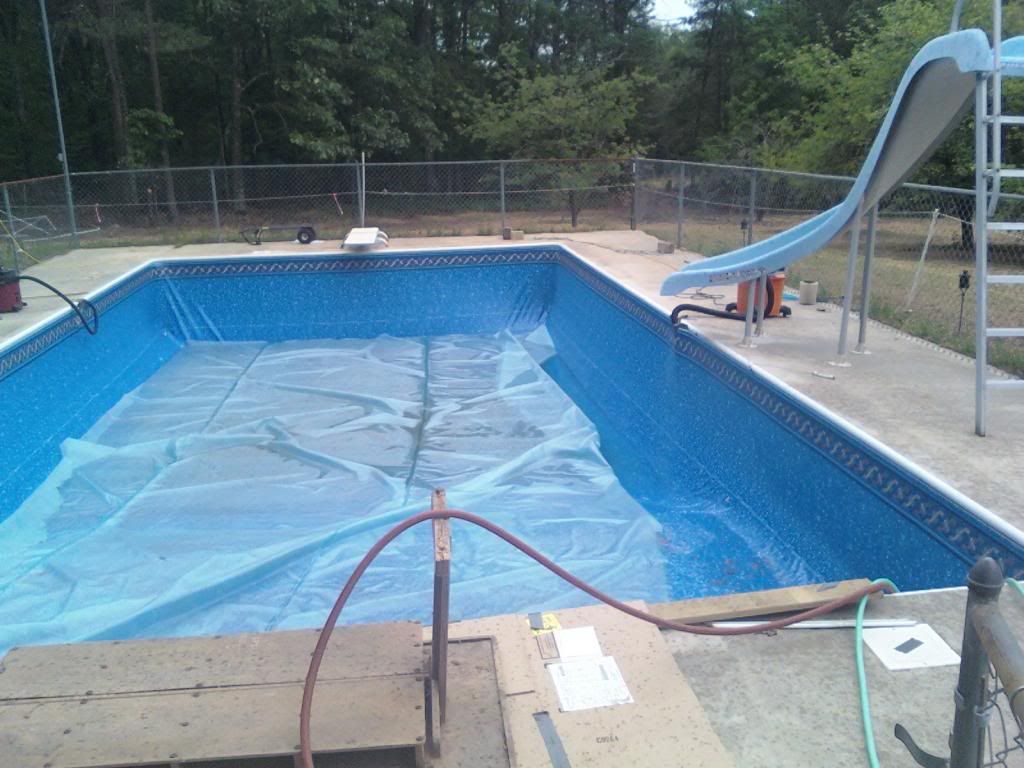
It was time to start adding water very slowly to the pool. We put the solar cover on from the beginning to help heat the water so it would be easier to smooth out the creases! Shop vacs are going on both sides of the pool.


- - - Updated - - -
Then after a lot of hard work we had the liner in! Notice the shop Vac taped to inside of liner to suck the air out

- - - Updated - - -
now it was time to cut out the holes for the bottom drain, skimmers, jets.


- - - Updated - - -
Break time for Deb and Amy. Very satisfying doing a project like this on your own!

- - - Updated - - -
It was time to start adding water very slowly to the pool. We put the solar cover on from the beginning to help heat the water so it would be easier to smooth out the creases! Shop vacs are going on both sides of the pool.

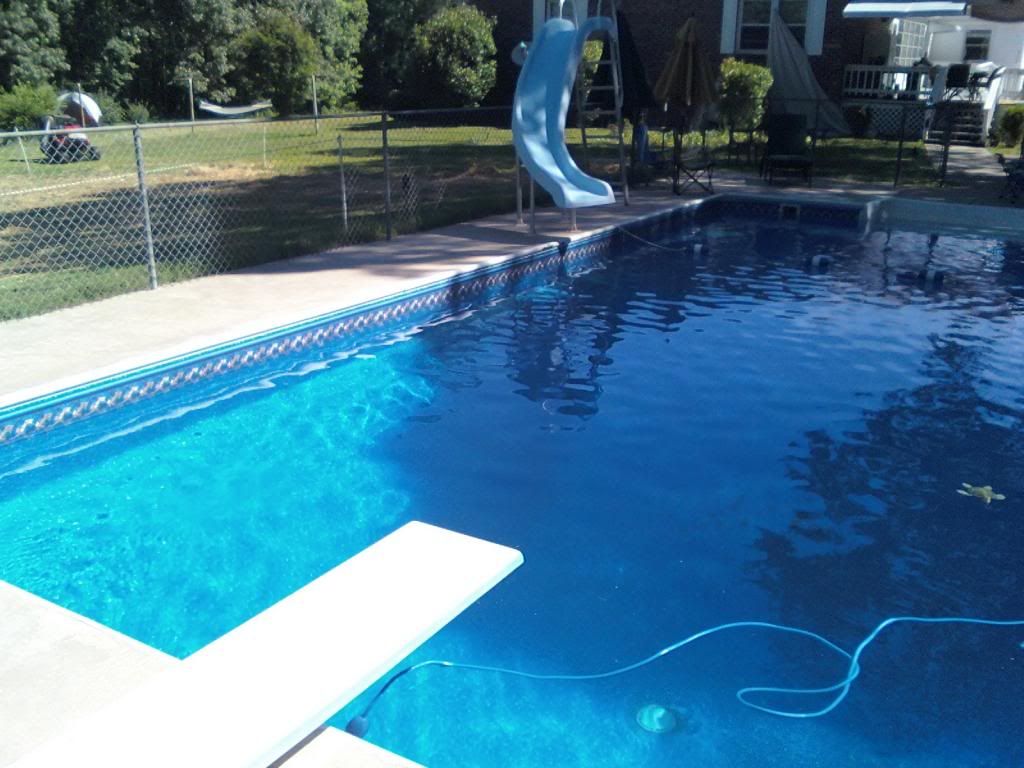
Really have to work at getting creases out, once the cold water is it you can forget it. Finally pool is filled
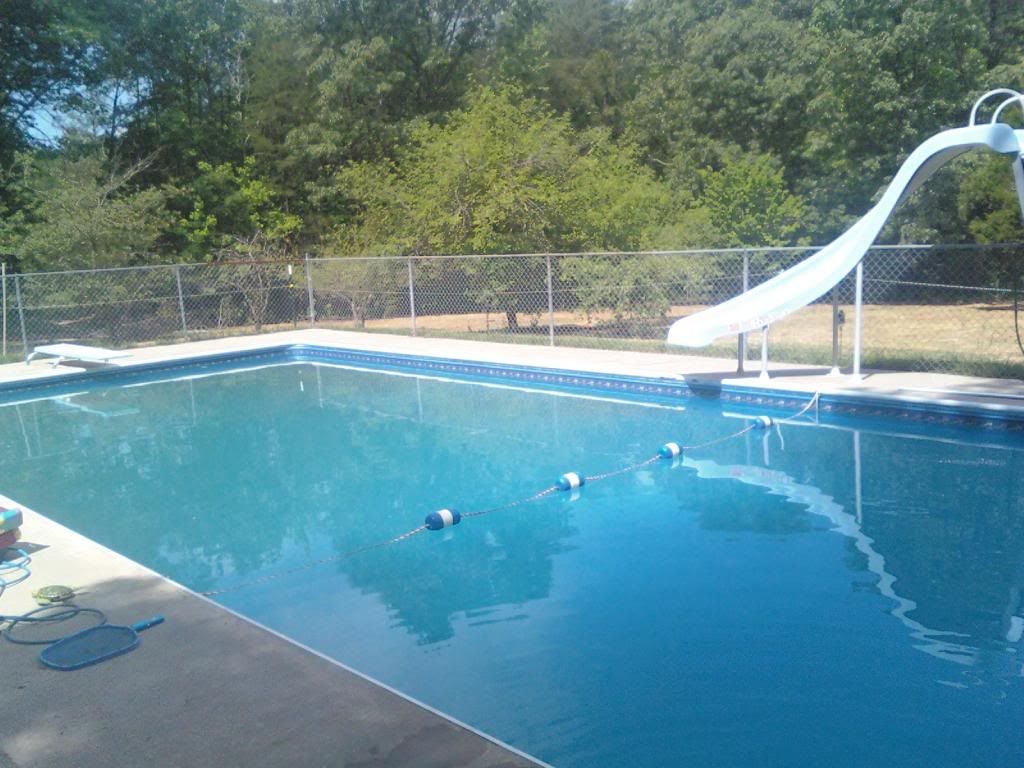

The old pump still works even though it is making bad noises so we can start filtering, new pump on order. Did not do anything to the sand filter. Amazing it still filters and well. By the way I found that dolphin pool cleaner at a garage sale for 25 bucks

Thread Status
Hello , This thread has been inactive for over 60 days. New postings here are unlikely to be seen or responded to by other members. For better visibility, consider Starting A New Thread.
Similar threads
- Replies
- 7
- Views
- 366
- Replies
- 9
- Views
- 503
- Replies
- 1
- Views
- 145
- Replies
- 14
- Views
- 548