Pergola addition

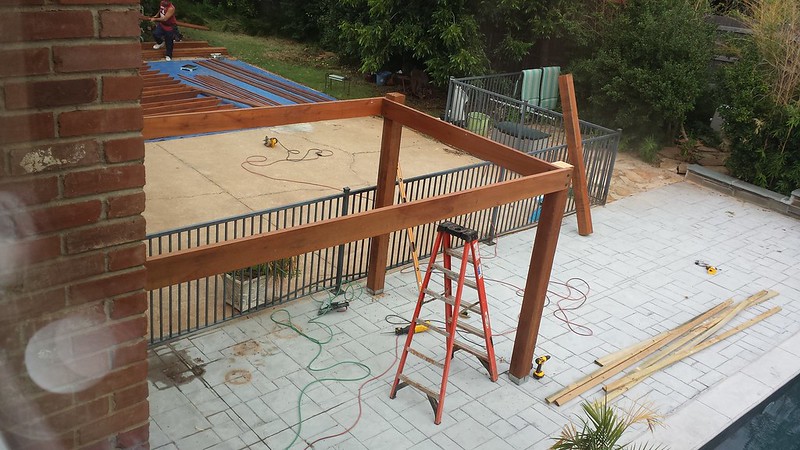
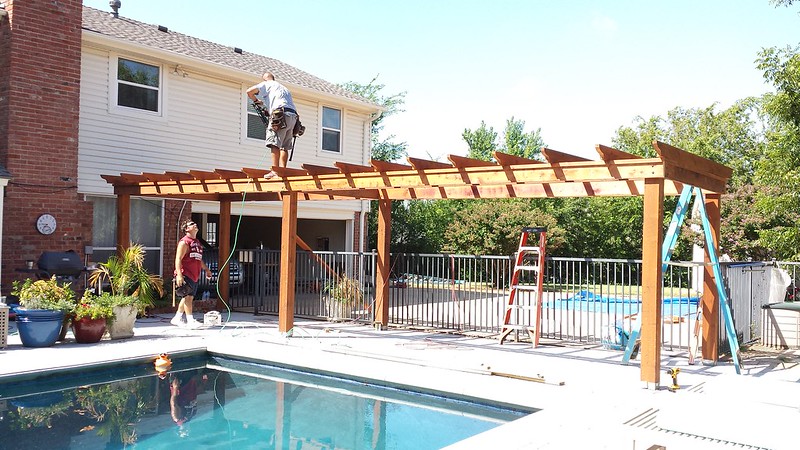
Hi Mia... Just for the future, those are the wrong post bases for your application. PB should have set bases that have a U below grade with heavy straps extending above grade for the post to be through bolted. Those bases would have been set in cement before your patio was poured. You can still "get by" with what you have, but I would not shim the base as those are designed to be installed on a flat surface. Cutting the base to grade would give you a more stable attachment.

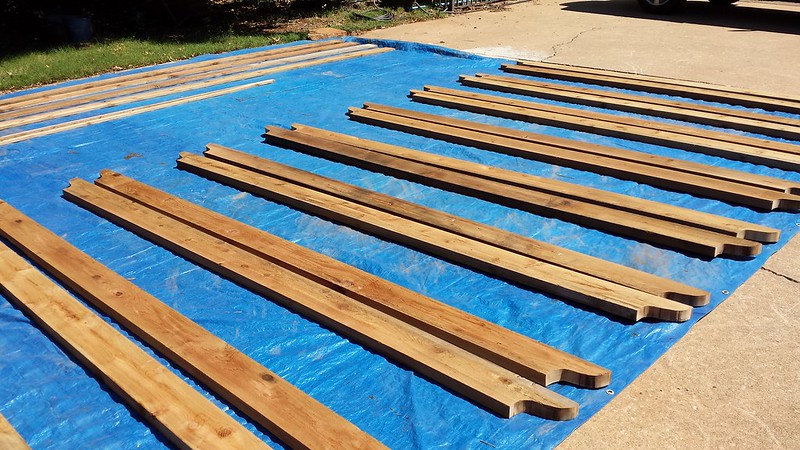
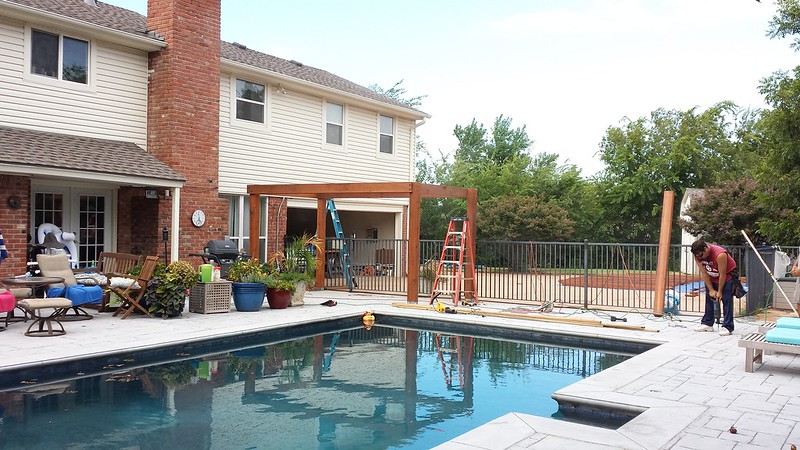
You wont get much strength from the bolt that has pulled, but with the weight of the lumber you are putting up, you also wont need much. hammering that bolt back down to clear the post and using a couple masonry screws in those holes would work fine. None of that is going to feel very secure till you tie the whole structure together. Notching ALL joining points will add a bunch of work and time, but will reward you with a much more stable and SAFER structure. Using metal brackets would go faster but wont be as strong and wont look as nice either.
 
Hi bobbyjo, thanks so much for the info. I am not surprised to hear our PB has done something incorrectly (what's new?) but am hoping we can rectify, short of cutting out the concrete deck to set new 12 foot posts under the deck. I hesitate to even think about that, because I am sure we would have problems with electrical conduit and plumbing being exactly in the way of the pergola.

So, from your recommendation, I think I should cut the 6x6 post at the same angle the metal base is attached to the decking, is that correct? So the post stands more or less vertically even before we attach the rafter pieces?
 
Correct! You can transfer the angle of slope easily by just holding the post plumb in the location you intend to attach, lay a flat piece of wood next to the post following the slope, then just scribe a line on the post. That will give you the angle and just adjust the cut to the height you need. Shims would compromise your already weak contact area. You'll need to use a similar method when you apply the base trim to the posts but that will cover the sloped post base and make things look right.

Don't underestimate the strength and rigidity you will gain by notching the material. By notching the 6x6 posts to accept the long 2xX beams and then through bolting, you'll see immediate integrity. Those beams should sit flush on the shoulder of the notch you cut in the posts. Knee bracing the tops will help further but is more decorative that structural. My opinion but metal brackets detract and don't belong in your application. They would provide very very little to the rigidity of the structure and just plane look ugly in the process.

Like most construction, fixes to smaller issues tend to make BIGGER problems. The pressure washer goof on your deck is a prime example. I applaud you for keeping your cool on that one! Cutting through your deck now for the posts would be a very last resort for me. At least with your stamped design you could cut on the grout lines to remove enough material to set the proper post bases. There is a list of things that could go wrong with that approach and at the very least, your continuous pour would then have several new places for water to enter and cause problems. I would not recommend digging deep enough to set those posts in the ground for exactly the same reasons you stated above.

On a lighter note though... I do hope your beginning to enjoy that pool! I think your choices of color and design were spot on!!
 
Coming back to update on our pergola ... finally done! We ended up cutting the decorative rafters, staining all the pieces, and spray painting all the bolts to an oil-rubbed bronze finish. Then, we had a crew come and assemble/attach to our concrete deck and fix our Stonehenge-like attempt. Much more secure and I feel a lot better about the integrity of the finished product. It took us months to finally find a crew that showed up and we couldn't be happier. Well ... except we ran a tiny bit short on one size of wood to wrap the post bases, so DH and I will tackle that part. Aside from that one tiny flaw (totally my fault), we couldn't be happier. It took two guys less than 6 hours, since they knew what they were doing. Have plans to add a shade cloth to the ceiling of the structure, and DIY/craft some sort of curtain rods across the back to hang either outdoor curtains or more shade cloth to screen the pergola and pool area from the rear-load garage and driveway. Over on the right side of the photo is a small bit of stamped deck (access to the pump and filter through those bushes) and a small flagstone patio, maybe 8x8 or 10x10. Currently has our deck box and pool equipment warehoused, but brainstorming ideas for that corner. Perhaps a very small pool shed (because our regular shed doesn't seem to be big enough for all our stuff already!) or a firepit and chairs ... TBD. It will be exposed to the driveway so will have to think on that.

Prepping:


Before:


During:


Done (except 2.75 post bases!):


Looks good.

I guess I am too late to tell you that you could have removed that bolt, cleaned out the hole (with compressed air - watch your eyes) and then set the bolt back with epoxy (you could go super old school and melt some sulfur or lead to put in the hole, but good luck with that)

I would have also ground down one leg of the base cover to take up some of the angle (and then cut the post to make up the rest) but that is just me.

-dave
 
Thread Status
Hello , This thread has been inactive for over 60 days. New postings here are unlikely to be seen or responded to by other members. For better visibility, consider Starting A New Thread.