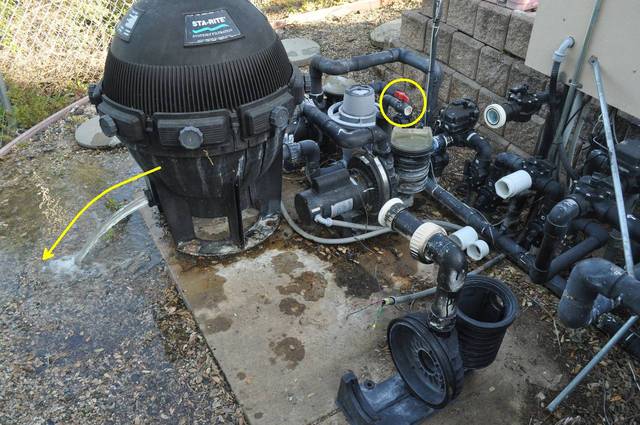
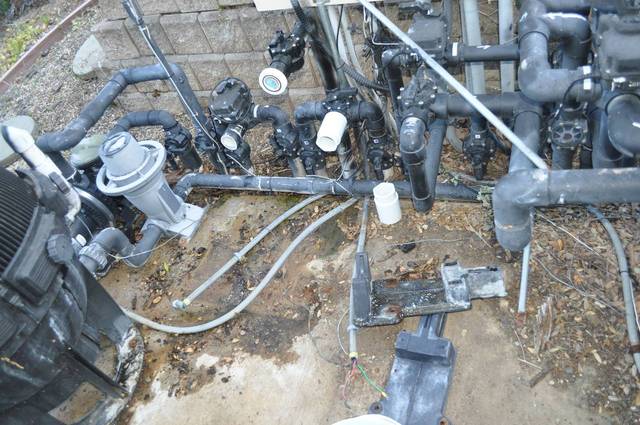
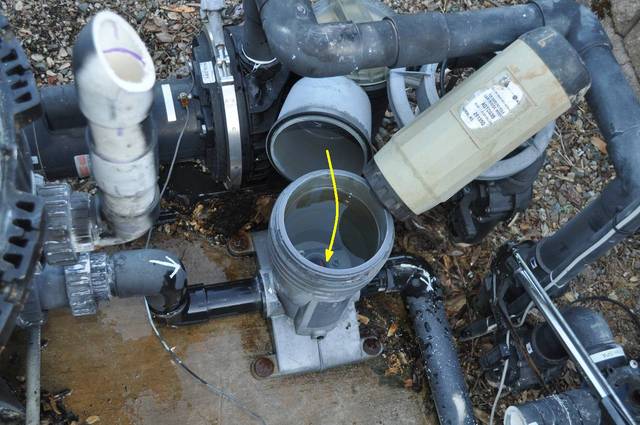
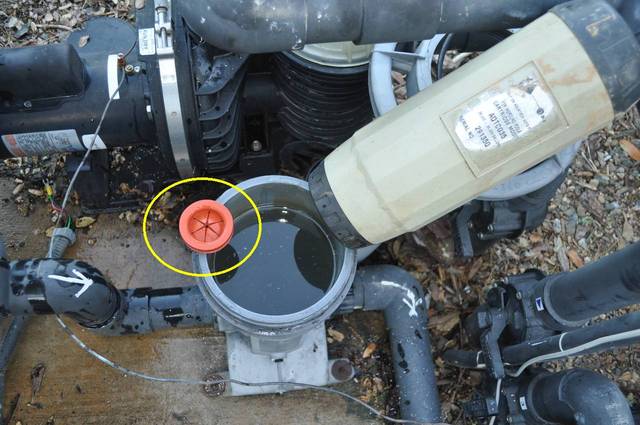
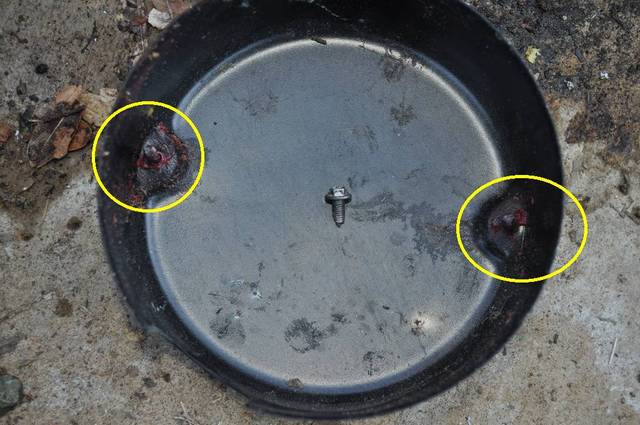
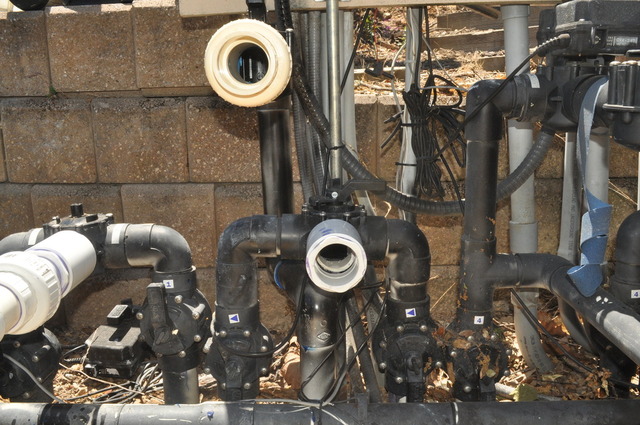
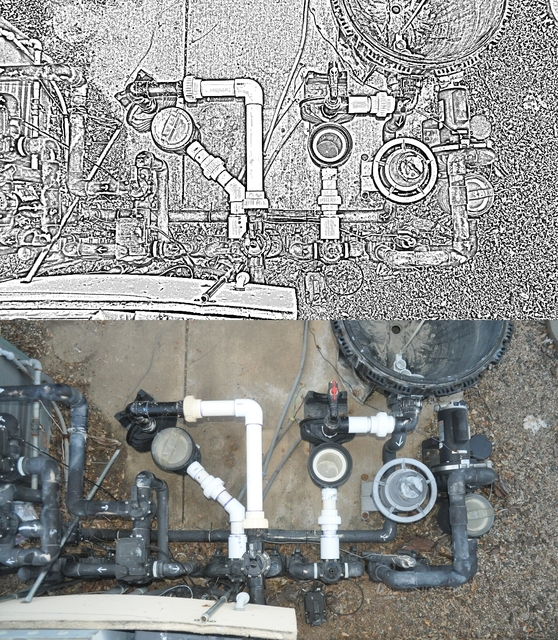
The red drain is really just a way to pump out some water to waste to lower the water level. Or you could use it to take a water sample, or you could hook a hose to it in use it in water fights in the pool ")

twd000 said:ask about this "miracle in a tube" you speak of
jblizzle said:The red drain is really just a way to pump out some water to waste to lower the water level.
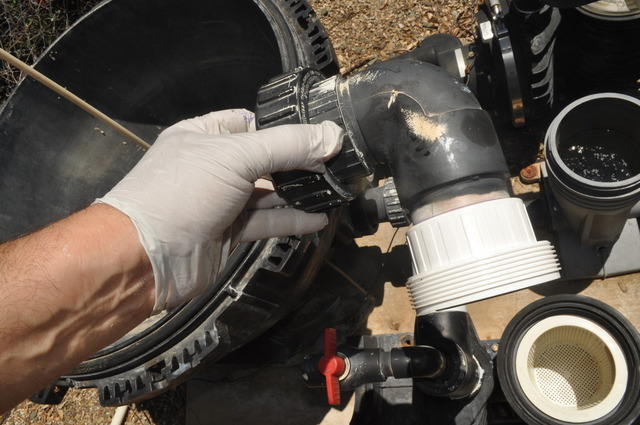
jblizzle said:most people do NOT bolt the pump down
At the risk of scope creep, I will probably put something in like that!jblizzle said:I have seen many setups that put a hose spigot valve screwed into a cap.
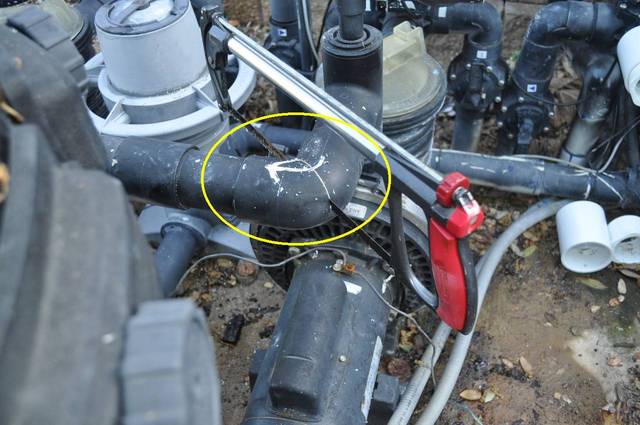

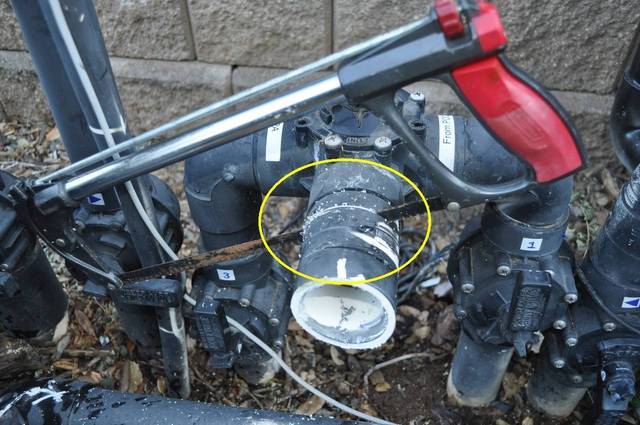
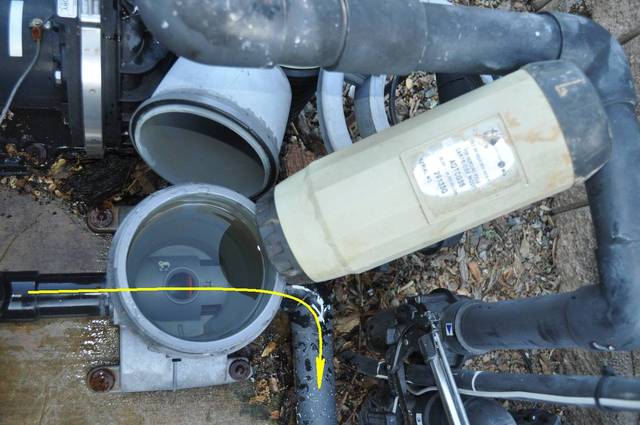

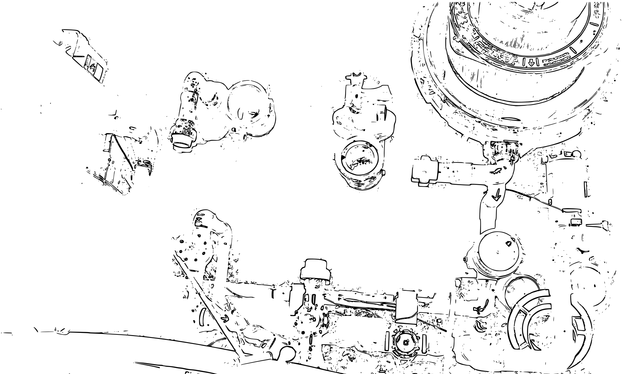
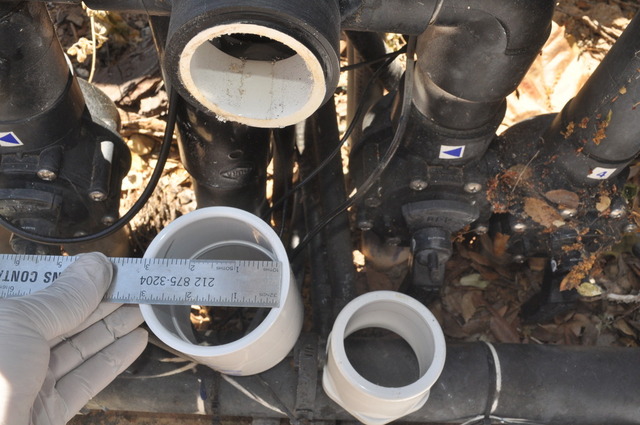
jblizzle said:I don't think that grey pipe is going to cause too much problem at all, so would not worry about boring it out...
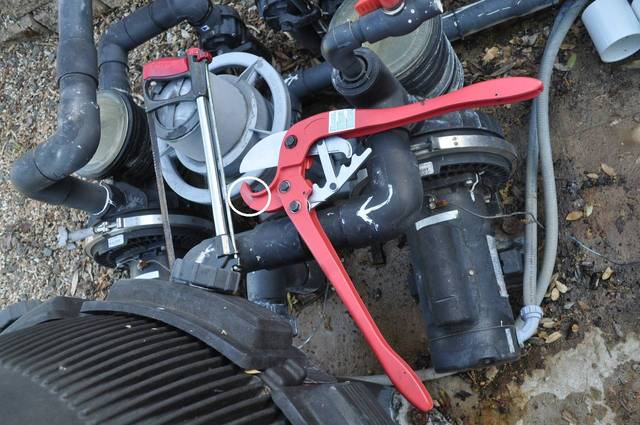
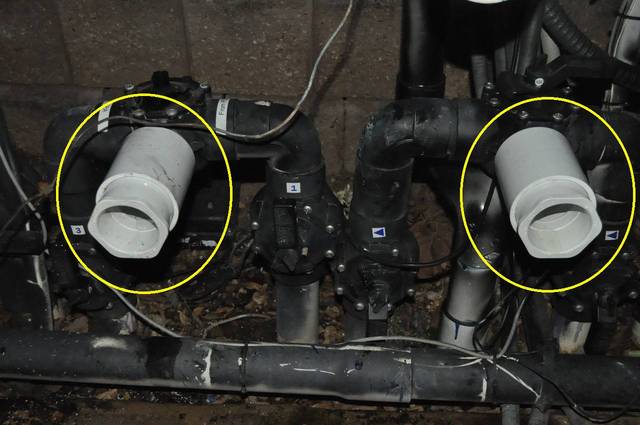
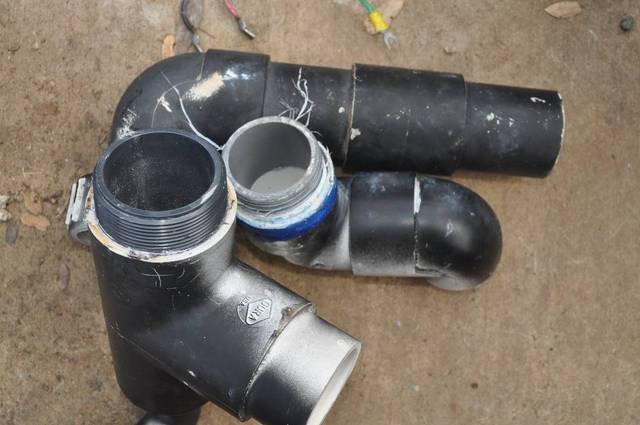
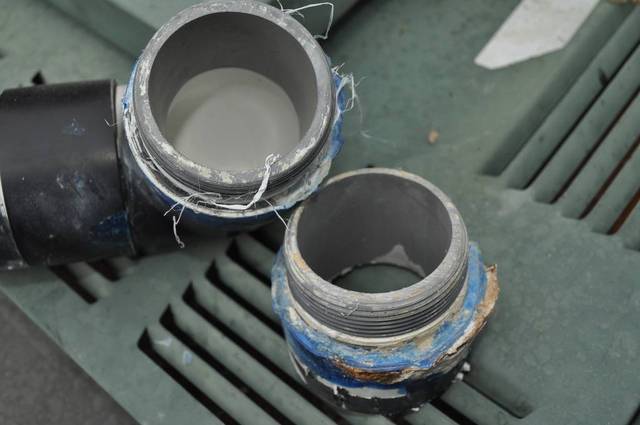
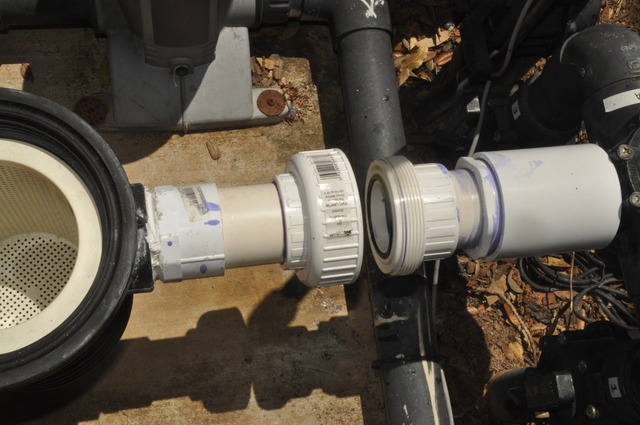
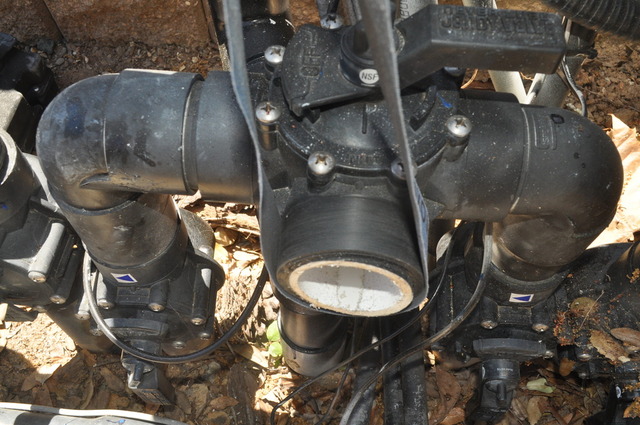
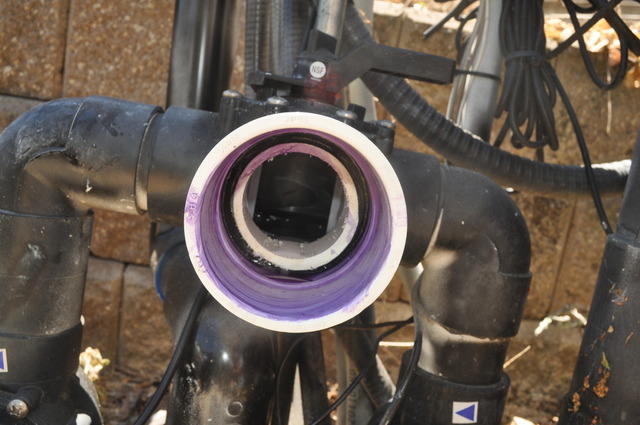
Make sure there is not paint on the outside of the Jandy valves before you try to attach the big couplers.
I'll use both!jblizzle said:Definitely use the pipe dope and not just the little teflon tape ..
I agree. The goal, other than to fix the leaks, is to make maintenance easier in the future!jblizzle said:and a union on either side of the pump
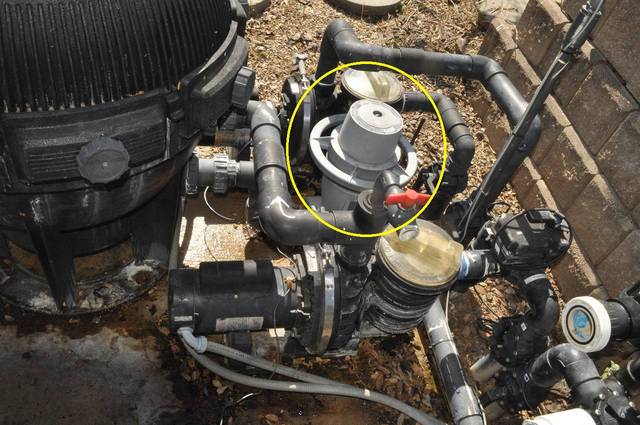
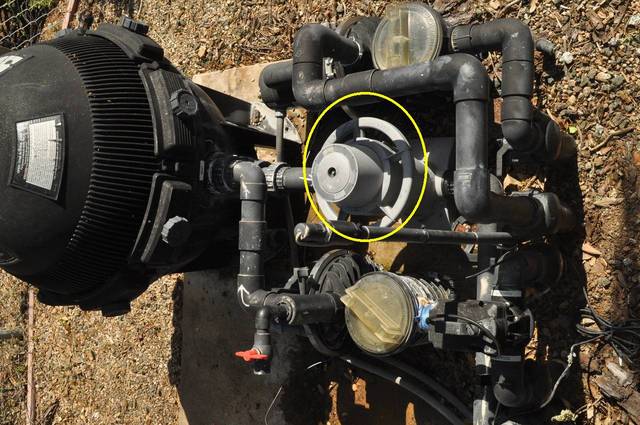
I wouldn't think so, given that I've read the pool chemical forums where the only thing needed is chlorine to kill stuff (not even phosphate removal is recommended here - which I understand - but which the pool stores go bonkers when I ask them about that).jblizzle said:We do not think highly of the Nature 2 here ...
jblizzle said:I would seriously consider just pulling it out. I am not sure if you could just put some tablets in there like a regular chlorinator for vacations or not.

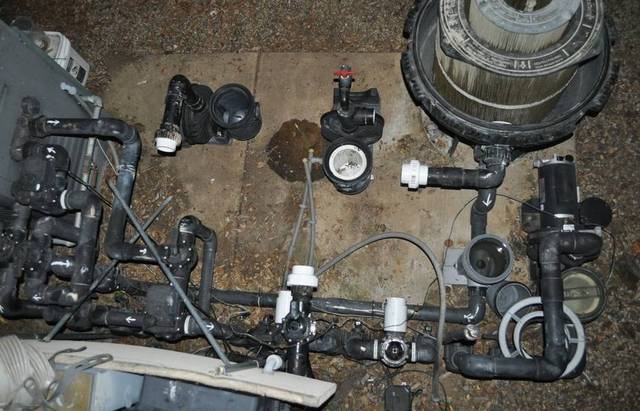
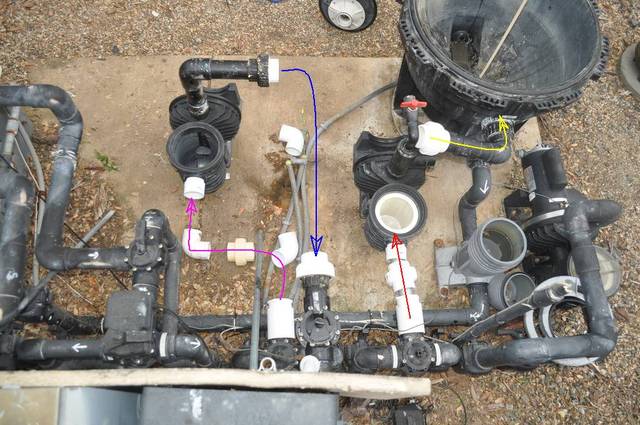
jblizzle said:I think you want they union straight in front of the pump
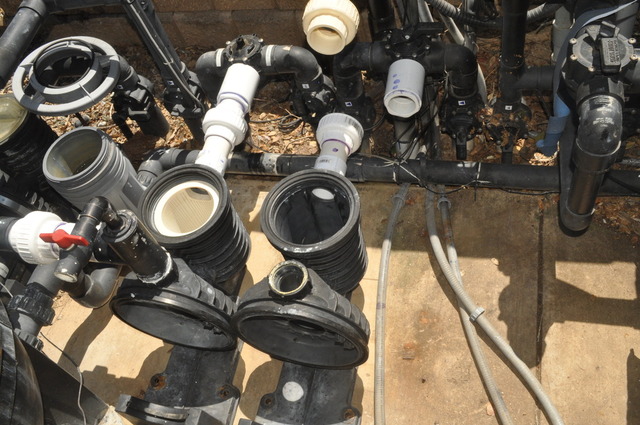
jblizzle said:That is a good idea to have the pipe line up the same for both so they are interchangeable if needed.
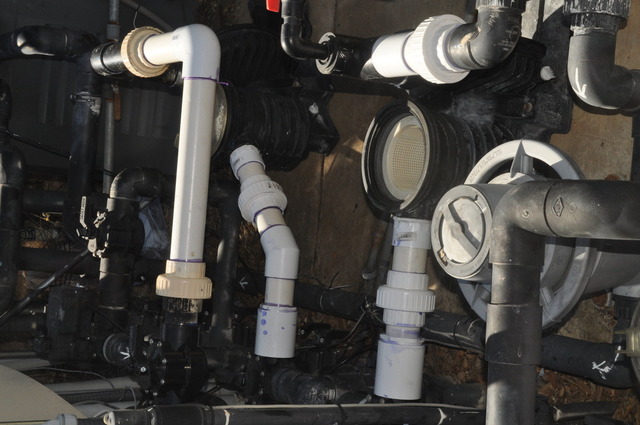
jblizzle said:The threads on the unions do not have to be water right. I don't think you need to put anything on them