
After reading through this section for a while I decided to take the plunge and get a Liquidator. Here is a pictorial of my install:
Notes:
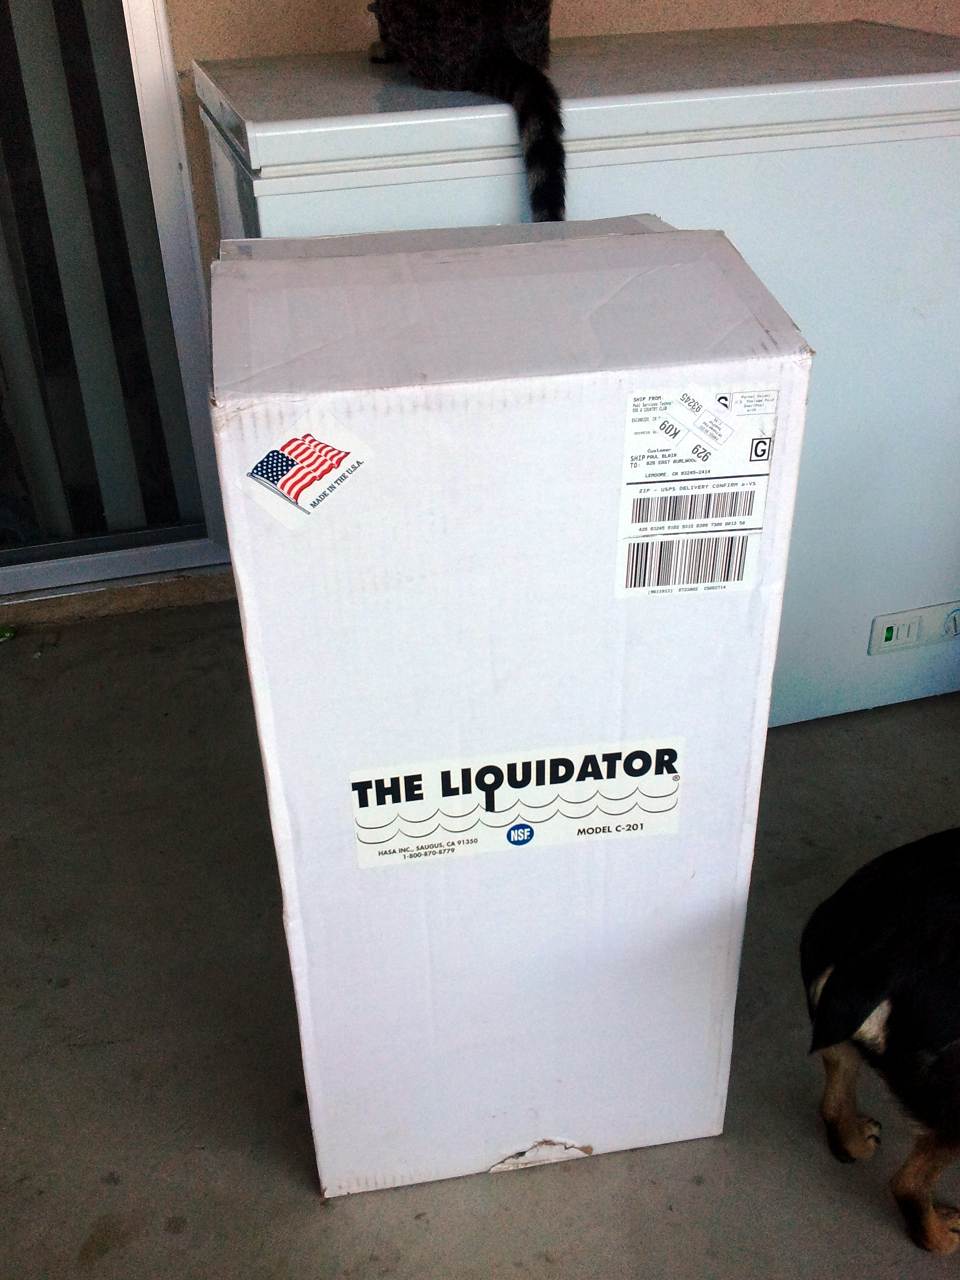
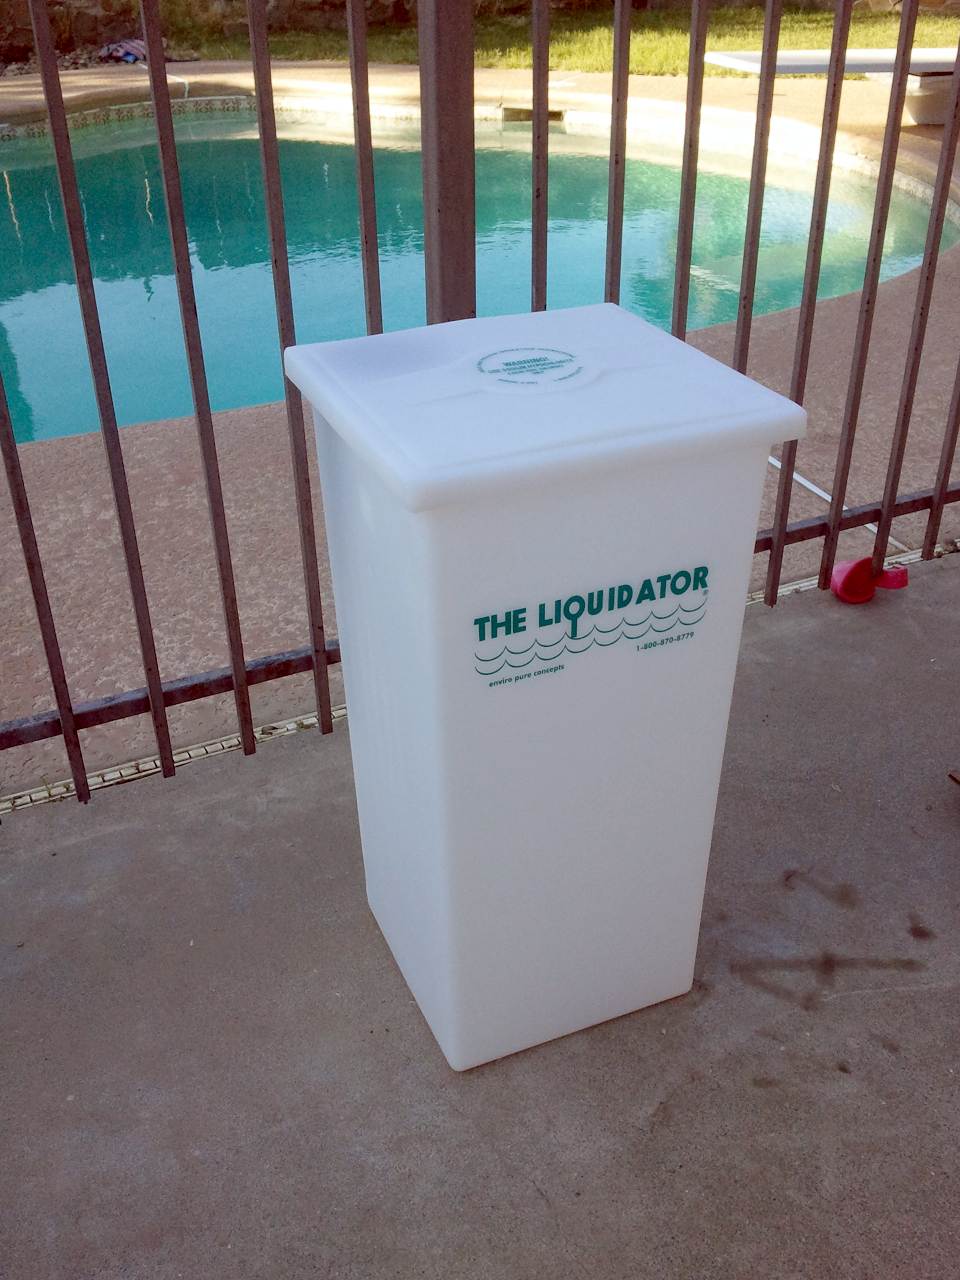
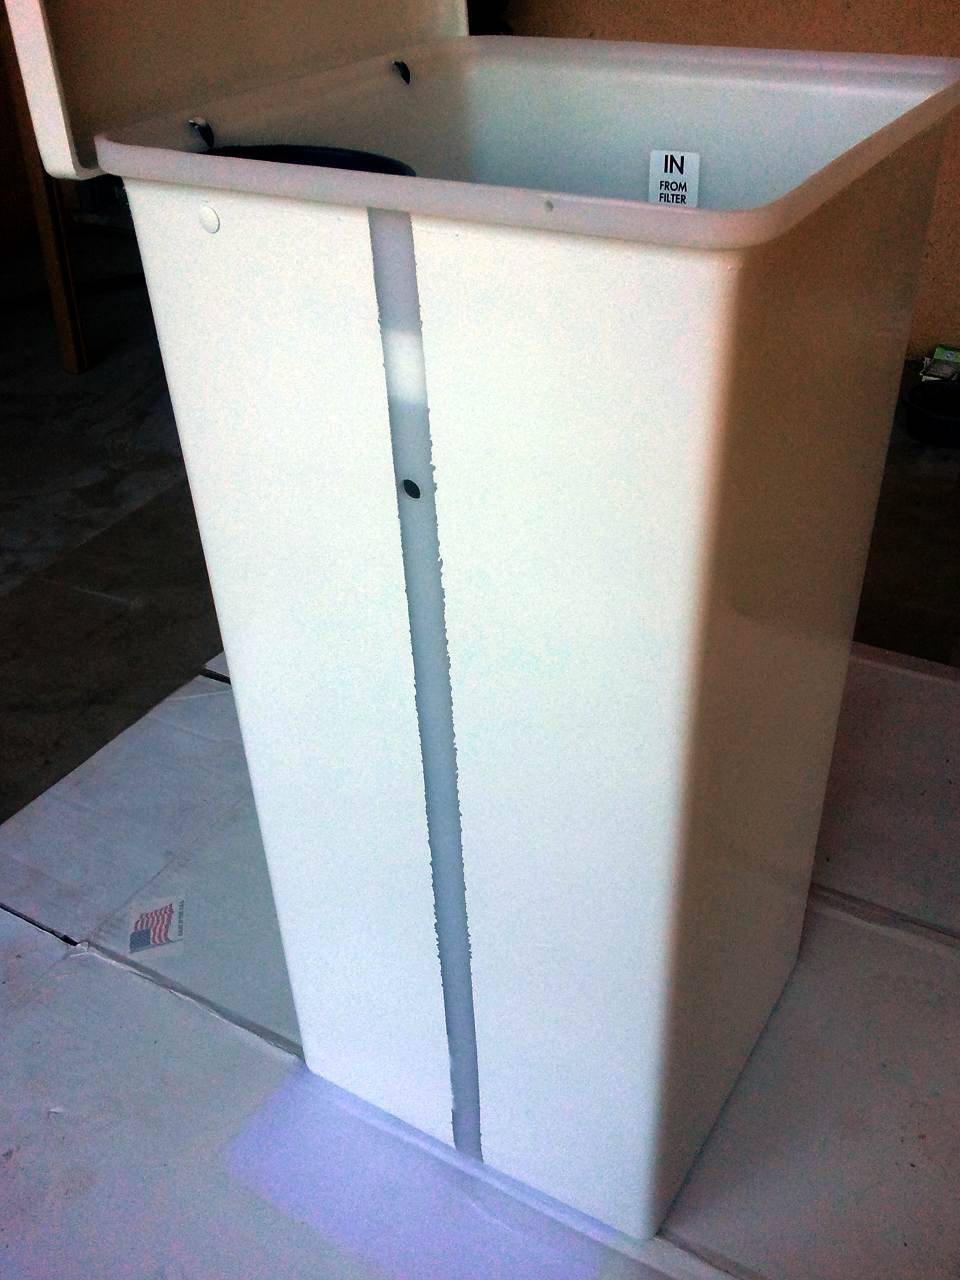
The box!
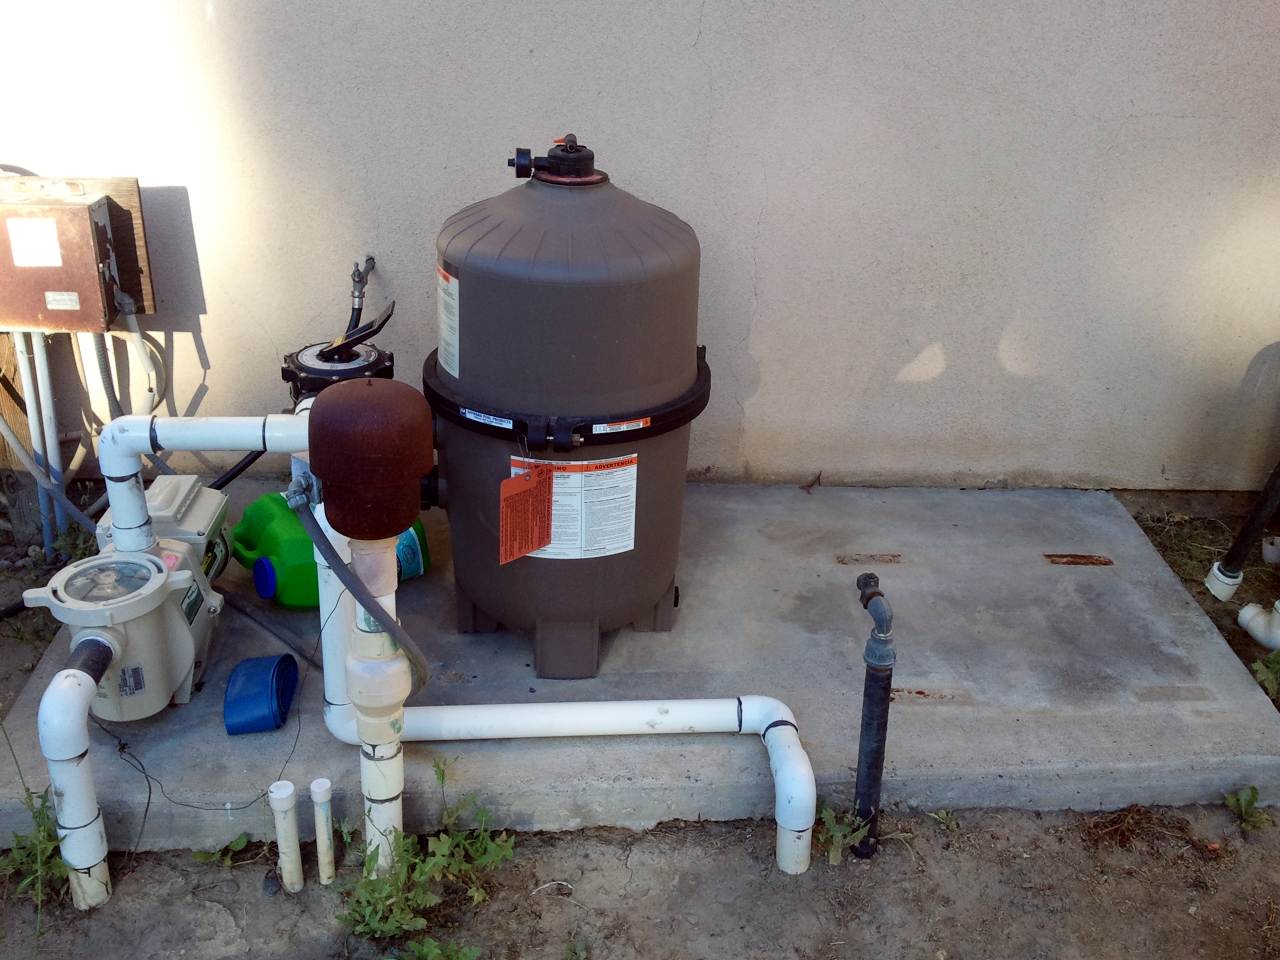
The pad. The empty space was occupied by an old, broken heater. We'll replace that one of these days.
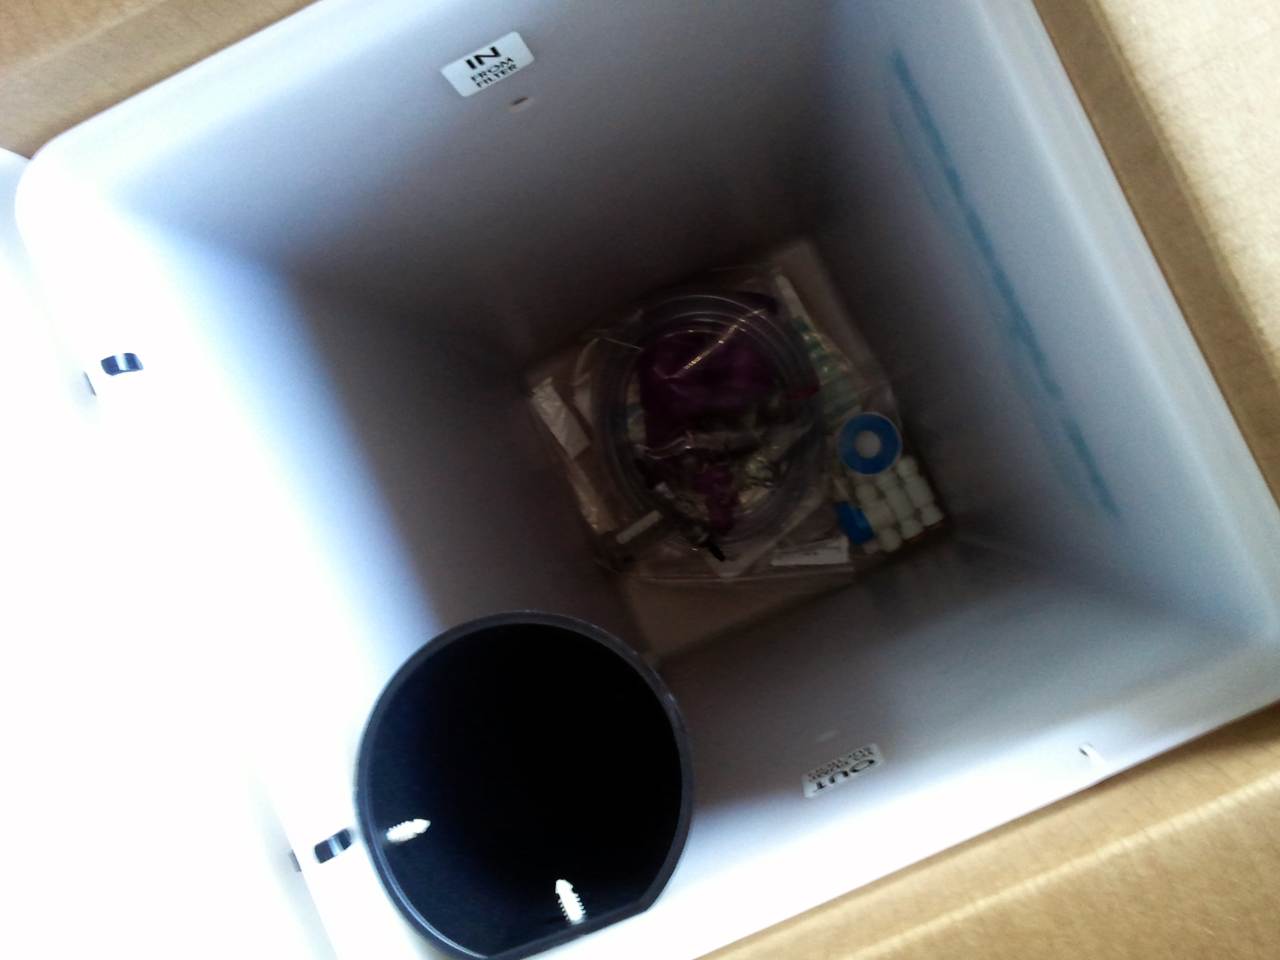
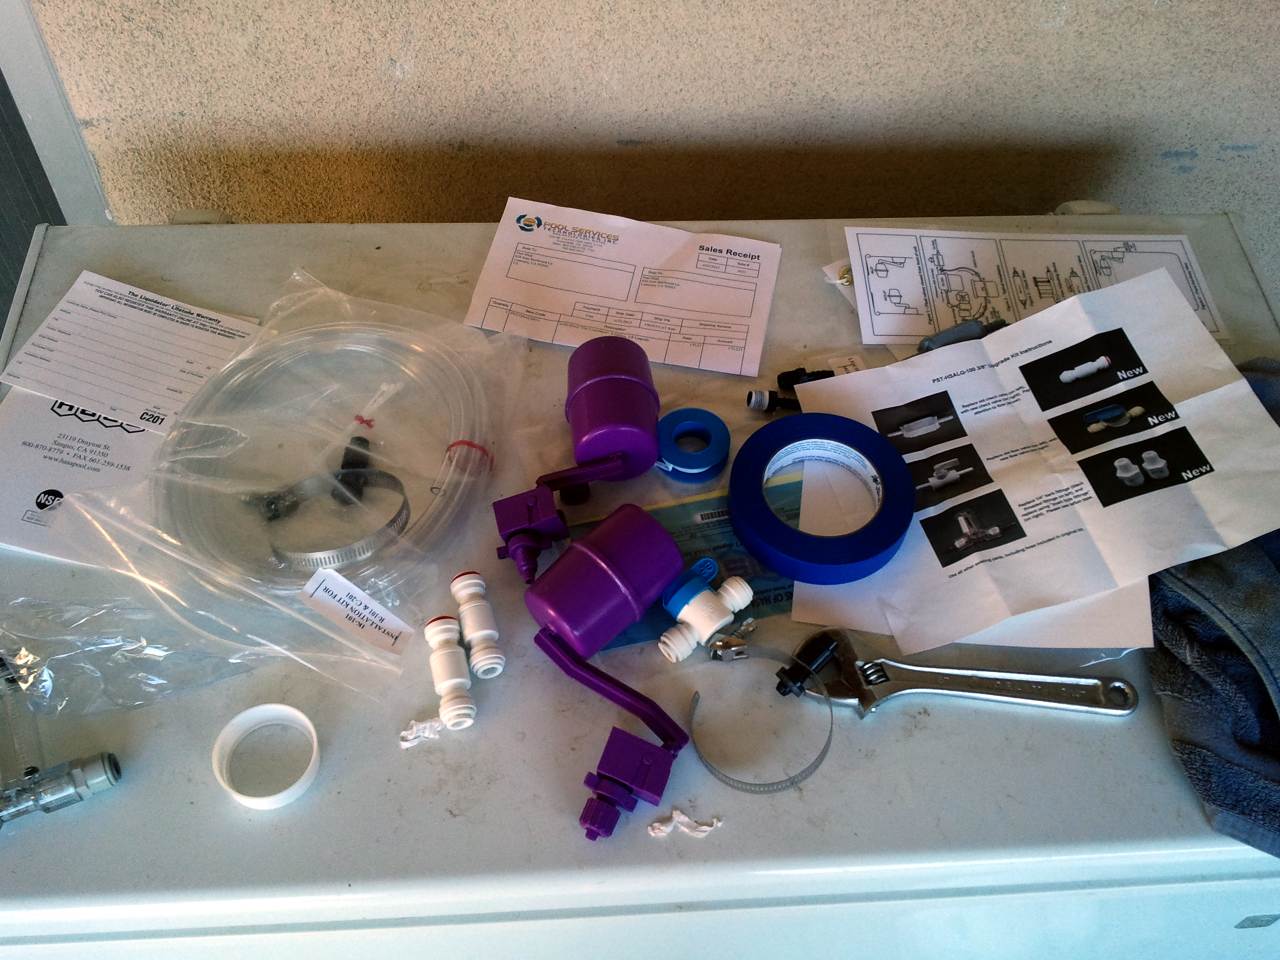
Parts. Lots of parts!
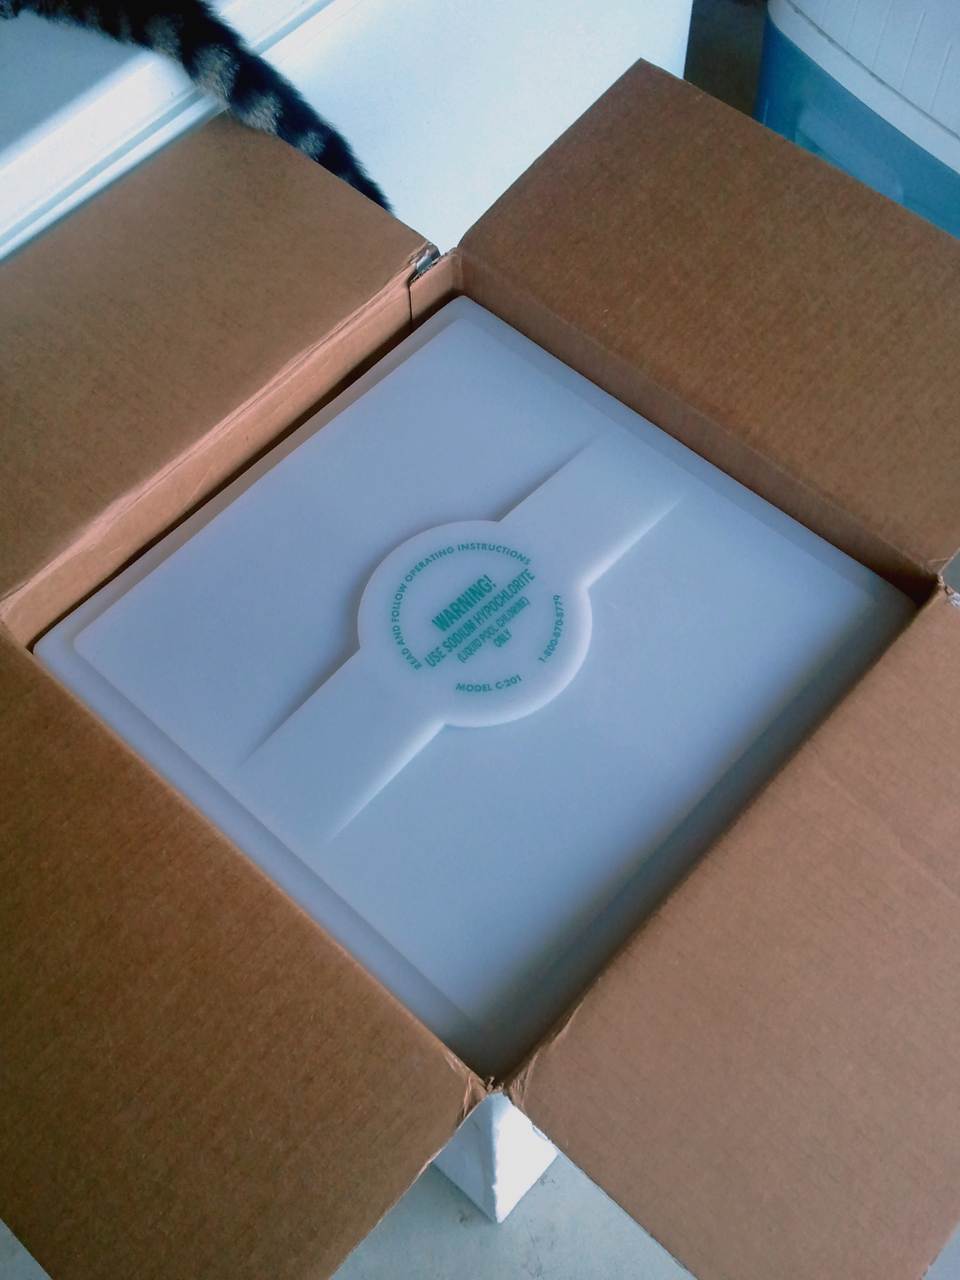
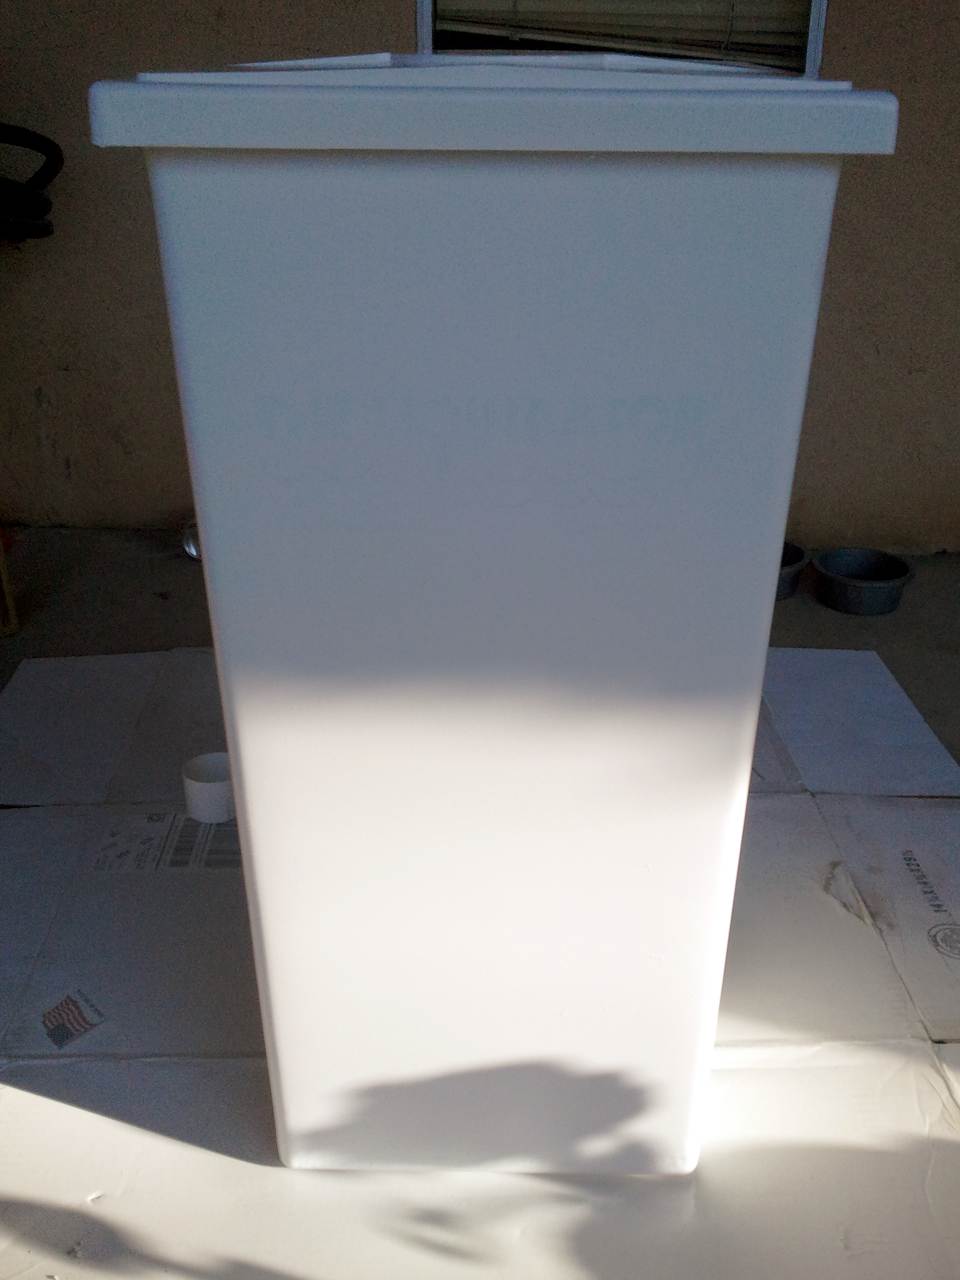
Fresh out of the box.
A nice white paint job. My pad sits in full afternoon sun.
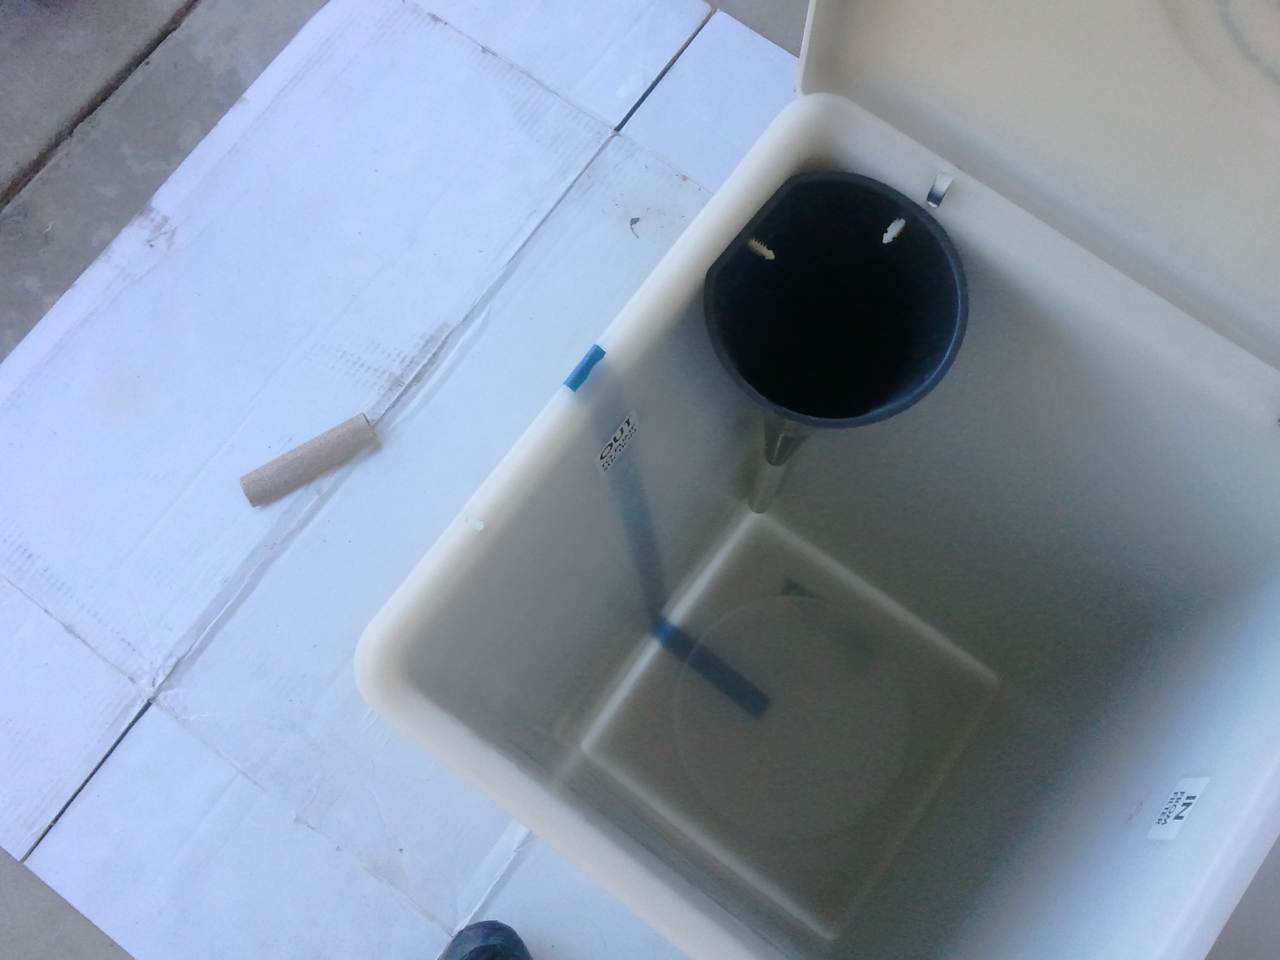
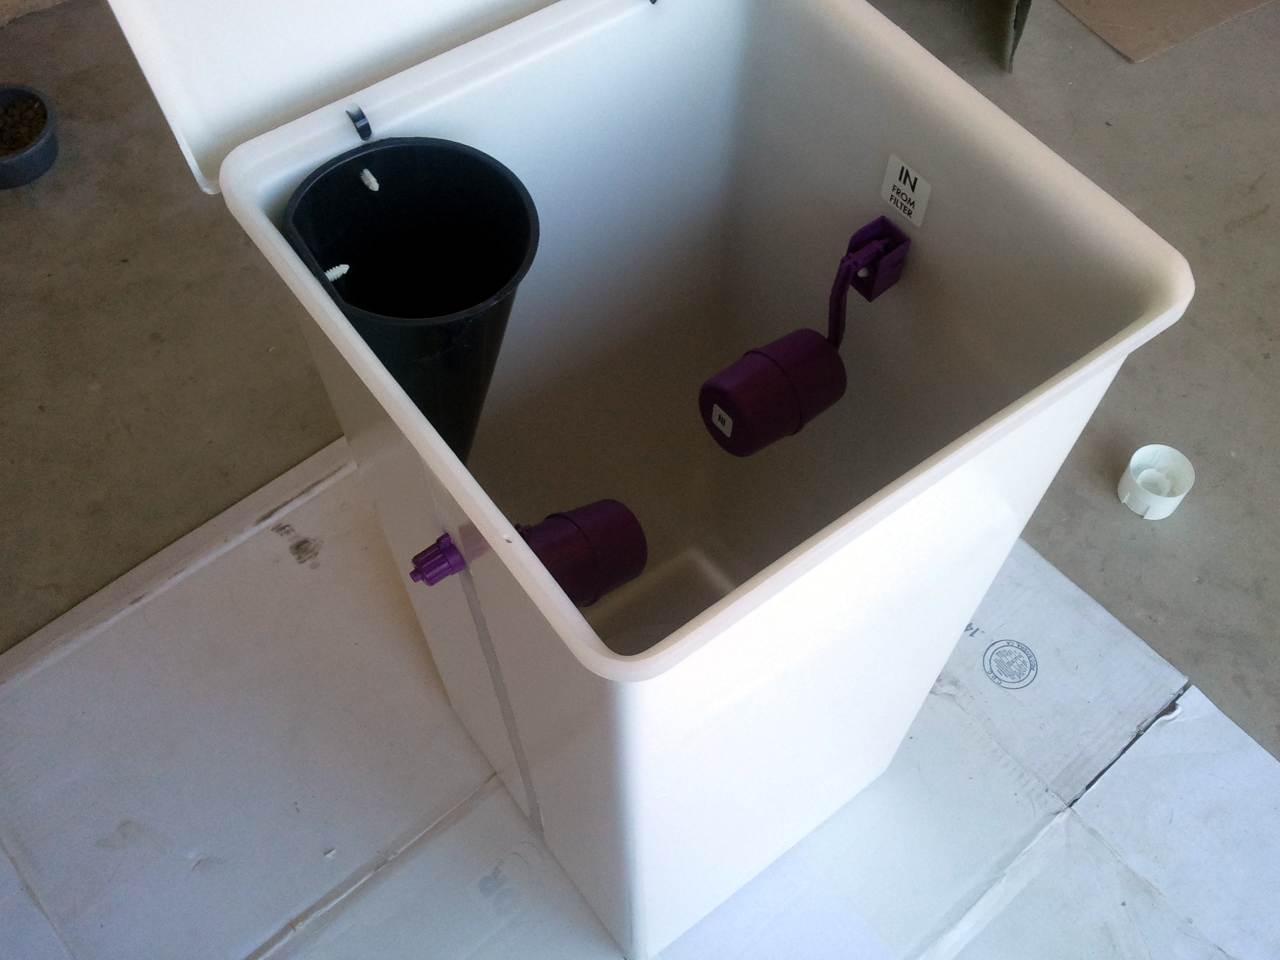
Assembly begins! Note: The floats are upside down in this picture. I figured that out after taking the picture.
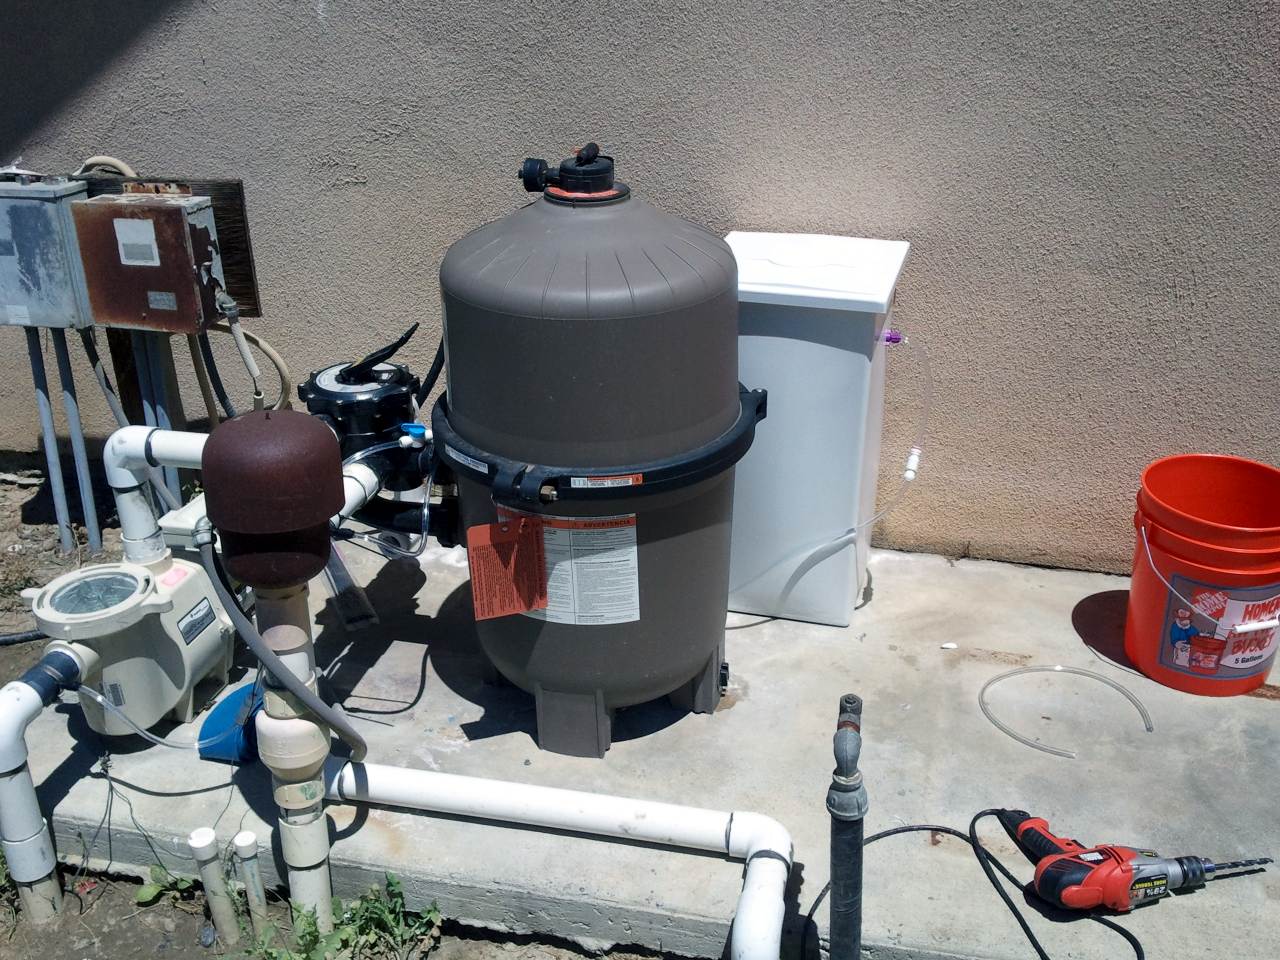
Still plenty of room on the pad for a heater. I could have even squeezed it further behind the filter.
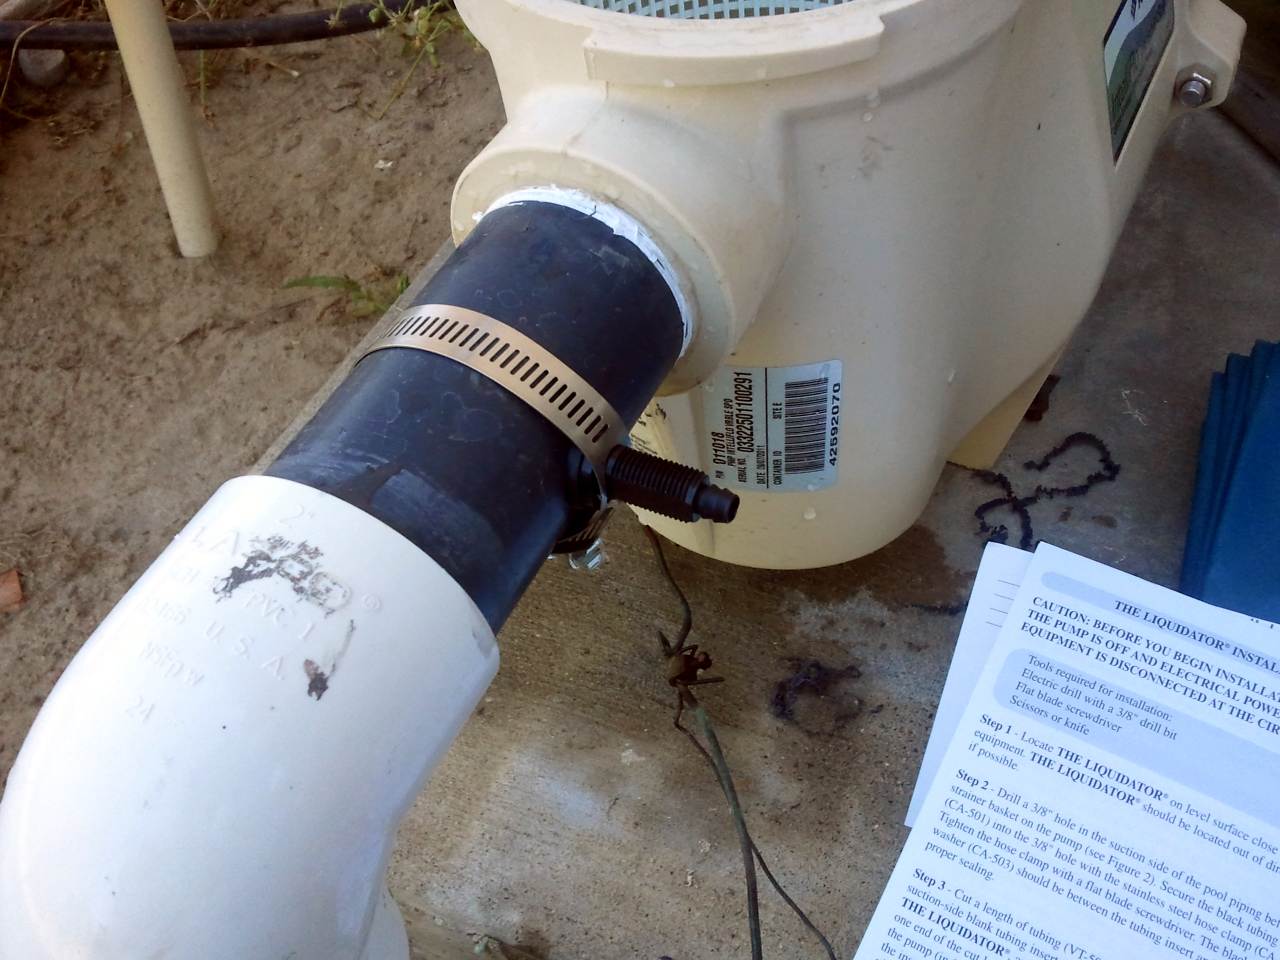
Drilled hole before the pump.
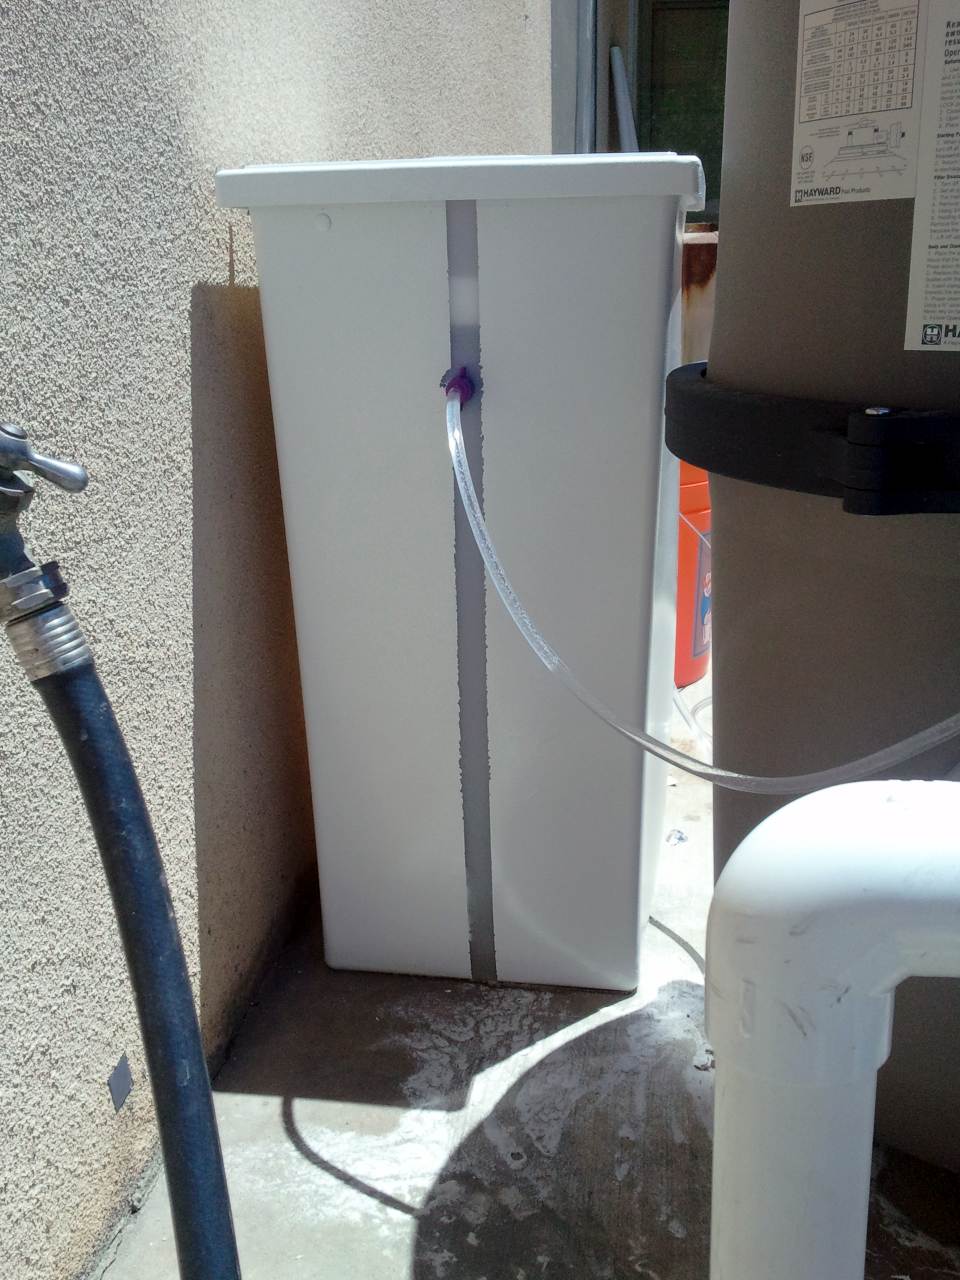
Fits quite nicely.
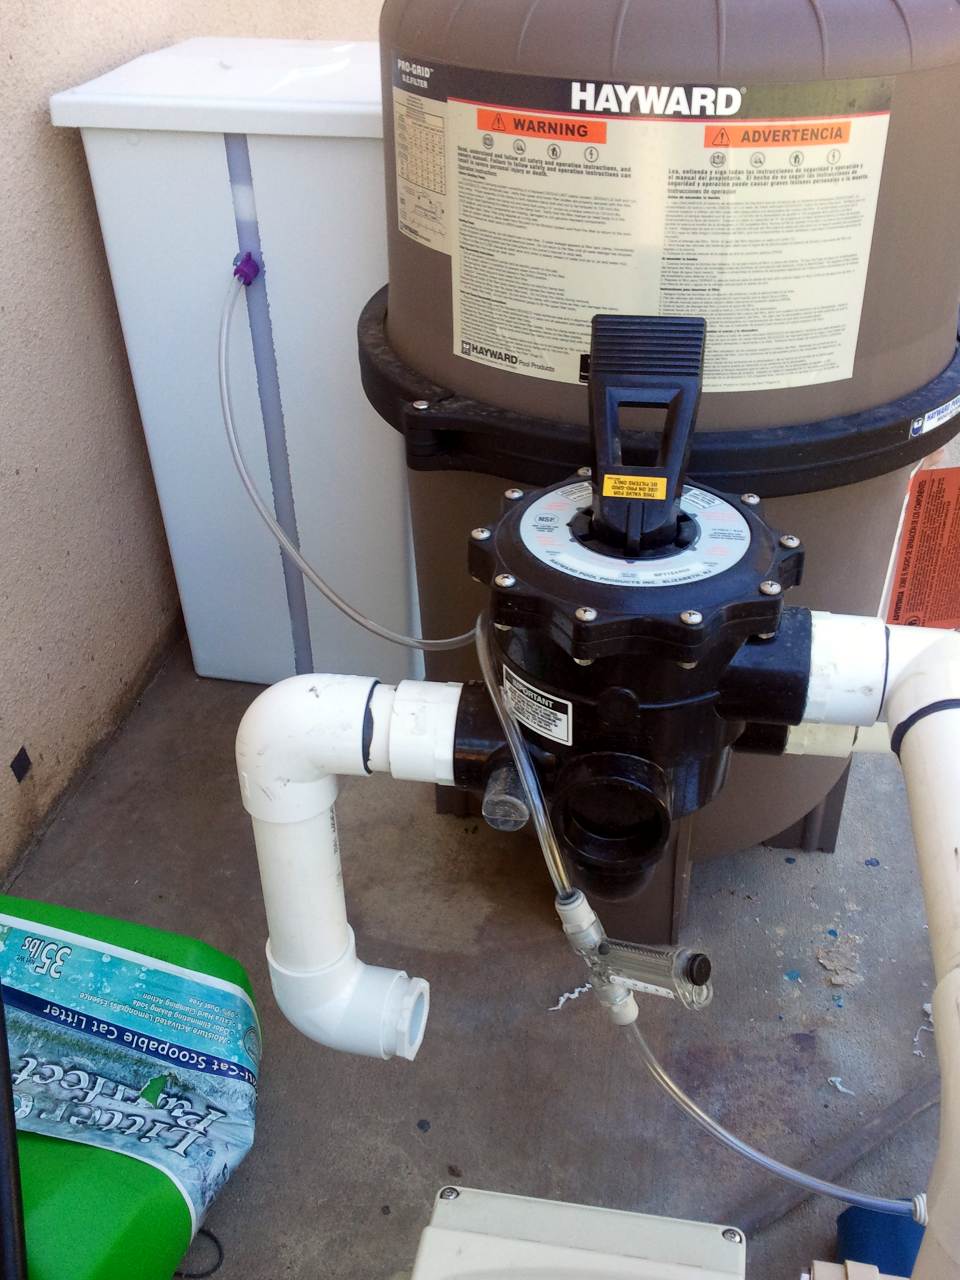
Check valve.
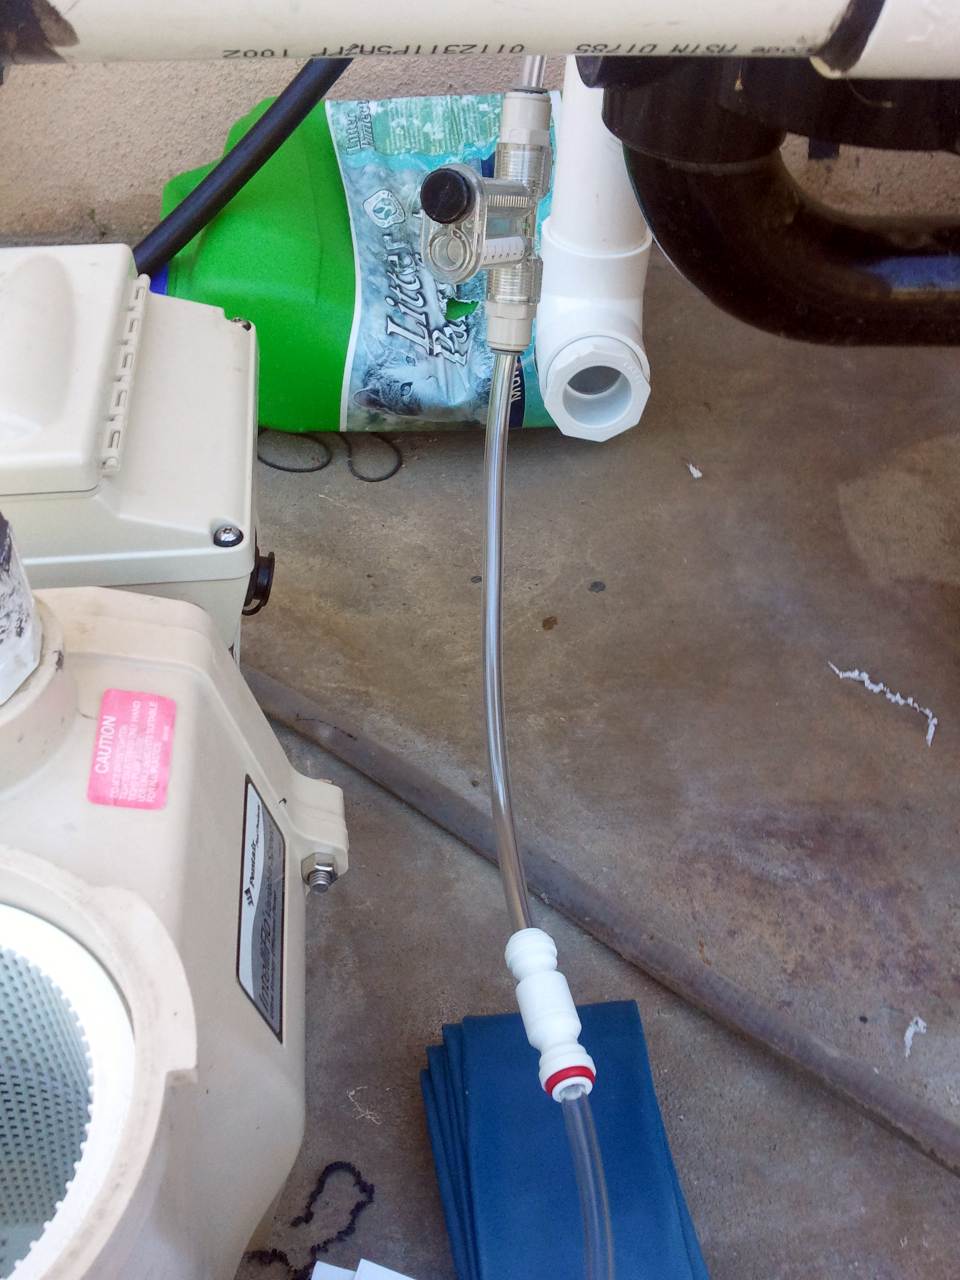
Flow meter.
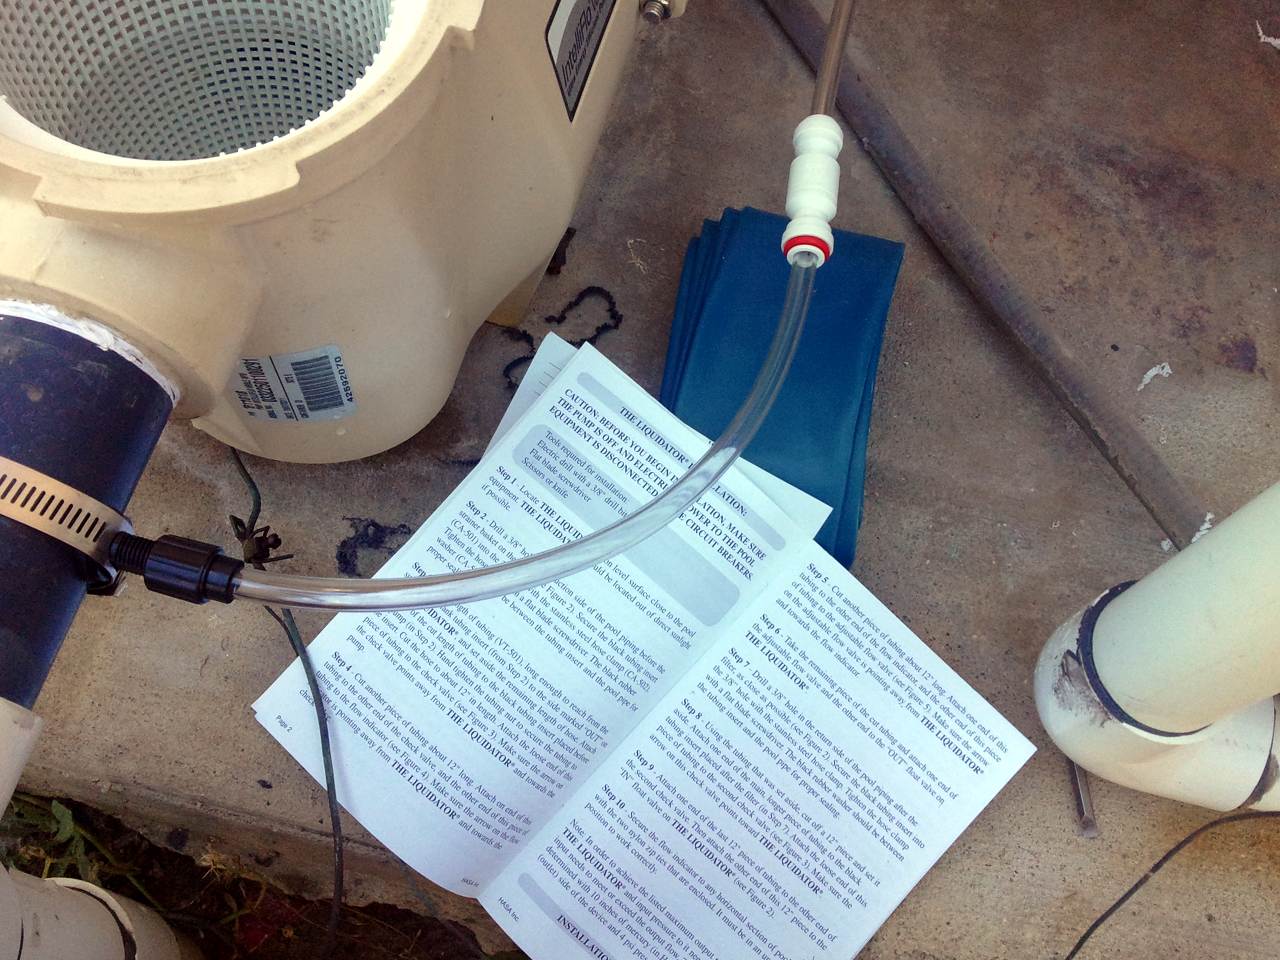
The "out" side.
And now the return side hose.
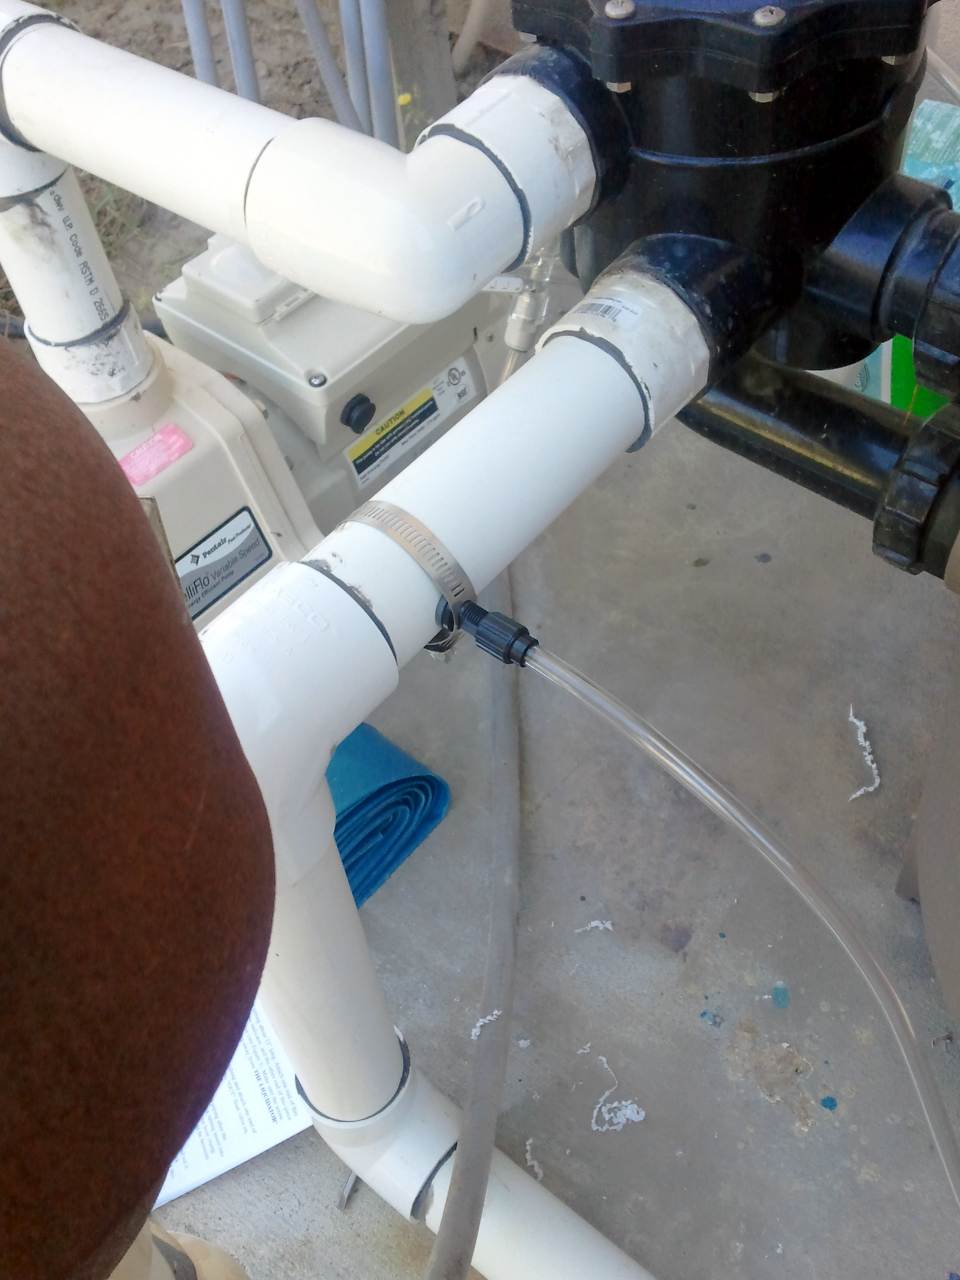
All hoses connected. Shot of the "out" side.
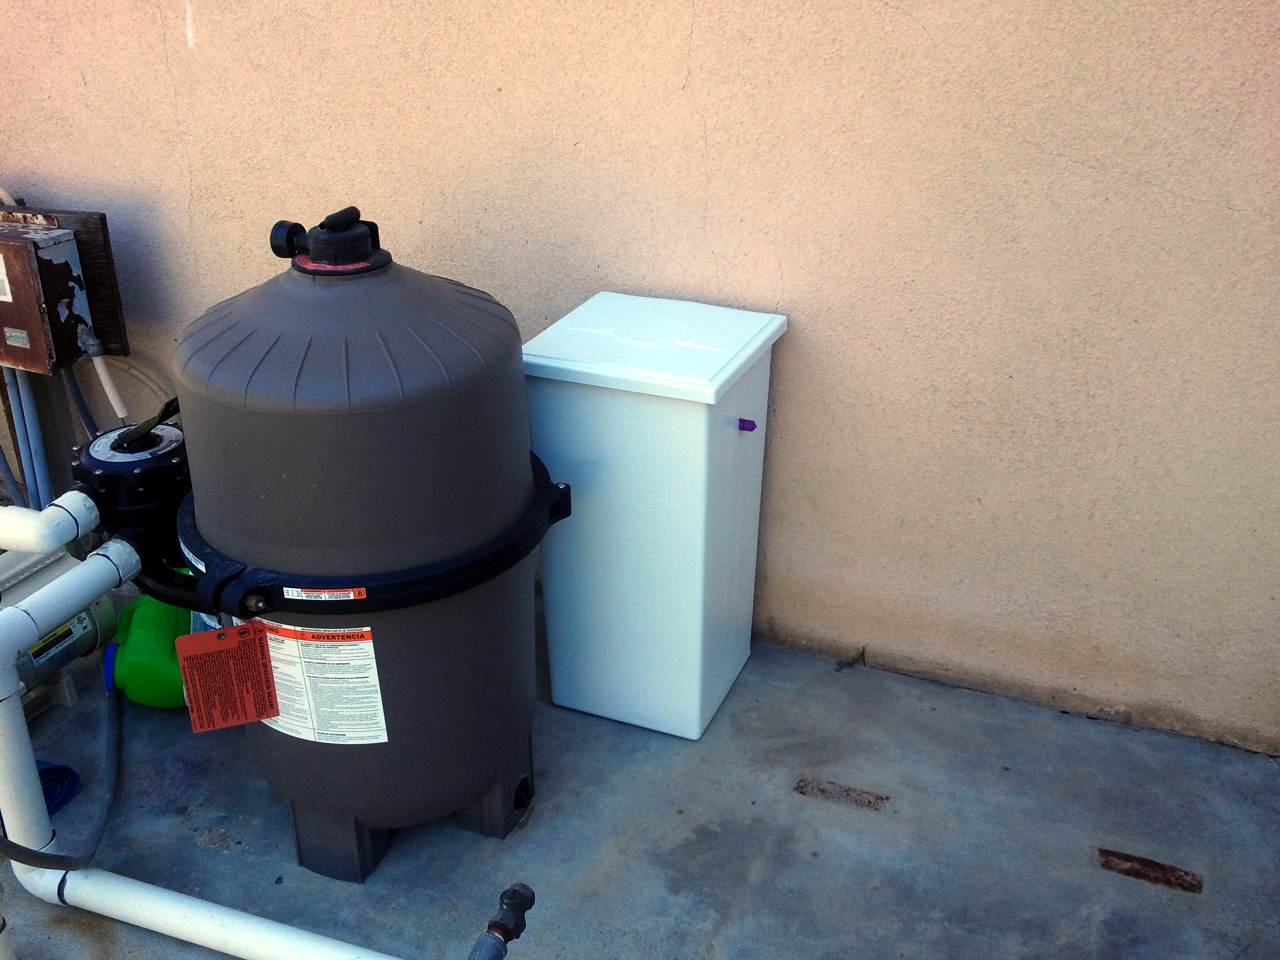
Full view. "In" side on the right.
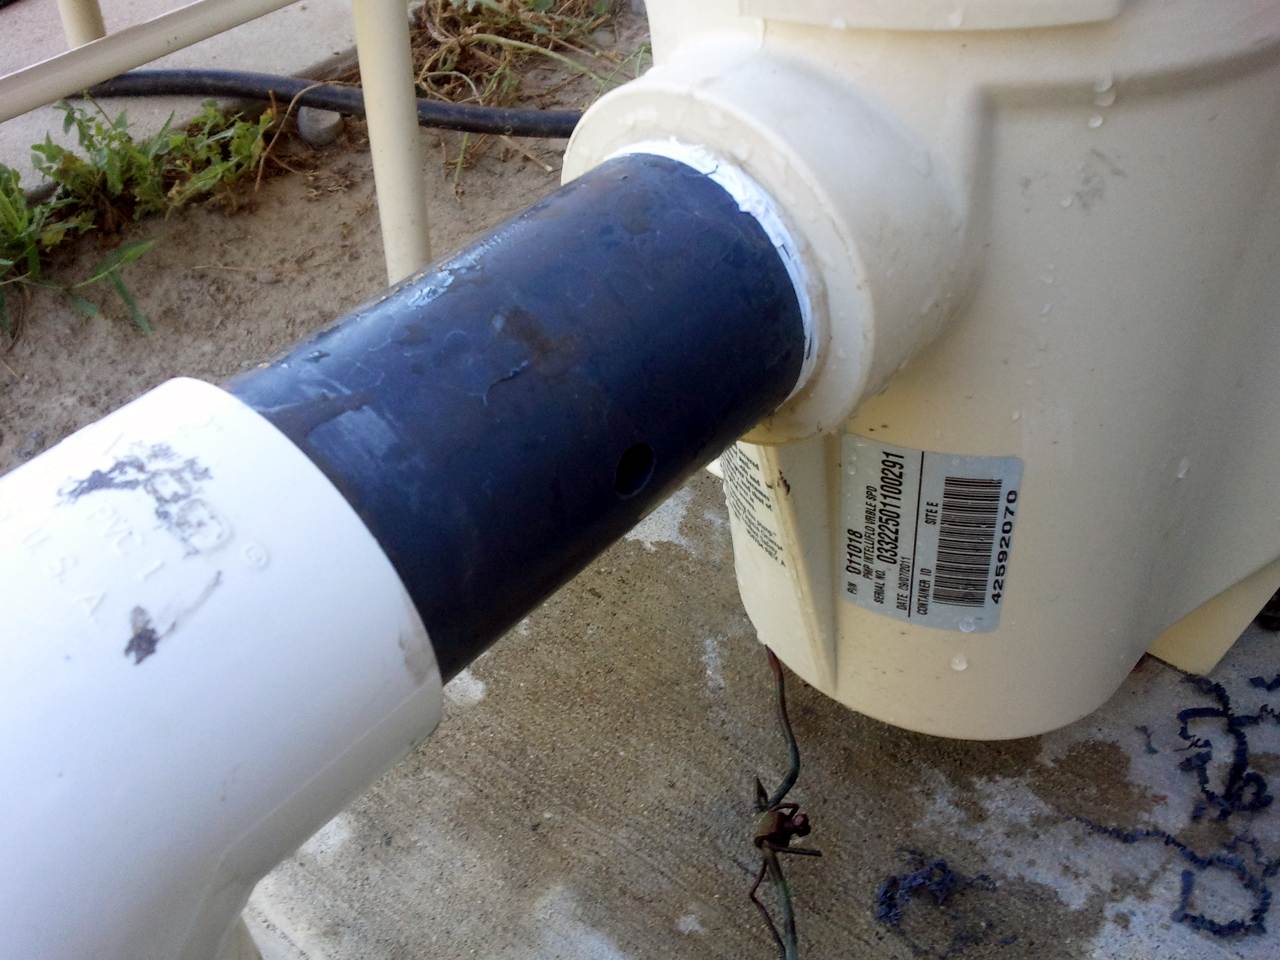
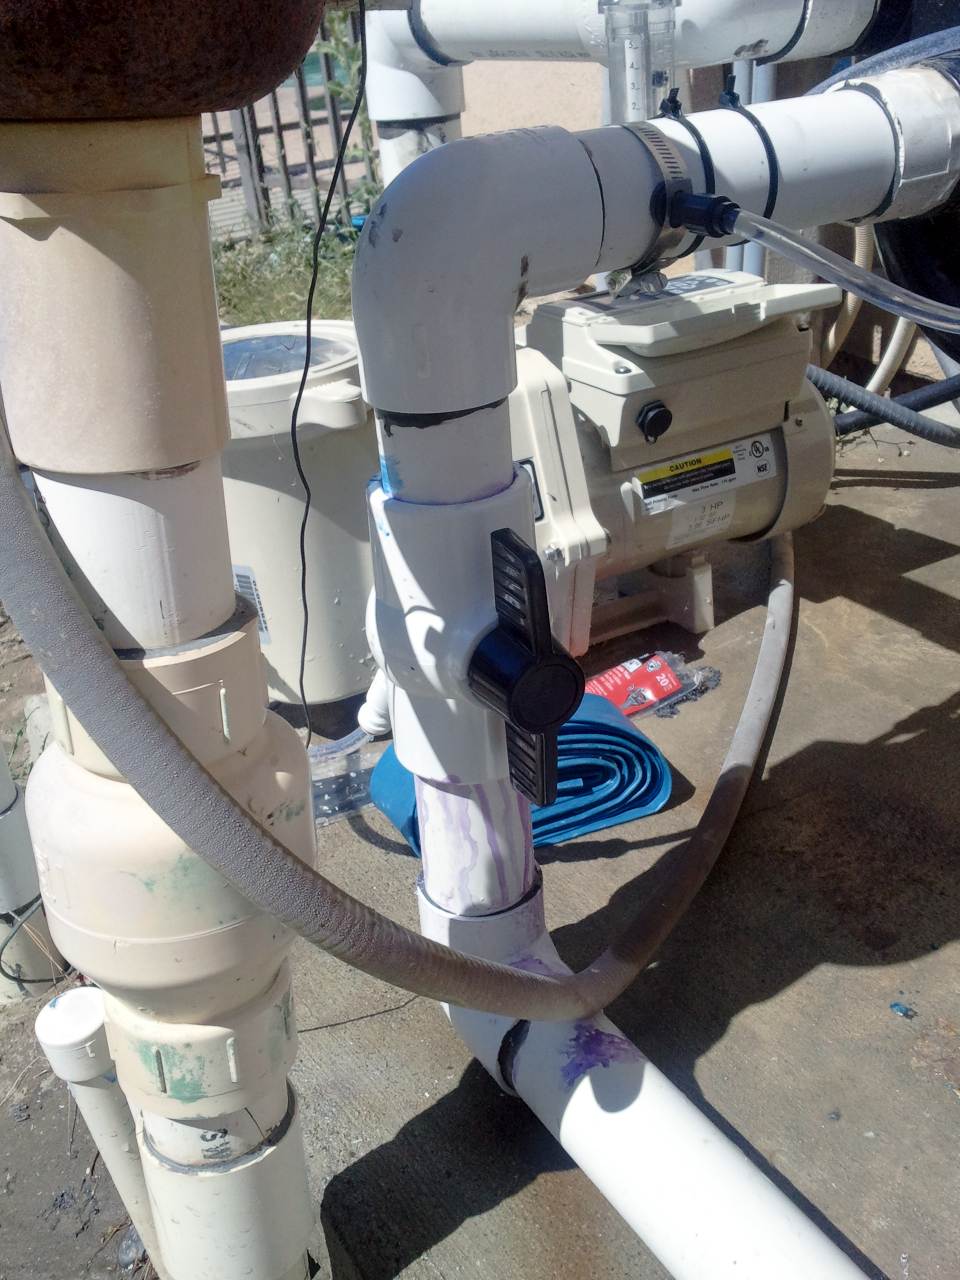
The plumbing in my pool is not designed very well. The return piping is much wider than the suction when switched to the pool skimmer and the same or slightly wider when the suction is set to come from the spa. When the filter needs to be backwashed, there is not enough pressure on the return to push water into the LQ when my pump is running at the low (1850 RPM) speeds that I run it over night. I installed this ball valve to help equalize the pressure. It worked like a charm.
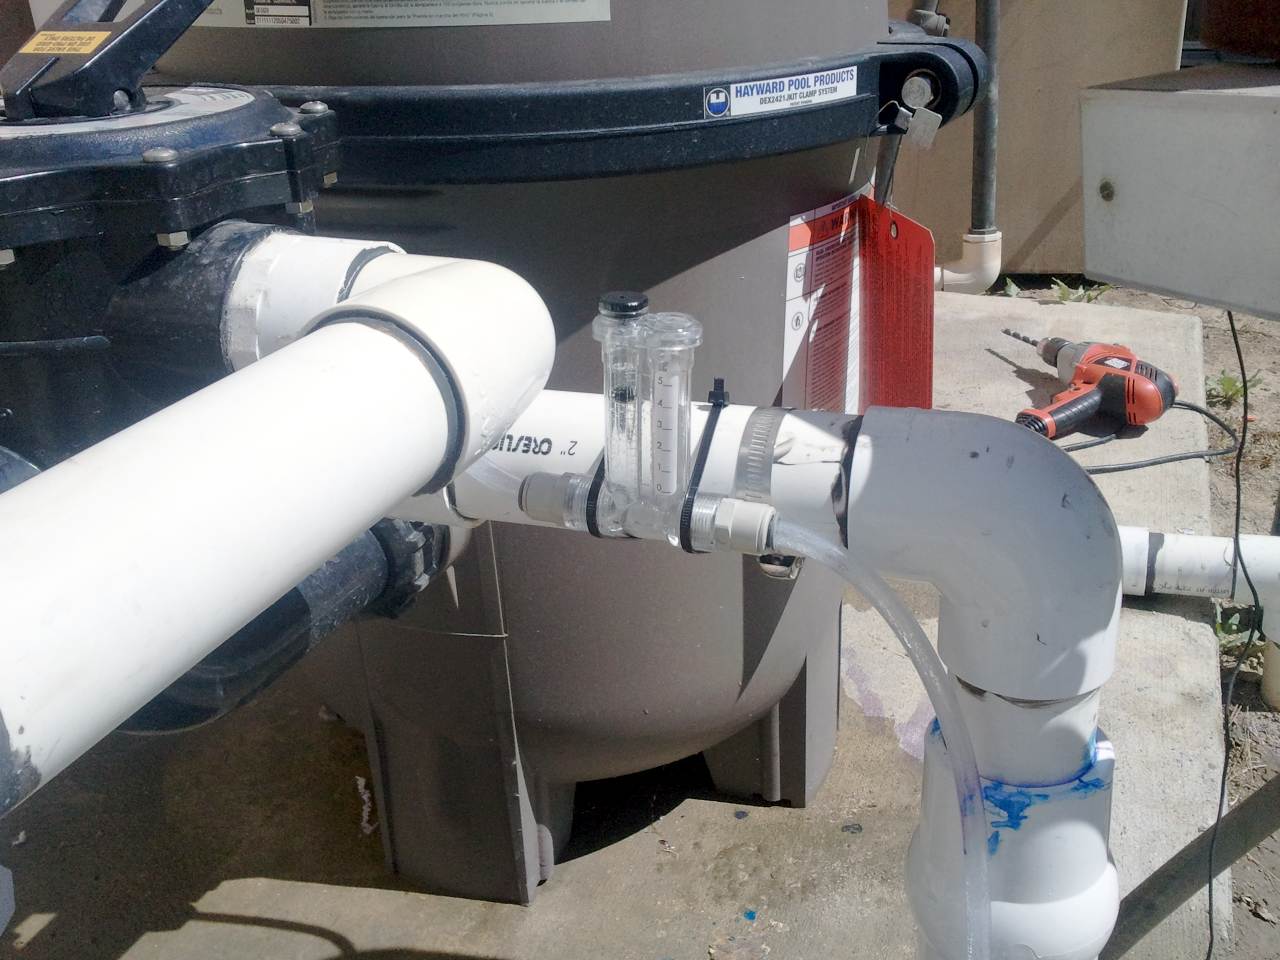
Mounted flow meter. The zip ties provided with the LQ were completely inadequate. I bought some longer, UV resistant ones.
Notes:
- The install was very easy. It took me no more than 20 minutes to get everything hooked up.[/*:m:qftz1rqb]
- As noted by many others on the forum, the check valves and flow meter do tend to leak air very easily. For me they seem to only leak air when the tube is bent near the connections. I am going to mount the tubes using zip ties to keep the connections straight.[/*:m:qftz1rqb]
- After the first night with the flow meter at ~2.5, the FC level raised by 2, which is close to what I lose in a day. So far, so good![/*:m:qftz1rqb]
The box!
The pad. The empty space was occupied by an old, broken heater. We'll replace that one of these days.
Parts. Lots of parts!
Fresh out of the box.
A nice white paint job. My pad sits in full afternoon sun.
Assembly begins! Note: The floats are upside down in this picture. I figured that out after taking the picture.
Still plenty of room on the pad for a heater. I could have even squeezed it further behind the filter.
Drilled hole before the pump.
Fits quite nicely.
Check valve.
Flow meter.
The "out" side.
And now the return side hose.
All hoses connected. Shot of the "out" side.
Full view. "In" side on the right.
The plumbing in my pool is not designed very well. The return piping is much wider than the suction when switched to the pool skimmer and the same or slightly wider when the suction is set to come from the spa. When the filter needs to be backwashed, there is not enough pressure on the return to push water into the LQ when my pump is running at the low (1850 RPM) speeds that I run it over night. I installed this ball valve to help equalize the pressure. It worked like a charm.
Mounted flow meter. The zip ties provided with the LQ were completely inadequate. I bought some longer, UV resistant ones.

