18'x48" Ultra Frame Progress & Build

Jul 5, 2011
31
Seneca, IL
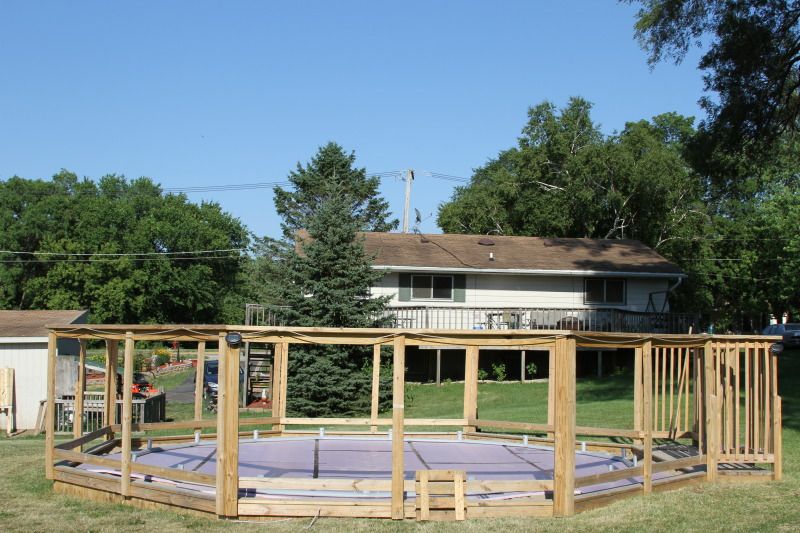
So finally, after having our pool sitting in the garage since Sunday, we finally get to begin the process of putting up the pool. Last year we had the same size pool, just the blue blob easy set version. We plan on setting this up & leaving it up through the winter, so we are making sure that everything is perfect. We still have to finish the octagon fence that is holding our pool as we didn't last year.

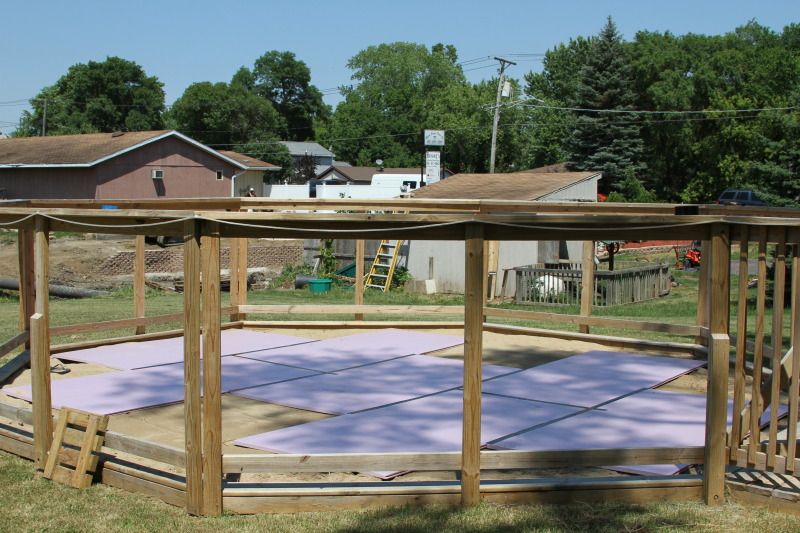
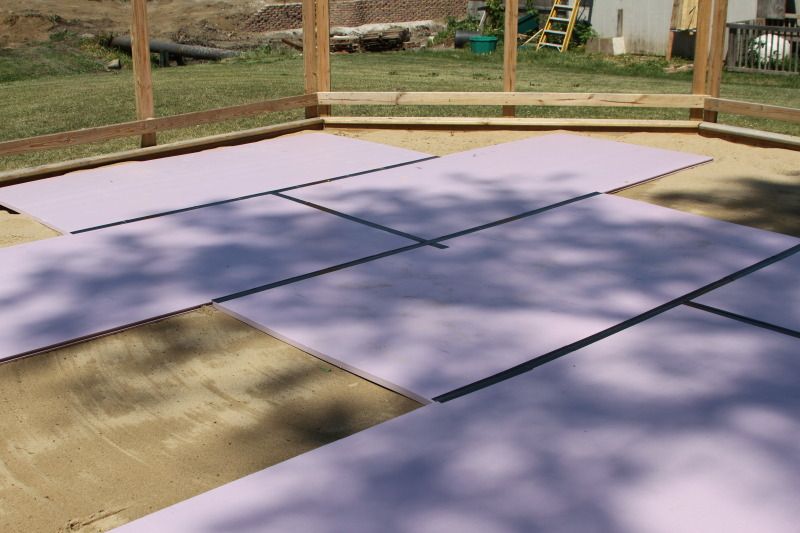
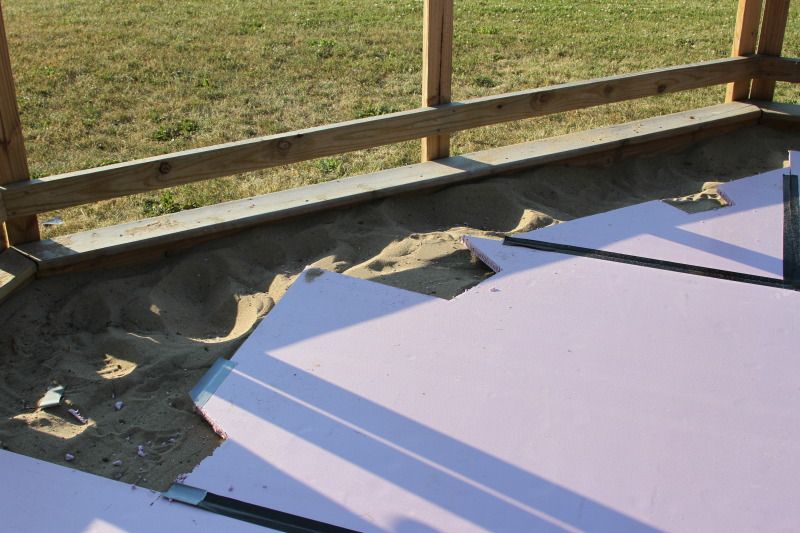
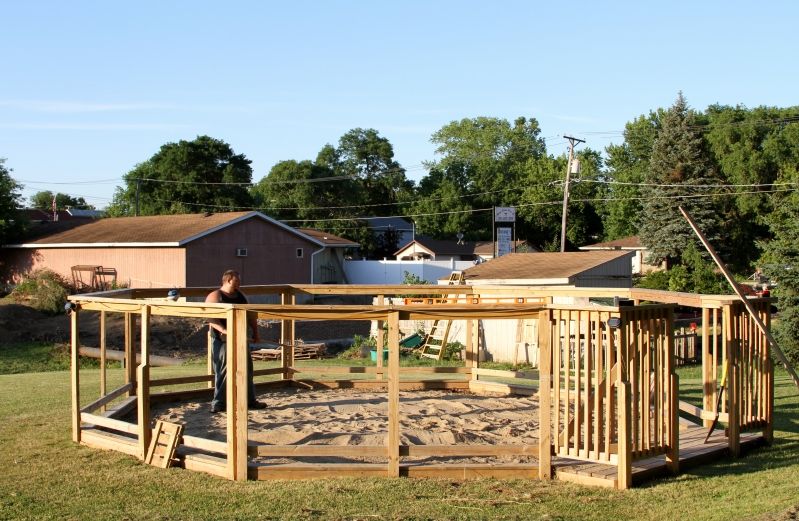
This time we are triple checking the levelness of the sand (as we thought we had it last year but it ended up not being so) and then we are going to lay down the polystyrene, tarp, and go about all of that nonsense. Then landscape some around it and enjoy my 2650 sand filter and then SWG.

But I figured since I love too see everyone's pictures of how they are doing things, I could share mine.

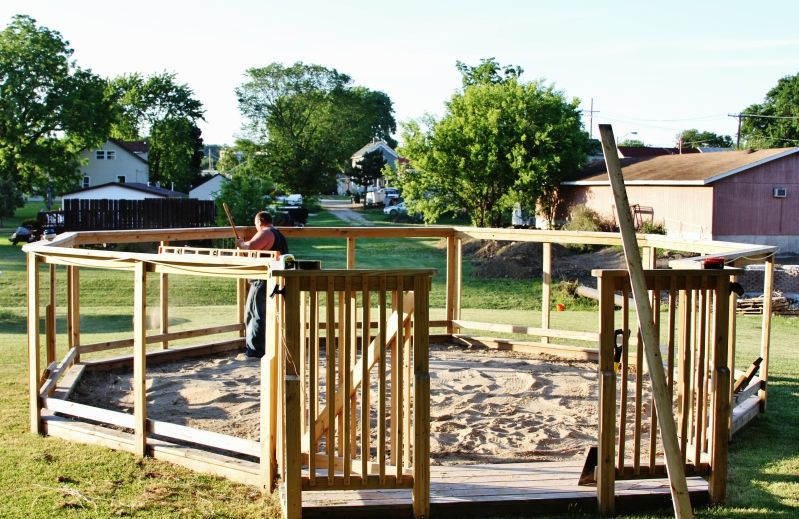
This is day one: leveling

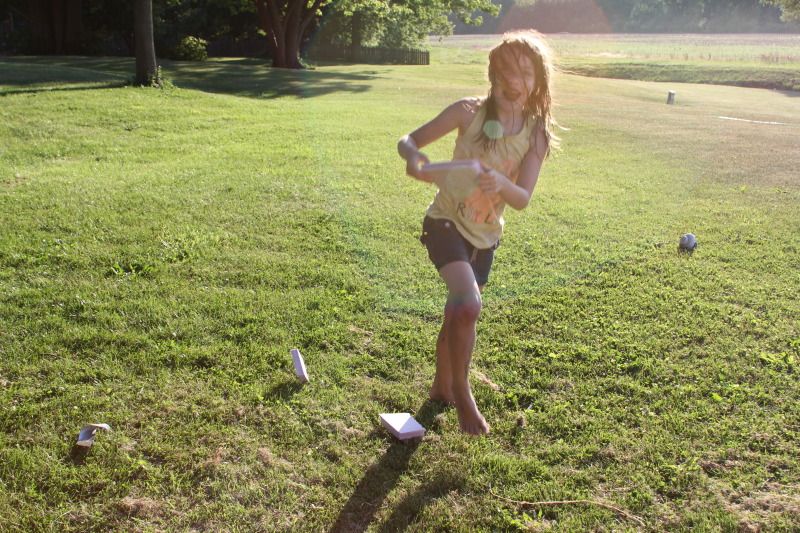
It started out all nice & sunny & hot.
015.jpg


016.jpg


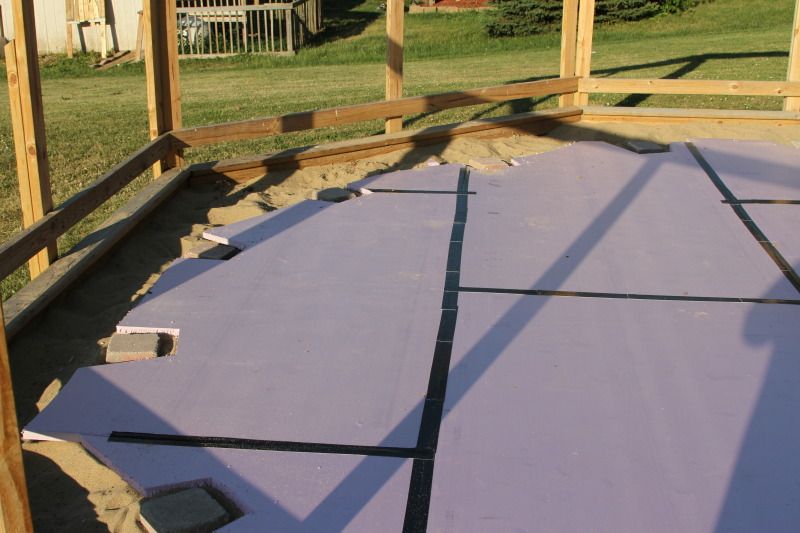
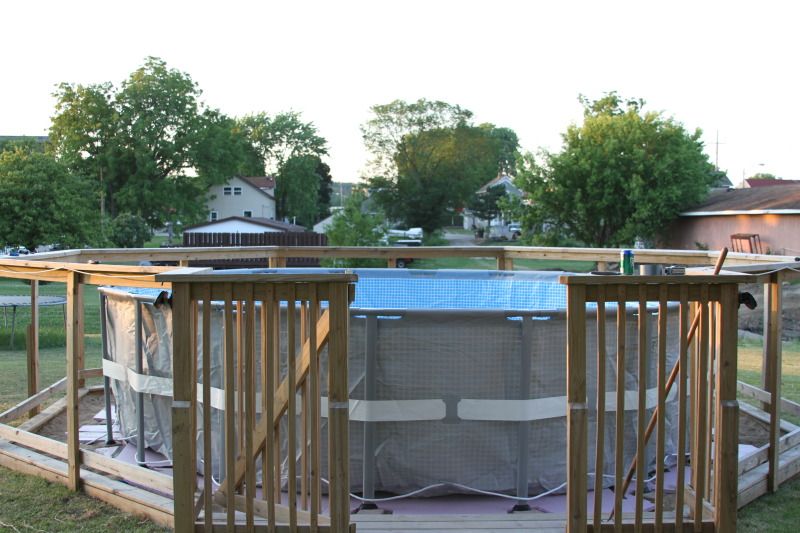
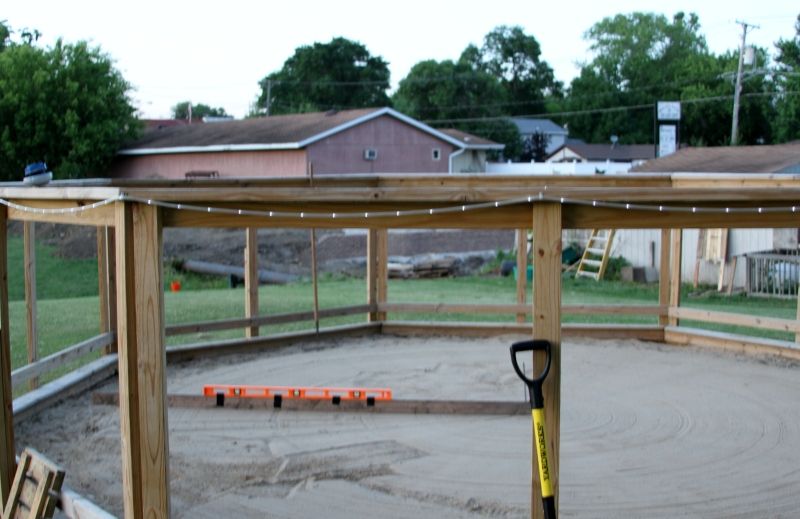
Ooops, it's starting to get dark & the sun is going down.
017.jpg


018.jpg


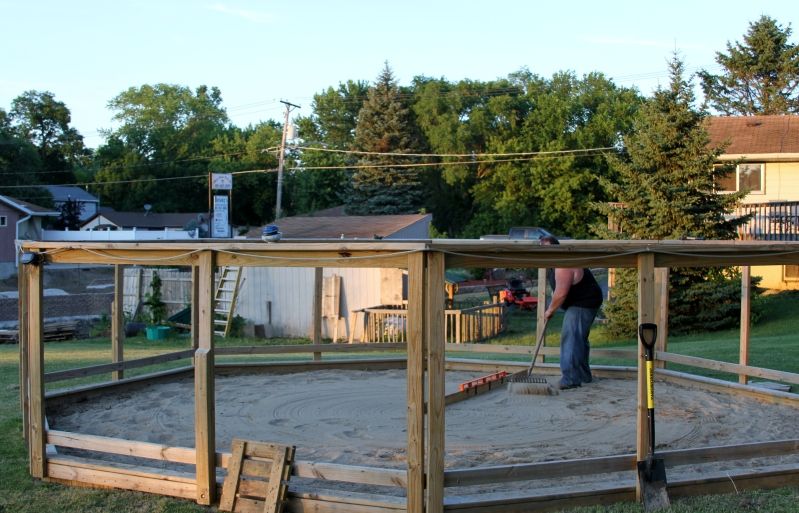
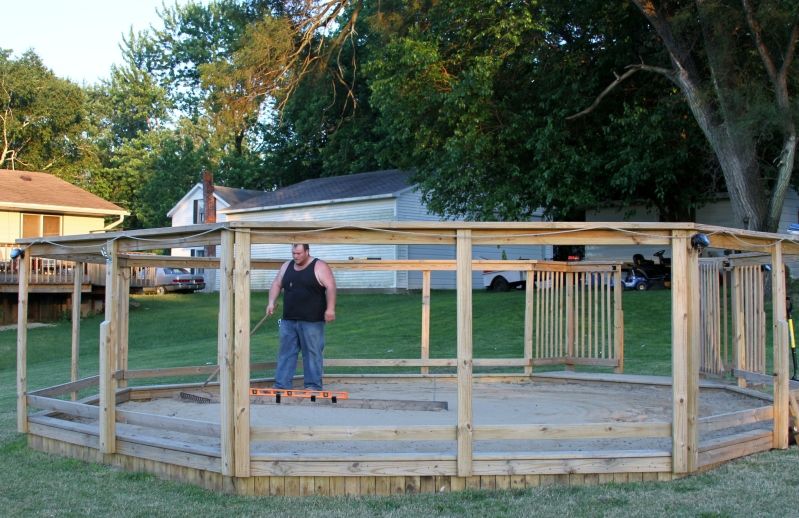
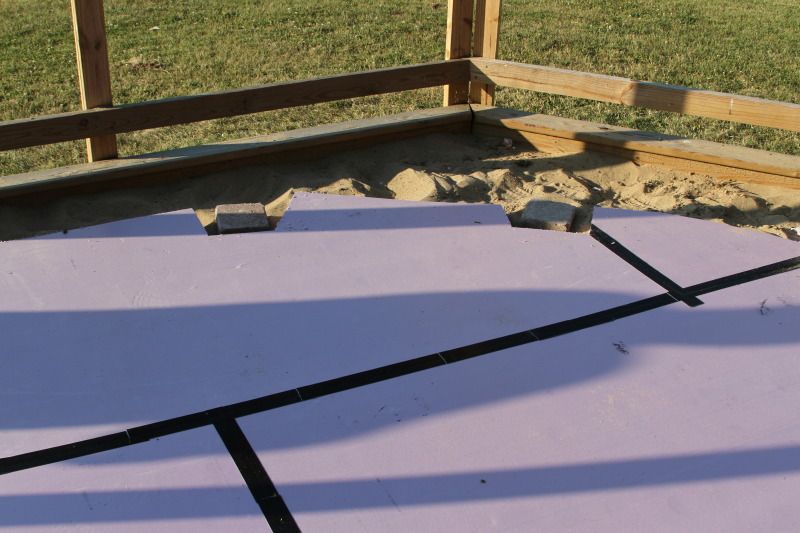
Leveling is hard work!
019-1.jpg
 
Thanks guys! We had to do the "octagon" as we call it because our town required a fence around any pool with more than 24" of water in it. It would have cost a lot of money to fence in our yard to the appropriate height (our yard is massive), so we just went this route.

So luckily the boyfriend was a deck builder long ago and was pretty good at it. At first we were going to just put bamboo fence-type material around the fence, but we were already into the middle of July by the time that happened, so we snuck by without finishing it. We're just going to put more of the picket-type things (technical definition right) around it as it is by the gate and then stain it once we are all done.

Today once he gets home from working, we are going to go back out there, keep on at leveling (I think that is the hardest thing to do), then wet the sand, tamper, and we are hoping to set up the frame so we can see where the pavers are going to go, get the foam laid down (this makes us both shudder thinking about it) and then maybe we can go from there.

It's supposed to be in the 90s this weekend and I start my new job on Monday, so hopefully we can get this pool up. Pretty sure that one of these days are going to be filling to pool using the old handy, dandy hose!

I shall post more pictures as we go along.
 
Well, Day Two ended up being not much of anything really. The boyfriend ended up coming home late and I wanted to go to the fundraiser for the Animal Spay Group that is near & dear to my heart, so needless to say, we raked some more sand, leveled again, and that was about it.

Day Three: Late start due to fundraiser! :)
Went over the area again because random dog from somewhere left paw prints all around the sand. We went the sand and it was pretty darn compacted. We started bringing over the foam sheathing from the garage to the octagon and began laying down the foam board.

026.jpg


027.jpg


And with that, it was time for a lunch break! :) Just waiting to get back out there and start working. More pictures to come.
 
Alrighty! We are done with the day three work. Dear lord, this is hard work, especially when the sun is beating down on you, it's like 90 degrees out, and your wrist hurts! But we got along!

I do have one question though....

While we were hastily trying to get up the pool, we forgot to put the ground cover over the pink foam. Neither of us want to take it all down and then put the ground cover over it. Before we laid the sand down, we put a ground cover over the ground before we laid the sand (it actually was a heavy duty, thick tarp). We didn't have a problem with any weeds or anything and when we laid the foam, we used gorilla tape & went over the seams twice. Will we be good or do we absolutely need the ground cover over the pink foam? Is there any possible implications of leaving it as is? We will only probably be at this house for another two pool seasons anyways.

But alas, here are the pictures!


The foam is finished. We have the frame assembled so that we can notch off where the pavers are going to go.
028.jpg


029.jpg


This is how he notched it out. This way when we set up the pool, we can still allow for some paver movement either backward or forward. It looks a little sloppy, but worked out decently.
030-1.jpg


Here are our 6x6 pavers.
033.jpg


And here they are in action, in place.
031-1.jpg


034.jpg


(As a side note, the kids thought that it would be fun to take the extra pieces of pink foam and try to punch, karate chop, and break them in half. This is my daughter trying to knee it in half, so if you have your kids with you & they are bored, then here is something that you can use to keep them occupied for a little bit)
032-1.jpg


And finally, the conclusion of day three...the pool is up.
We didn't start putting any water in just yet because there was a lot of swearing, yelling at T-parts, and pool legs. As soon as we would pull it out, the leg would come off the paver. I'm not the patient person & it gets me mad. So tomorrow, first thing, I am going to assemble the ladder, figure out how in the heck to get those wrinkles out, install the thru-wall skimmer, and then fill up the pool.

035.jpg
 
Looks awesome so far!
I put up the same pool last weekend. I cut out the sod 6 weeks ago, some grass started growing back. I pulled what I could, then leveled with sand. All the budget would support at the time was ¼" fanfold foam, so that's what I put under the tarp. I bought the pavers with the intention of using them, but I too was distracted trying to get the wrinkles out. It took me a while, but I realized that I was just moving the wrinkles from side to side. I then started going around the edge again, but only pushed the liner out a little bit at each spot- not quite enough to get rid of the wrinkles all at once. This did the trick, and the wrinkles weren't so bad. Once I got an inch or two of water in, I crawled around working the remaining wrinkles out toward the edges. My pool bottom is now wrinkle free and feels pretty comfortable, even with only ¼" of foam.
 
You were asking about the cover over the pink foam. The only thing I think you may notice over time is feeling the places where you put the gorilla tape on because you would be surprised at how you can feel everything once the weight of the water has been on that liner for a few weeks. I honestly don't know if that could be a problem down the road or not. Maybe someone else could respond. I don't have the foam under mine just a heavy duty tarp. Anyway, just wanted to say that I think that your "fencing" "deckwork" looks great and that was a fantastic idea!
 
I think, that if you don't tell anyone that you forgot the tarp, no one will know it's missing. Kind of like cooking. However it comes out, just tell everyone that that is just how you intended. Who's to know the difference? Plus, how many non-pool people even know that there IS a tarp?

The pool comes only with a ground cloth. I would think that if the company says that that is all that is needed, then the insulation, being thicker and more protection, would be just that much better than the ground cloth. So, no harm, no foul.
 

Enjoying this content?

Support TFP with a donation.

Give Support
By the way, I know you said you're going to finish your fence. But, I can't help thinking, every time I see it, "I see a flaw" :lol: , then I think too, that as long as you shut the gate, surely no one can get in! :shock:
 
Do a little reading on installing the thru-wall skimmer. Sounds like you were planning to do it with the pool empty. I think I've seen on here that people think it should have quite a bit of water in it so the wall has some tension -- not sure if they mean empty is a "bad" way to do it, but wanted you to be aware of some of the input on this forum. My pool guy put mine in with water about 1/2 full. Again, not sure if he thought he "had" to do it that way, but it worked . . .

I love the surround, by the way!
 
Big_kid said:
Looks awesome so far!
I put up the same pool last weekend. I cut out the sod 6 weeks ago, some grass started growing back. I pulled what I could, then leveled with sand. All the budget would support at the time was ¼" fanfold foam, so that's what I put under the tarp. I bought the pavers with the intention of using them, but I too was distracted trying to get the wrinkles out. It took me a while, but I realized that I was just moving the wrinkles from side to side. I then started going around the edge again, but only pushed the liner out a little bit at each spot- not quite enough to get rid of the wrinkles all at once. This did the trick, and the wrinkles weren't so bad. Once I got an inch or two of water in, I crawled around working the remaining wrinkles out toward the edges. My pool bottom is now wrinkle free and feels pretty comfortable, even with only ¼" of foam.

This is exactly what I started doing. I assembled the ladder (which I hate BTW and that will be the next thing that we are ordering this week) and then jumped in, we put some water in, and I went to town. It took me forever to do it, but thus far I am wrinkle free.

As far as not putting down the ground cover over the pink foam, is is working out just fine. The pseudo wrinkles that are left are the two seams that was from taping. Otherwise, perfect. It took about 2 hours to get the wrinkles out, but we are great. The feel of the foam on the feet is amazing. Much different from the blue blob last year.

crek31 said:
Do a little reading on installing the thru-wall skimmer. Sounds like you were planning to do it with the pool empty. I think I've seen on here that people think it should have quite a bit of water in it so the wall has some tension -- not sure if they mean empty is a "bad" way to do it, but wanted you to be aware of some of the input on this forum. My pool guy put mine in with water about 1/2 full. Again, not sure if he thought he "had" to do it that way, but it worked . . .

Oh, we are totally filling before doing the skimmer. The boyfriend is quite nervous about doing it, and I'm like c'mon...really, you scared? :blah: He will probably read the pool skimmer threads over & over a million times (about the time it takes to get the pool filled half way) and then be fine with it.

The only thing that I am not 100% sure about (from my readings here), is what do I do with the hole from where the original skimmer should go? What do I do with it? Oh, that and the placement of the new skimmer.

Coastal Carolina said:
Anyway, just wanted to say that I think that your "fencing" "deckwork" looks great and that was a fantastic idea!

Thank you very much! I shared that with the BF and he is beaming. Today as I am working on pool things & as it is filling, he is going to cut the picket things and put them on & get close to finishing it. We had some vandals burn our trampoline mat, rendering it useless for the kids, so I mentioned that we should make it a heck of a lot harder for them to get in. We're also going to get some motion lights for near the back as well. Our yard is a passage between the two streets, as there is a creek and a pipe for the town kids to cross over.

Time to get back to work! I came in for a drink... :wave:
 
Well, Day Four is nearly done. I'm outside waiting for the pool to fill. The sand pump is hooked up to the SWG, and we're close to being able to turn on and backwash.

We noticed a puddle of water and we're not completely sure if it is a leak or just from the plunger that we placed at the moment until we can do the PVC. However, we did have to use a patch on a pinprick hole that we found around the same area. So, the water could also be from that (fingers crossed).

Pictures to come tomorrow, as it is nearly dark and I start my new job tomorrow so I should get off to bed sooner rather than later!
 
Thread Status
Hello , This thread has been inactive for over 60 days. New postings here are unlikely to be seen or responded to by other members. For better visibility, consider Starting A New Thread.