Baltimore Pool House Build

BobinBaltimore

0
Silver Supporter
LifeTime Supporter
Dec 13, 2009
116
Philadelphia, PA
Pool Size
32000
Surface
Plaster
Chlorine
Salt Water Generator
SWG Type
Pentair Intellichlor IC-40
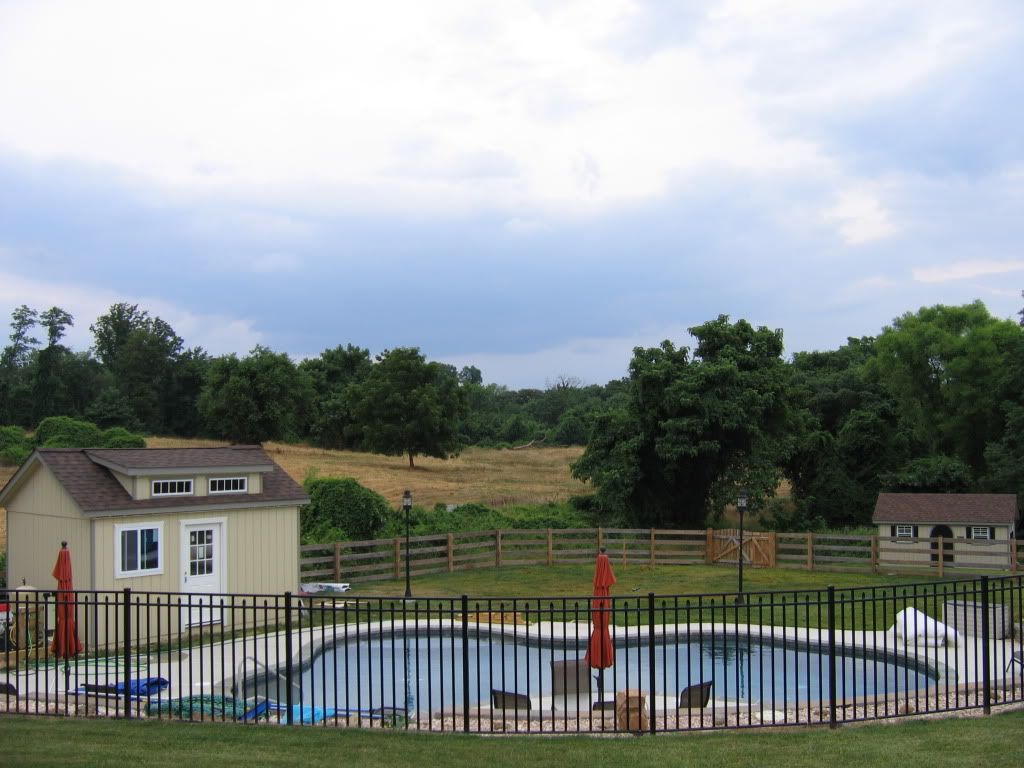
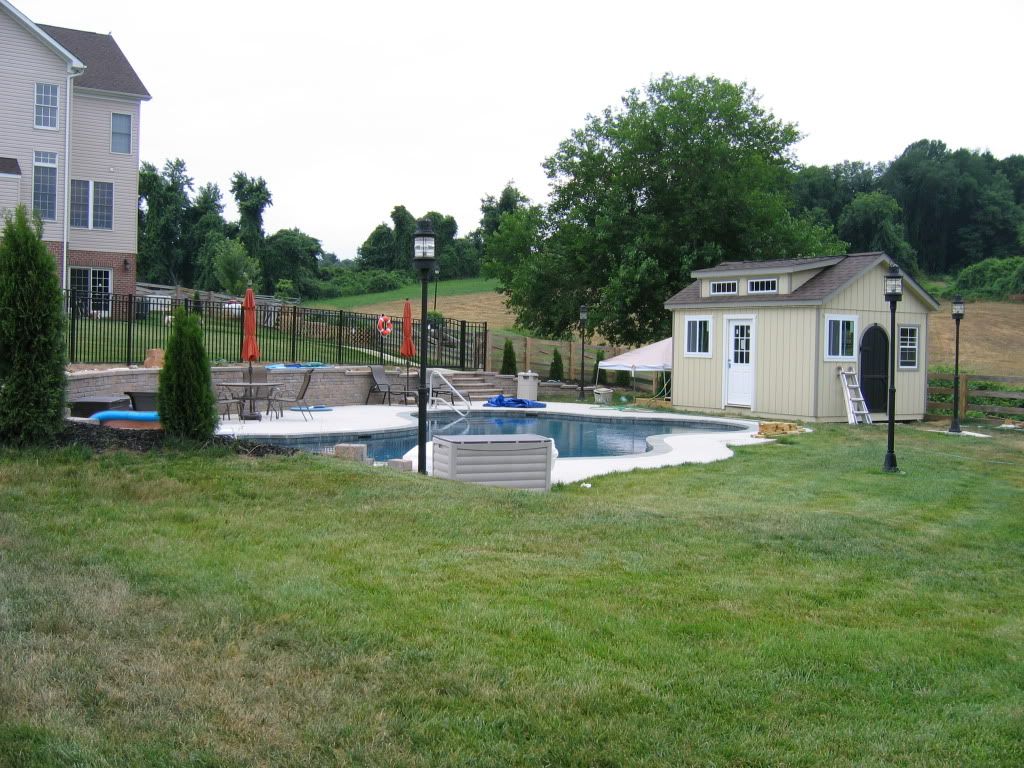
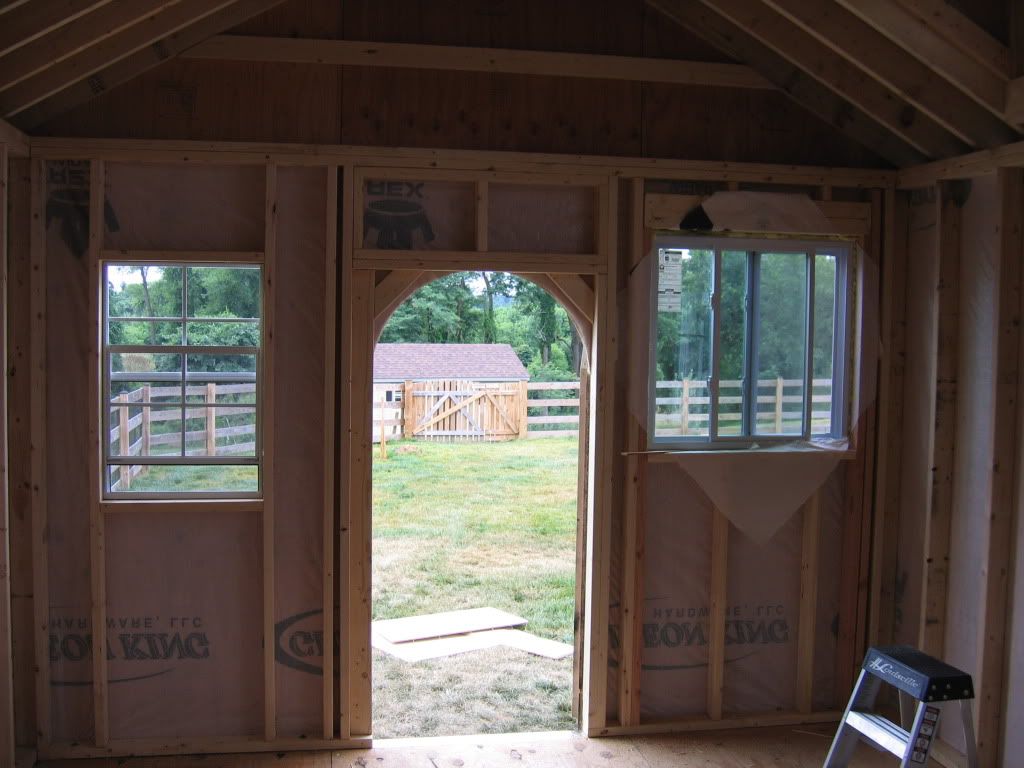
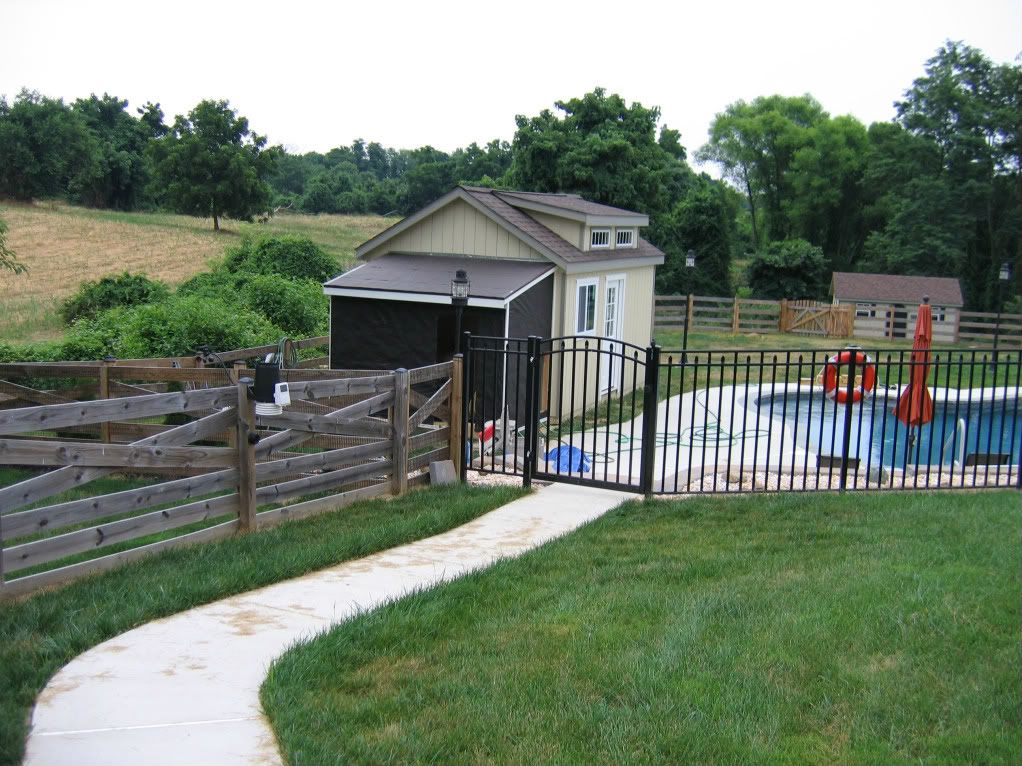
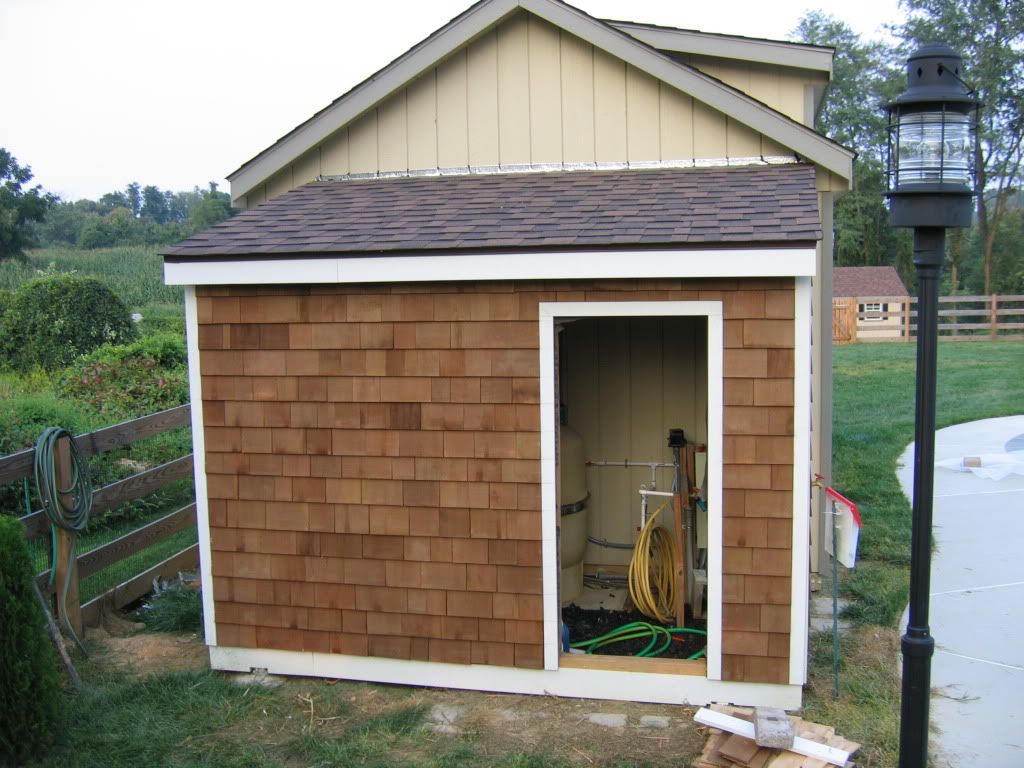
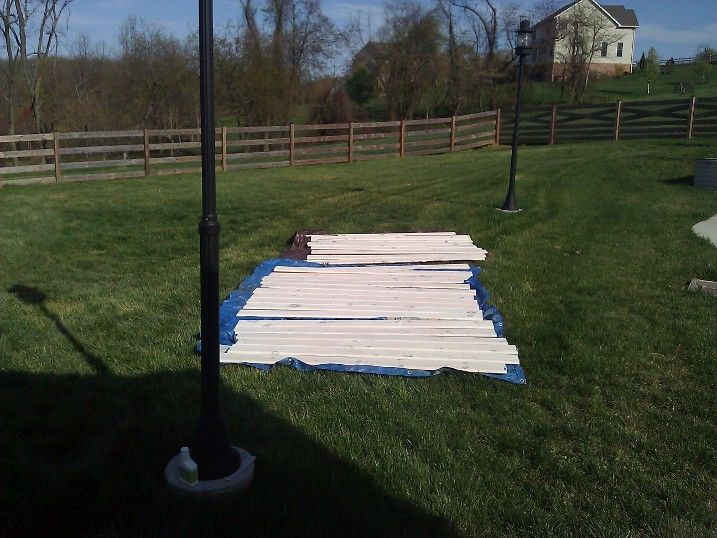
We completed our pool last year and have moved on (finally) to starting the pool house. I am doing the floor system, interior finish, electrical, plumbing myself, but having a local shed/garage building get the shell up on top of my deck framing. They can do it very efficiently and allow upgrades (including Tyvek house wrap, 2 x 6 rafters, etc) that allow for it to be finished and even heated/cooled.

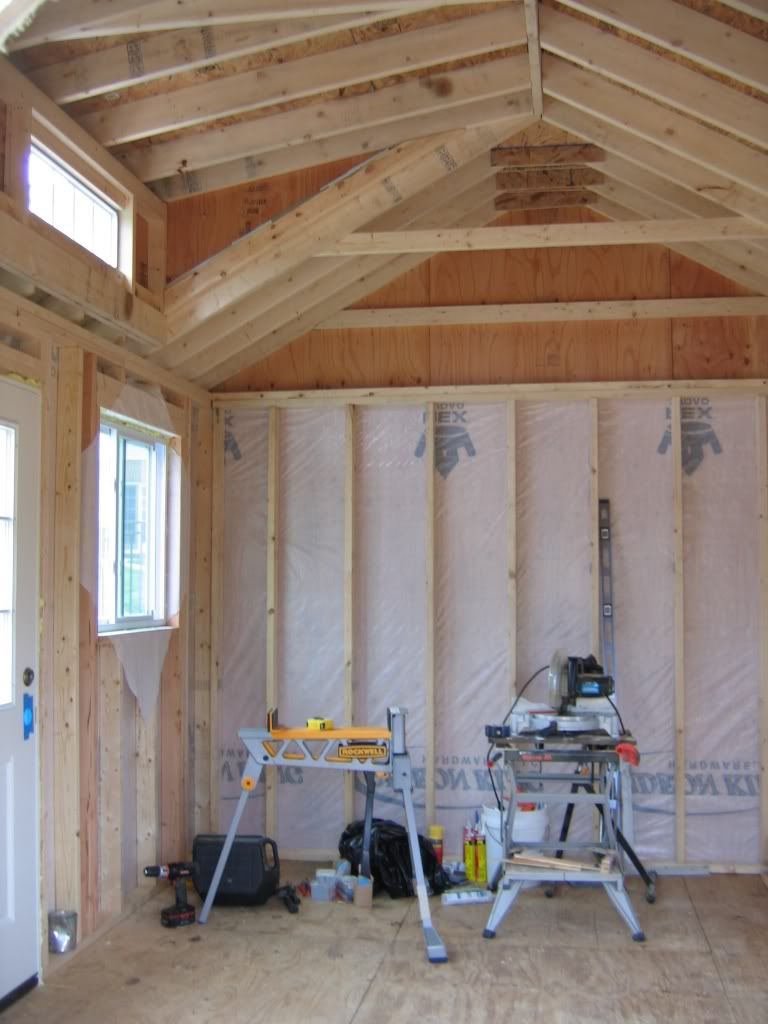
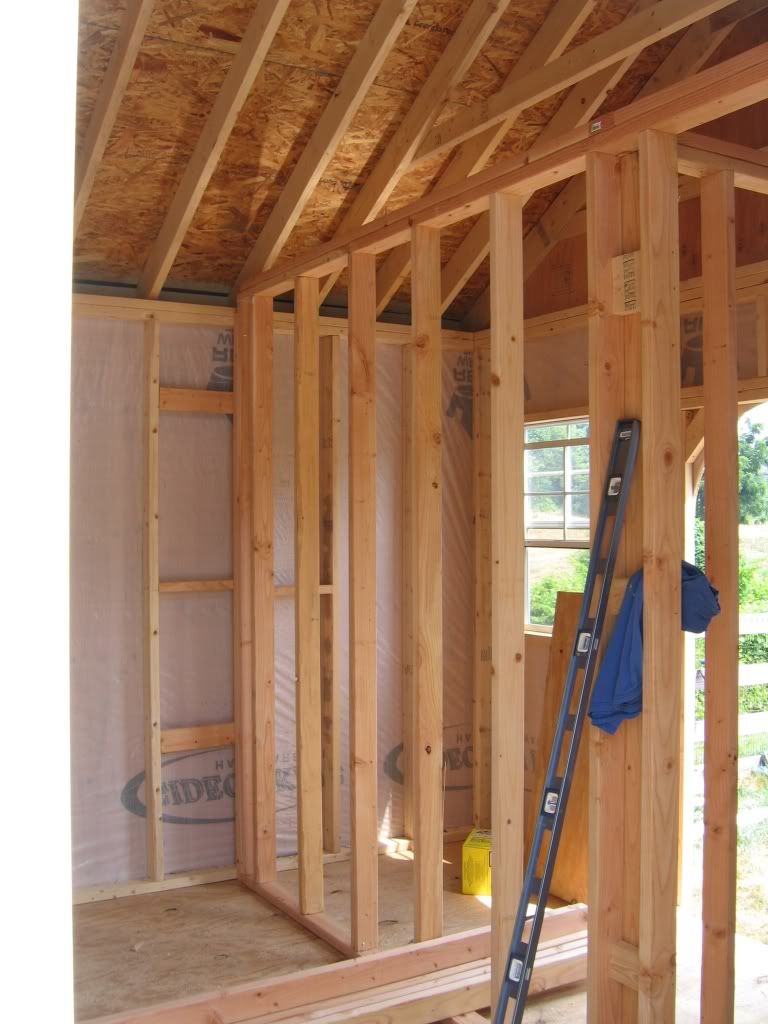
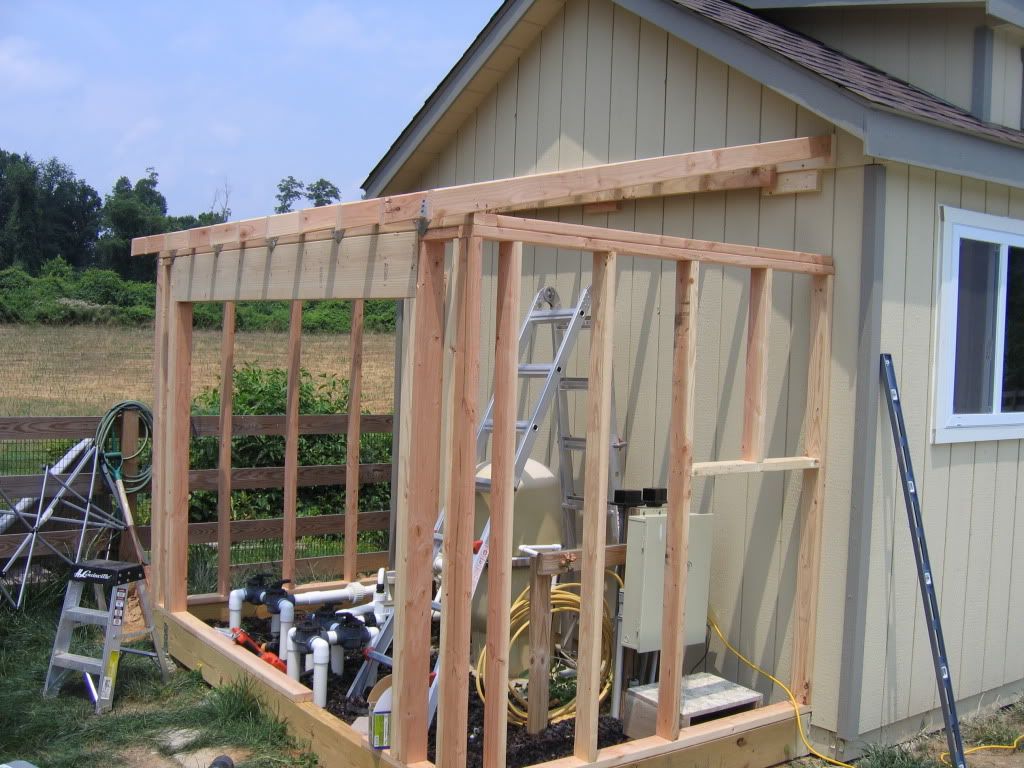
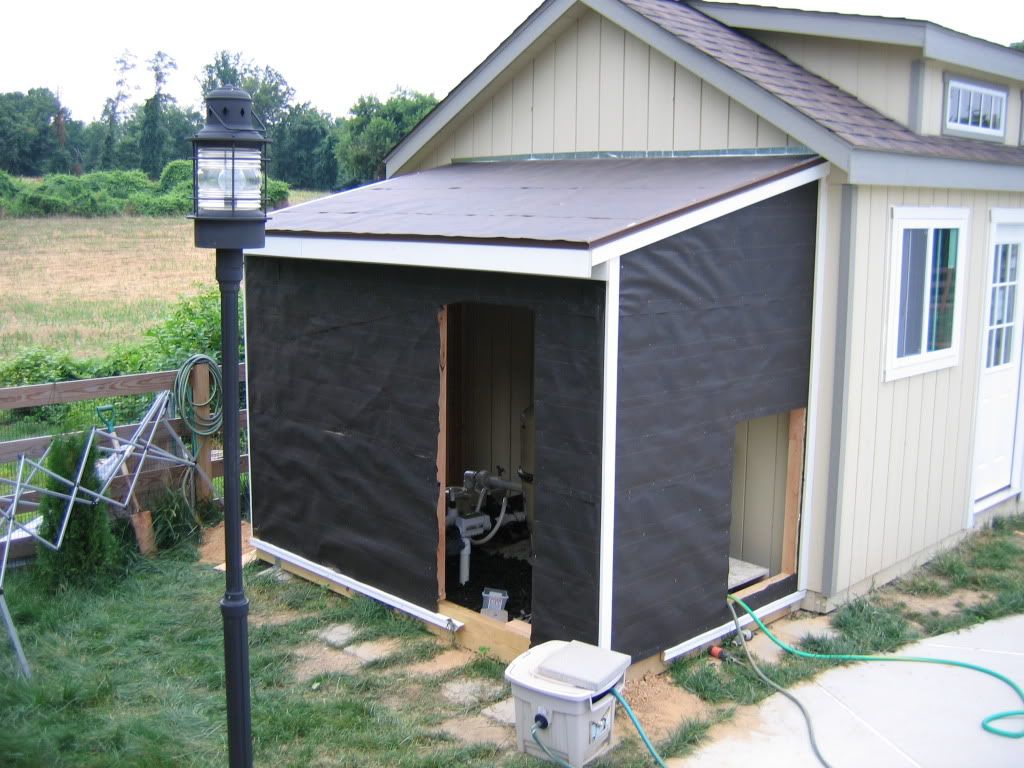
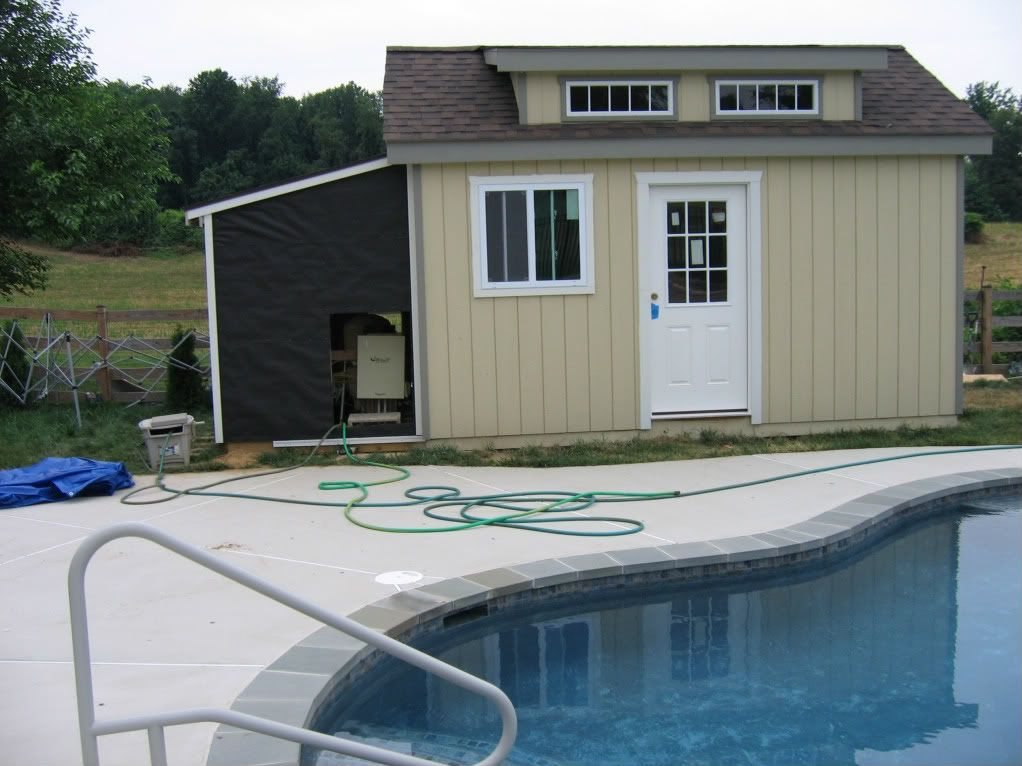
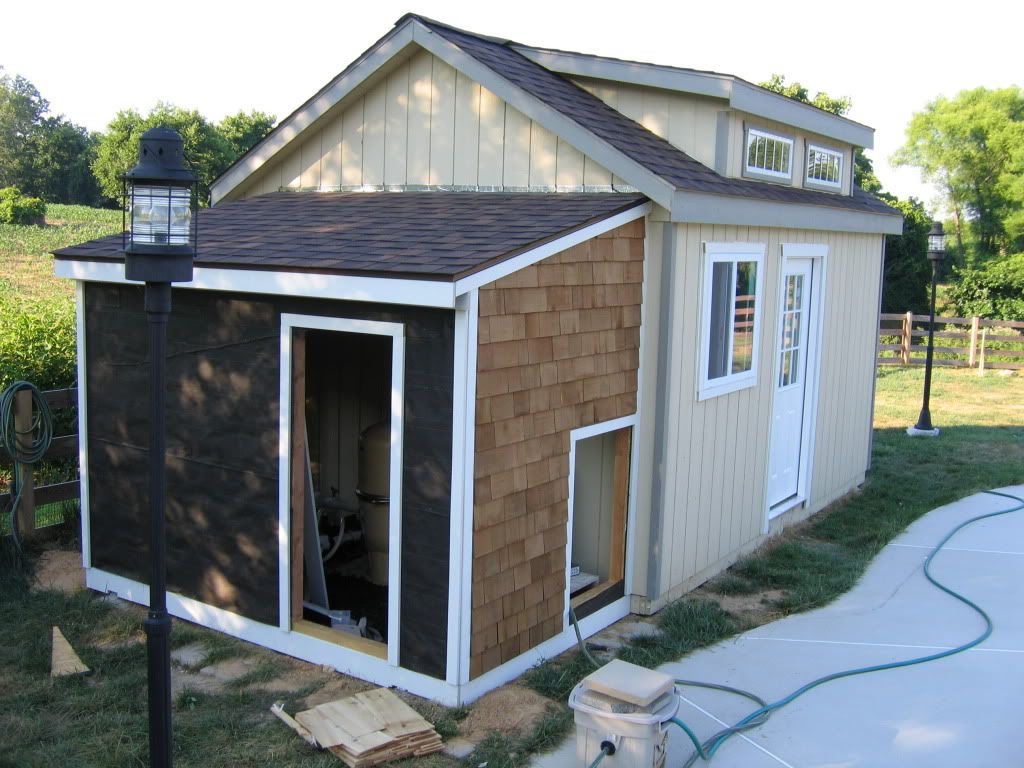
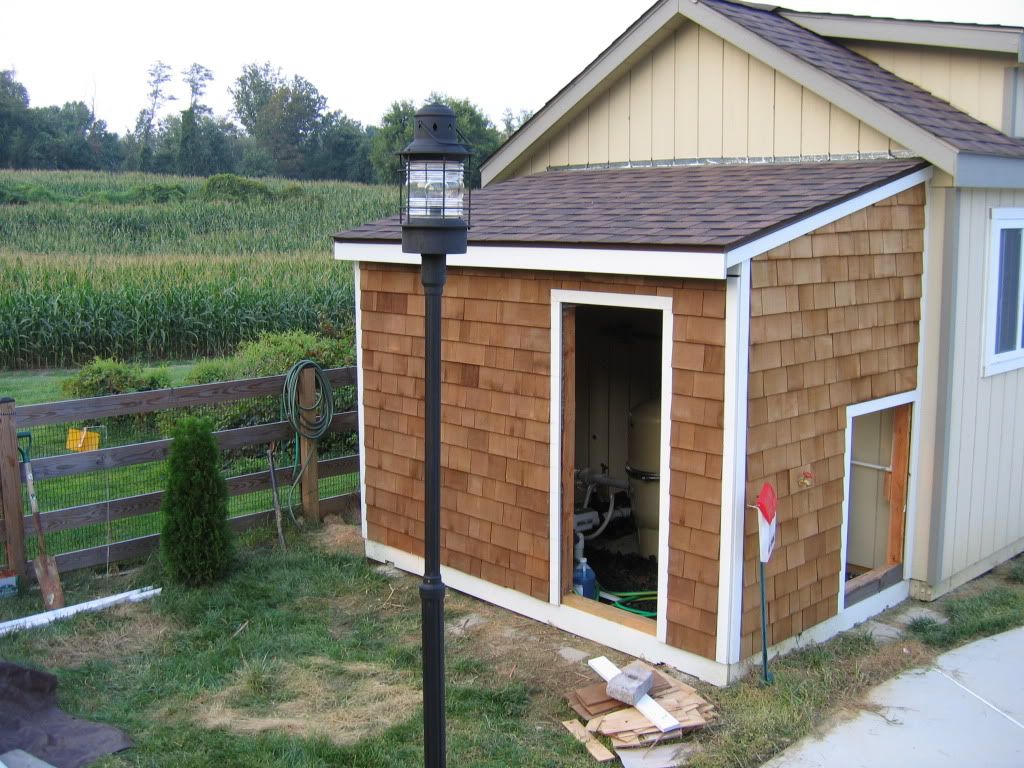
The pool house is 16 x 12, with an additional 6 x 10 area which will shelter the equipment pad. Of the 16 x 12 main structure, we are carving out a 4 x 8 chemical and supply closet on one of the short sides (which will be separately vented). The remainder of the area will be finished, have a kitchenette, small changing room and A/V.

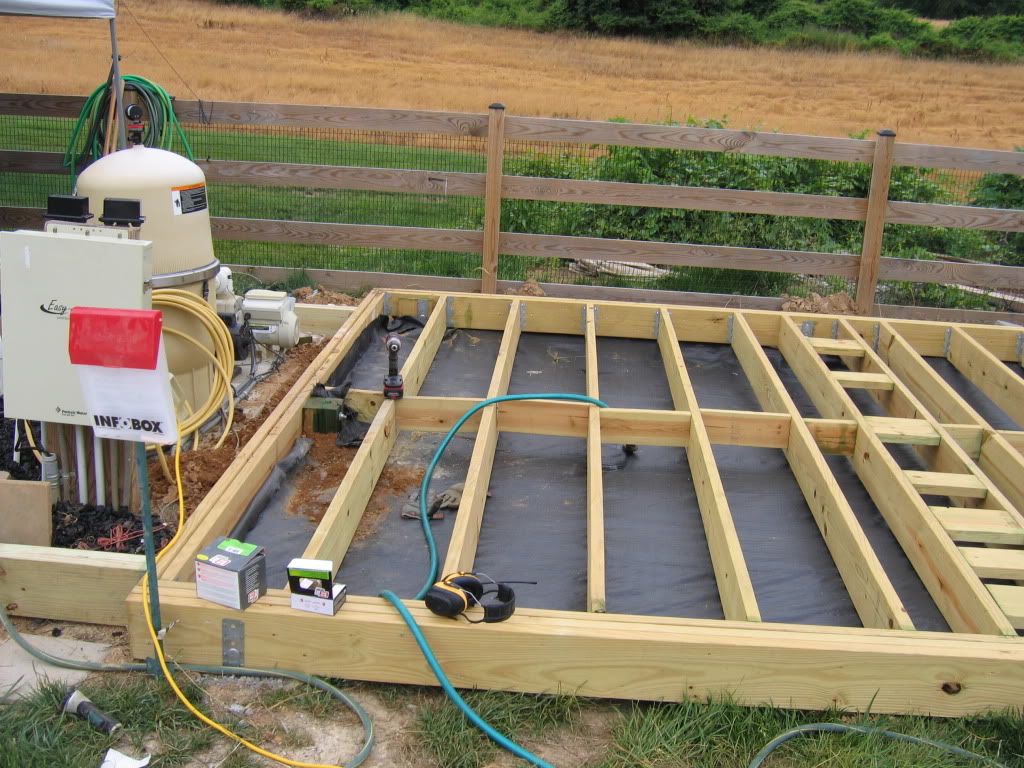
Deck Framing. I also used a contractor-grade woven fabric on the ground for weed blockage and a seperate piece tacked to the underside of the framing to keep insects out.
IMG_5598.jpg


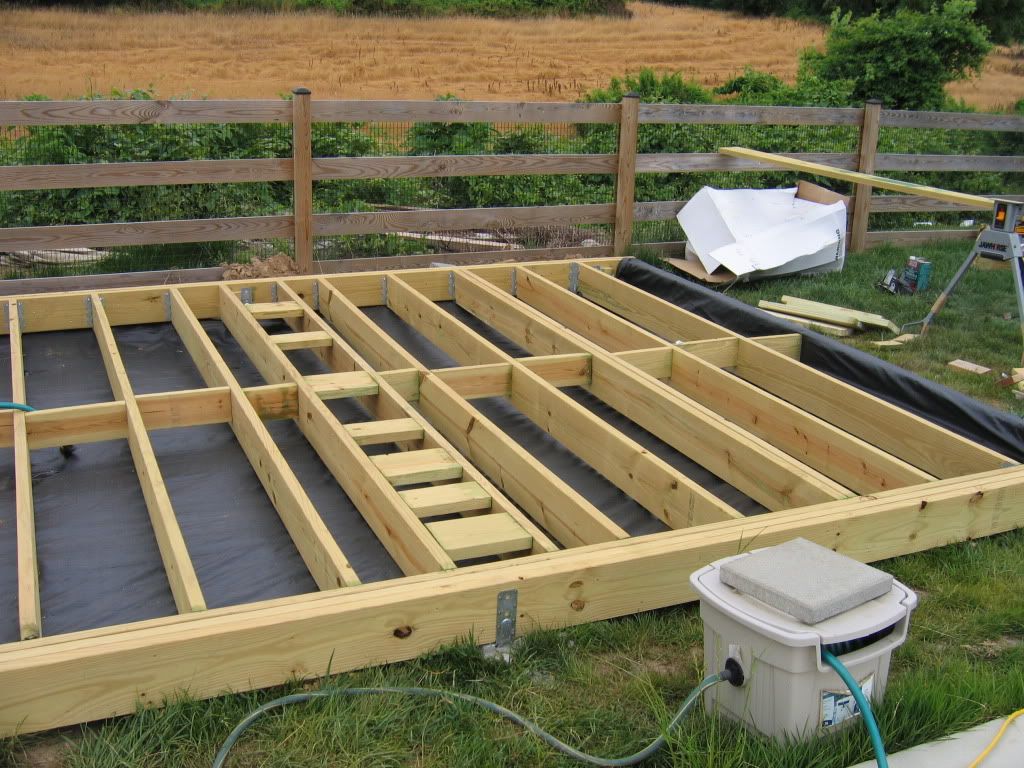
Broader view of framing. All PT 2 x 8s. Triple beam front and back and doubled joists on each end.
IMG_5599.jpg


Detail of beams at corner:
IMG_5602.jpg


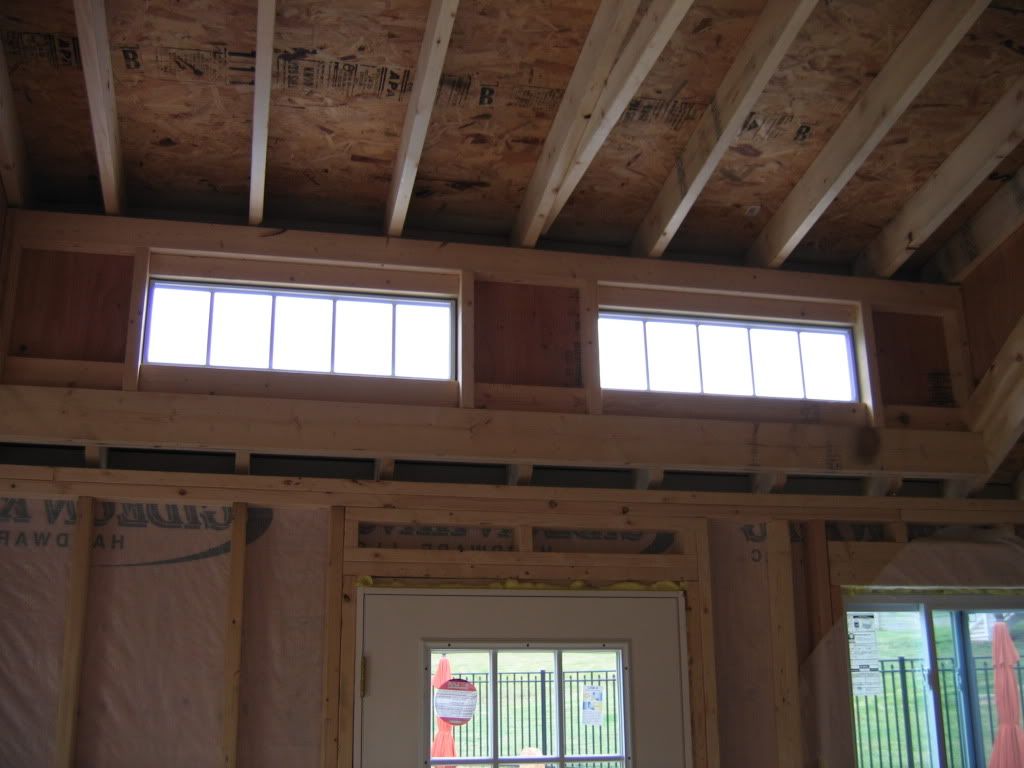
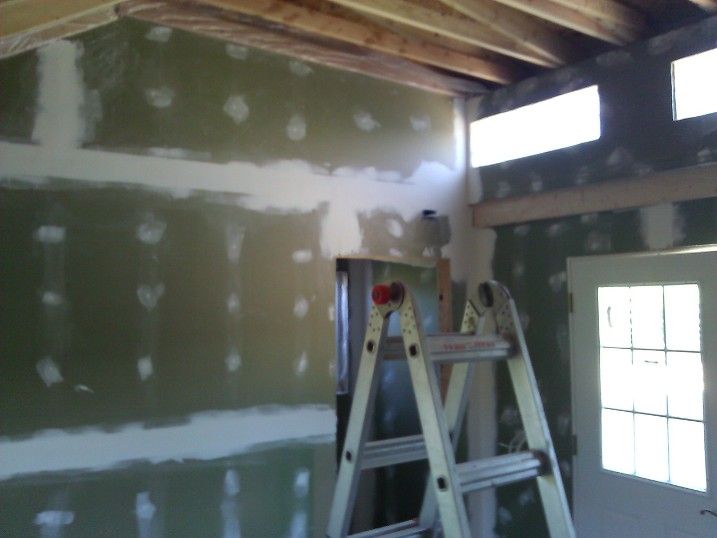
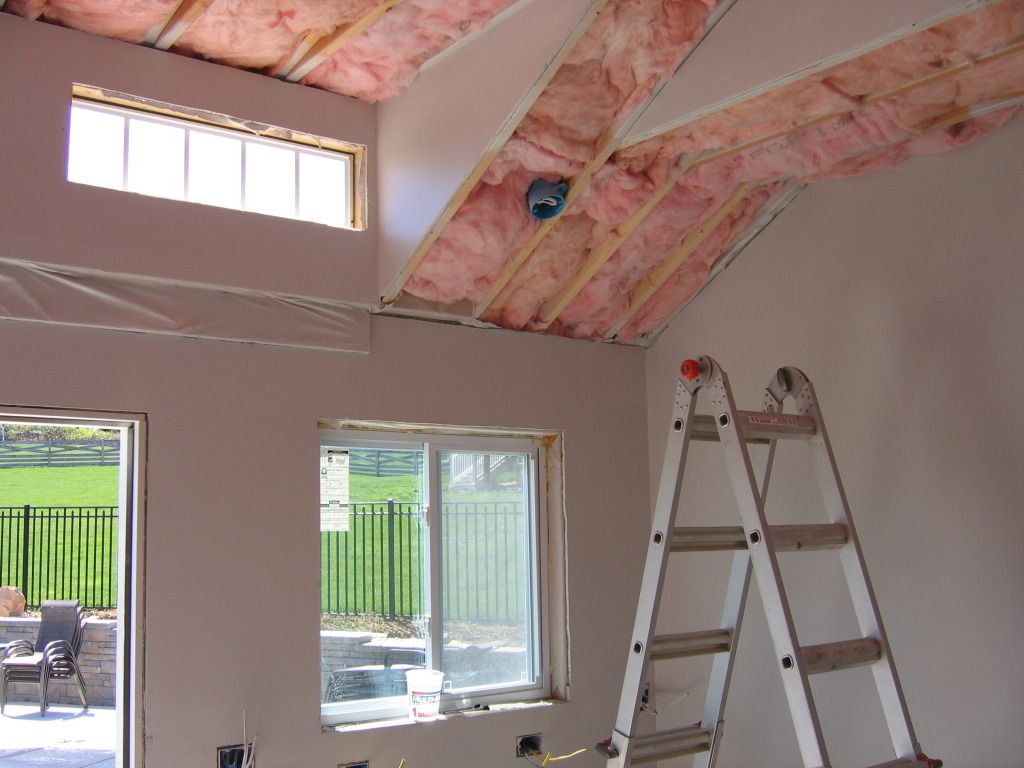
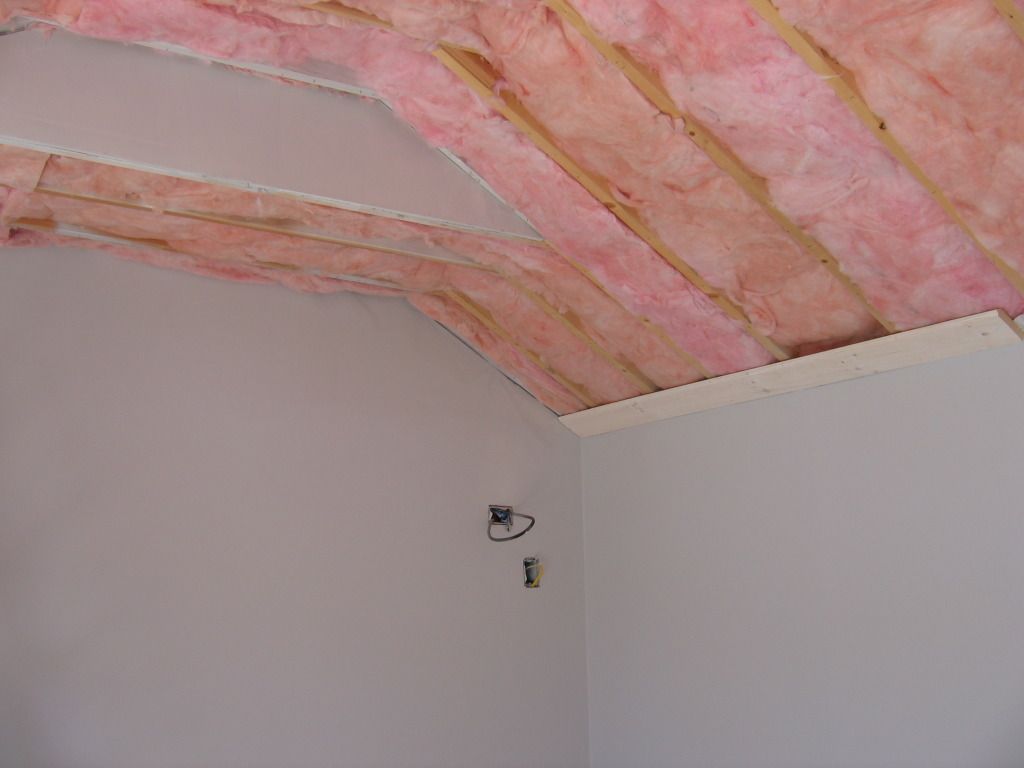
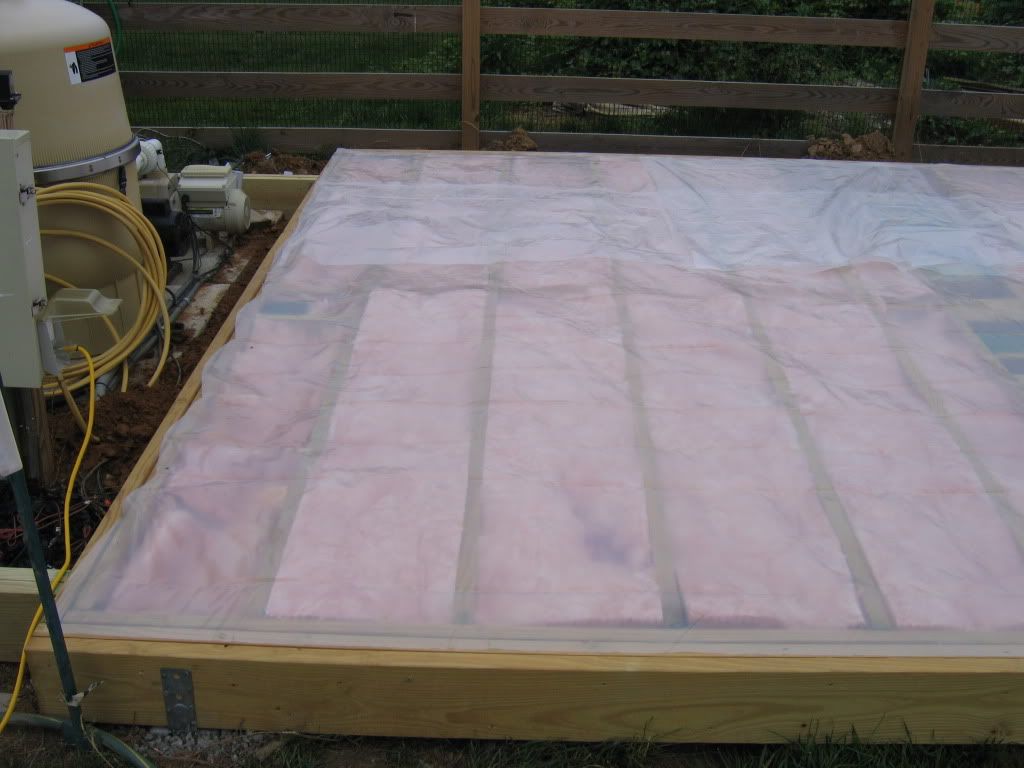
Insulation installed (R30)
IMG_5604.jpg


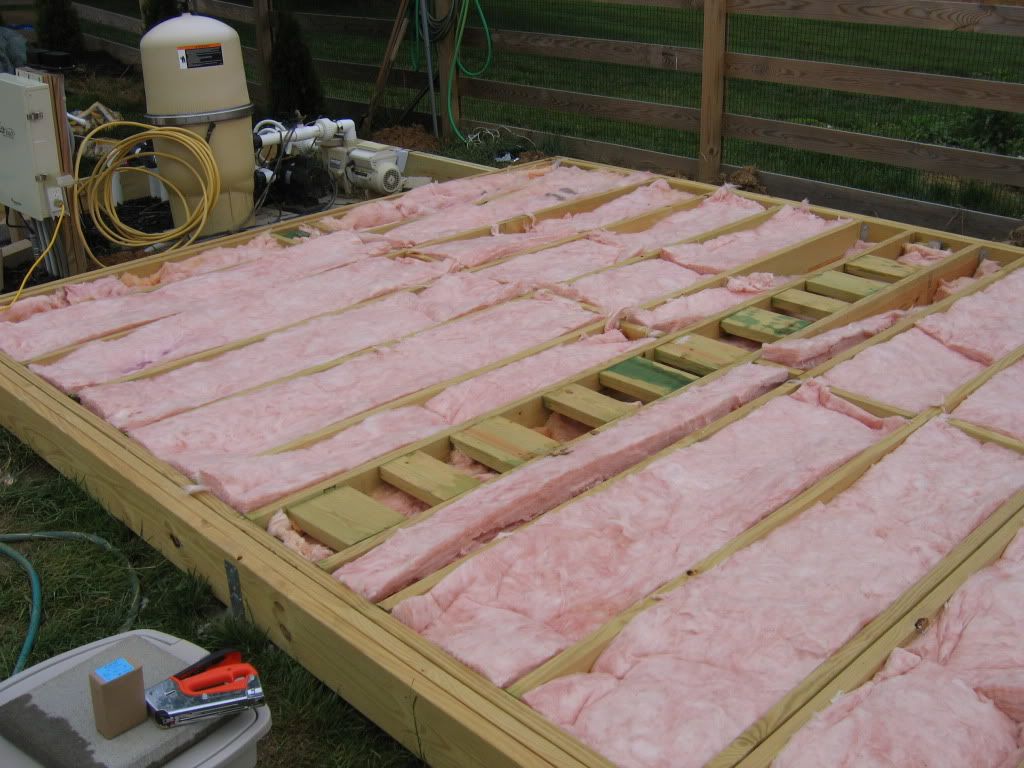
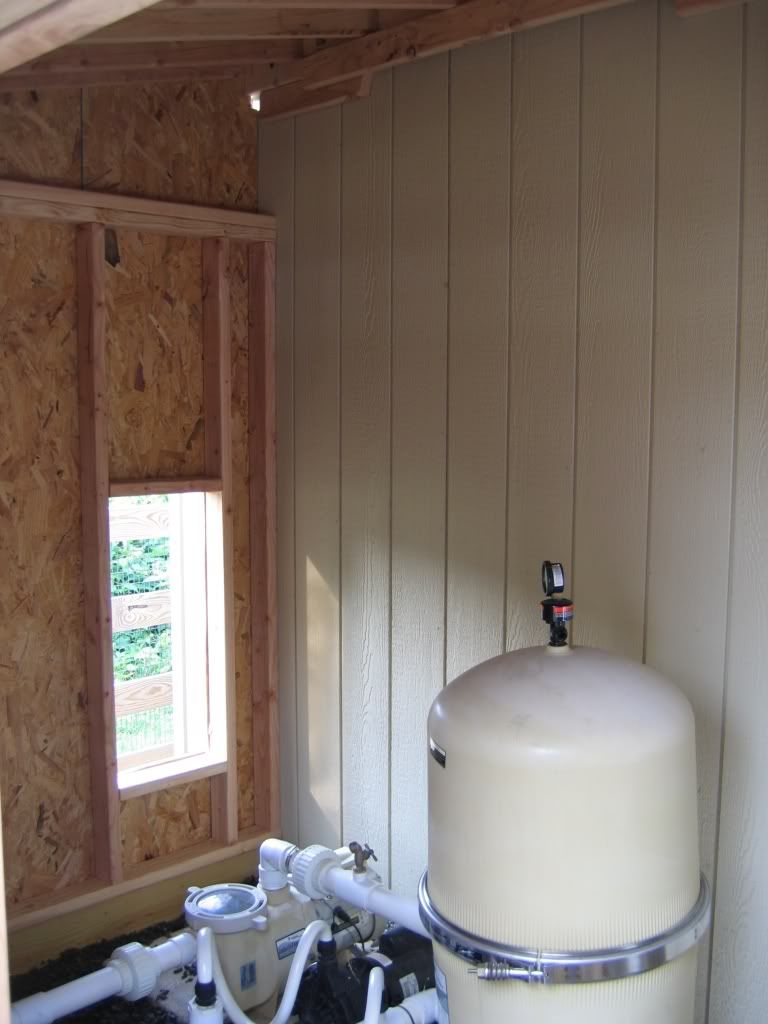
Vapor Barrier (in case we decide to heat/cool in the future):
IMG_5611.jpg


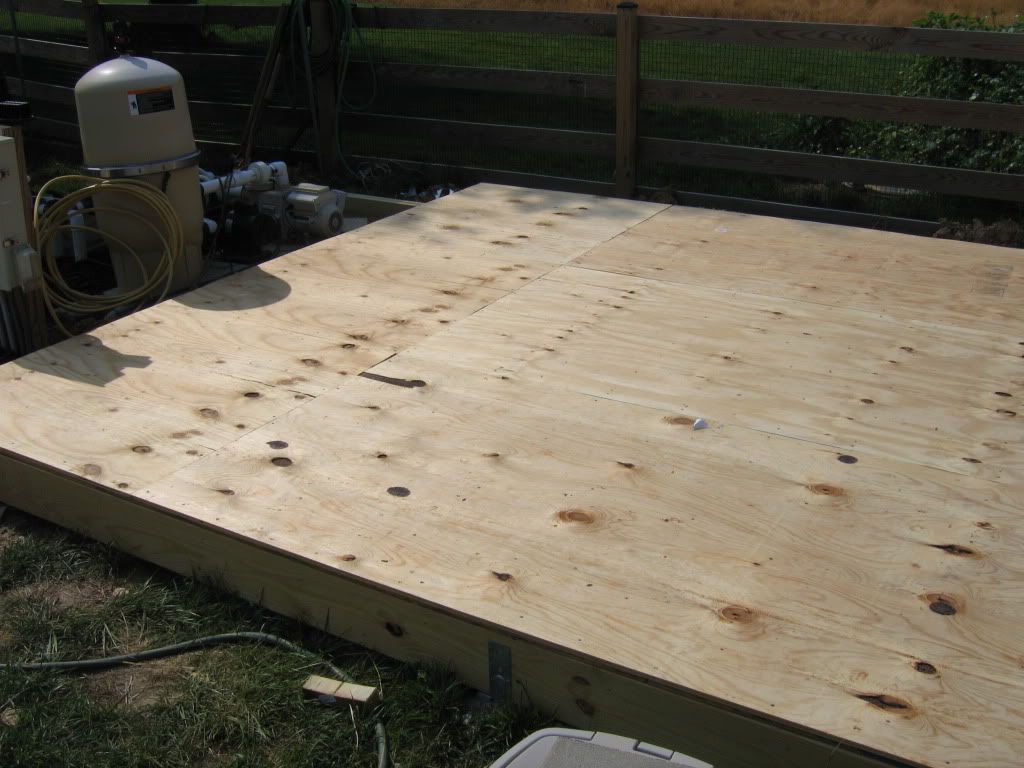
Decking installed. I used two layers of 1/2" CDX screwed with 2 1/2" ss screws and adhesive between the layers. I also rolled on wood preservative to the underside of the first layer for added rot and insect protection.
IMG_5614.jpg


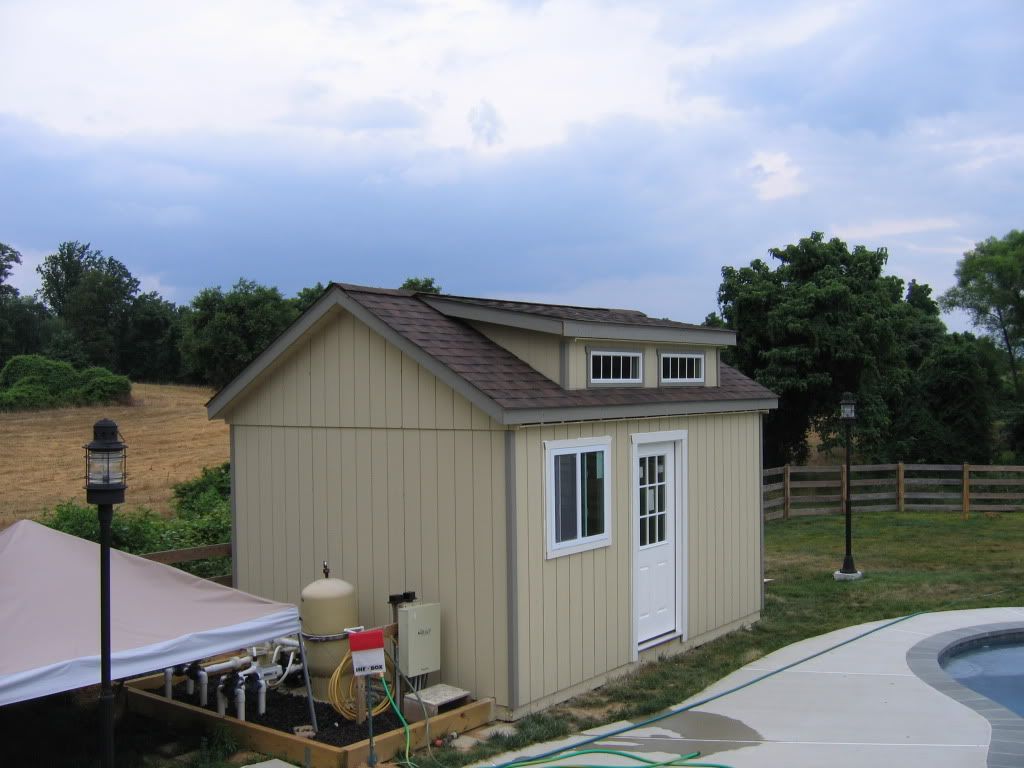
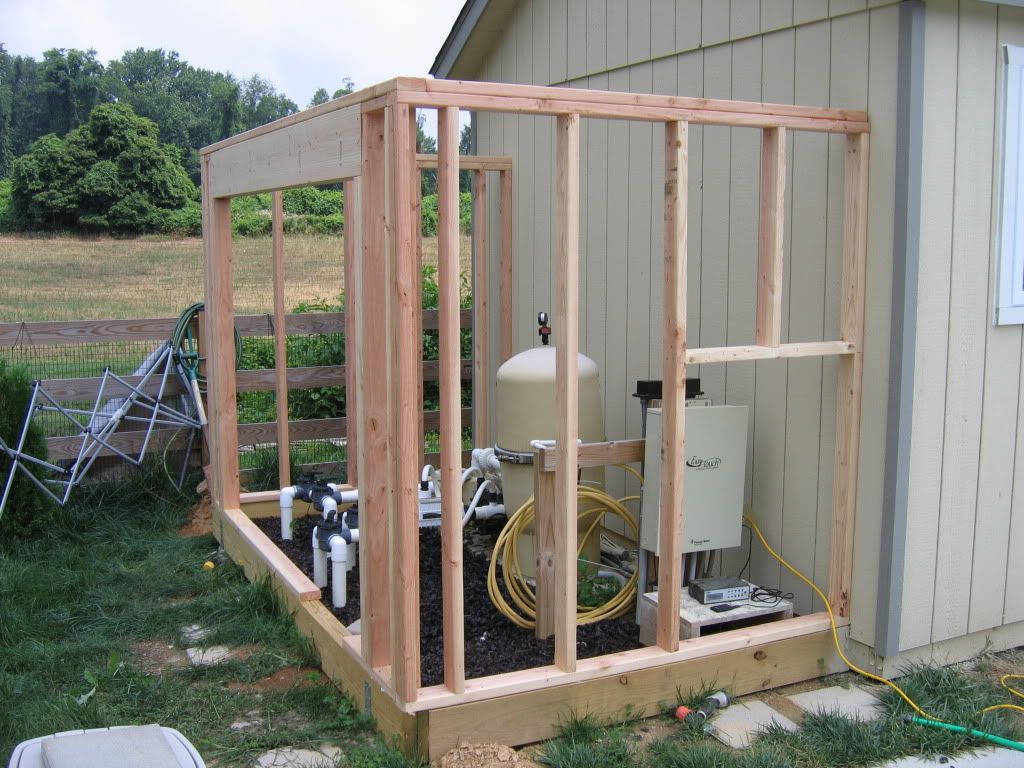
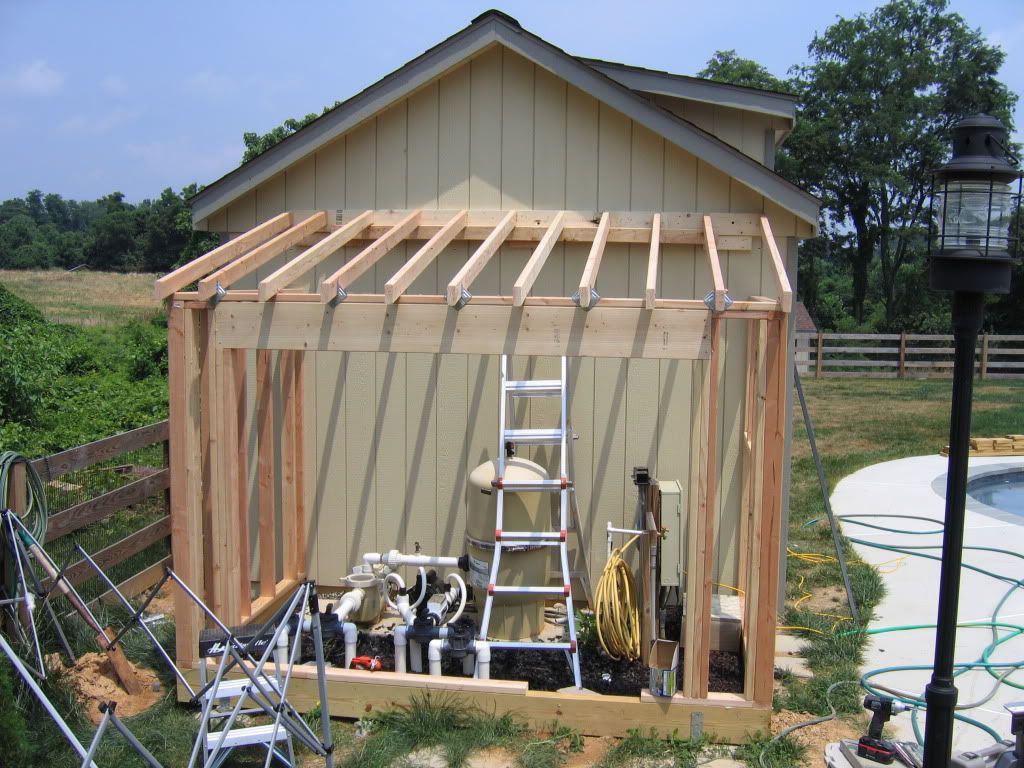
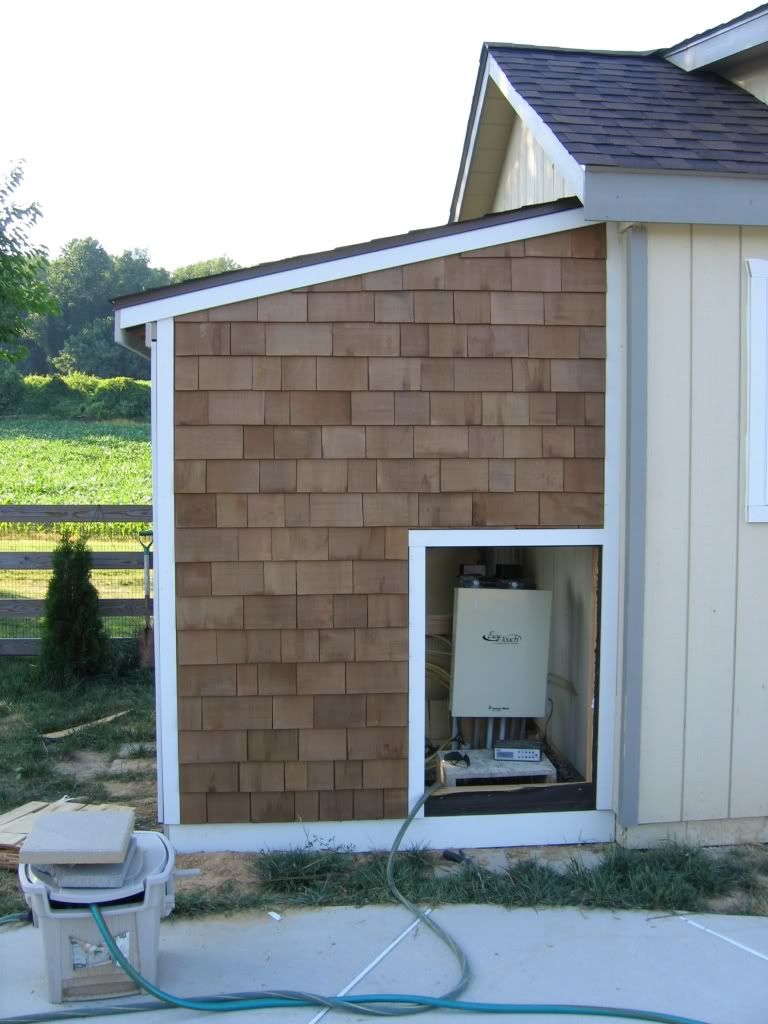
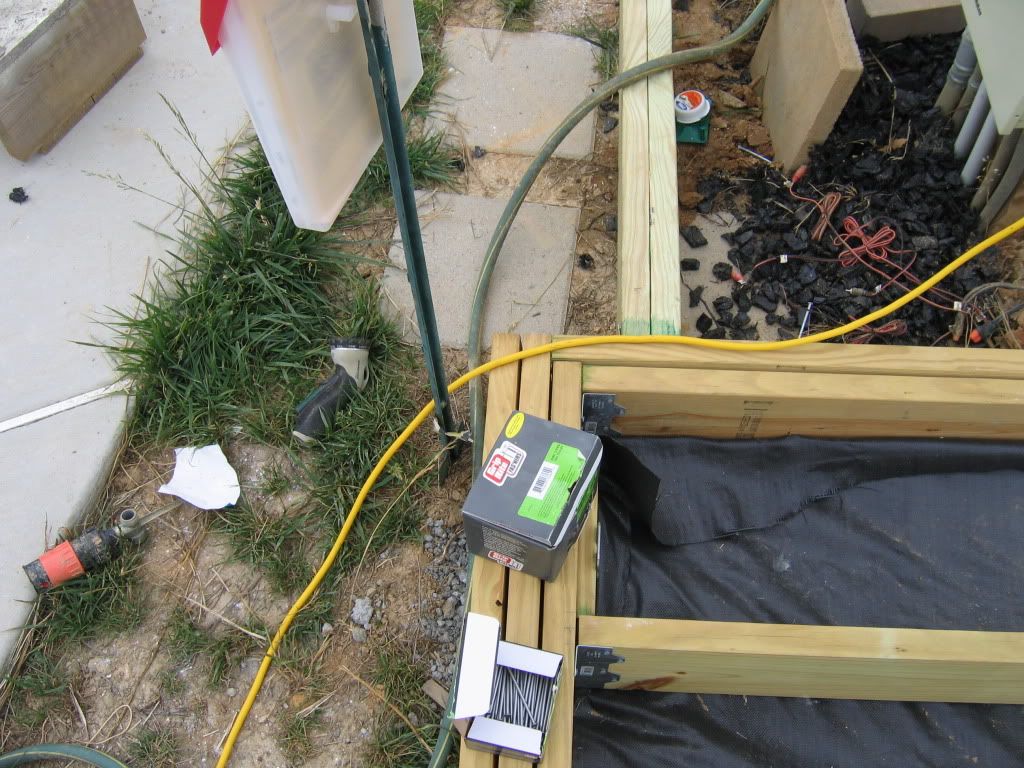
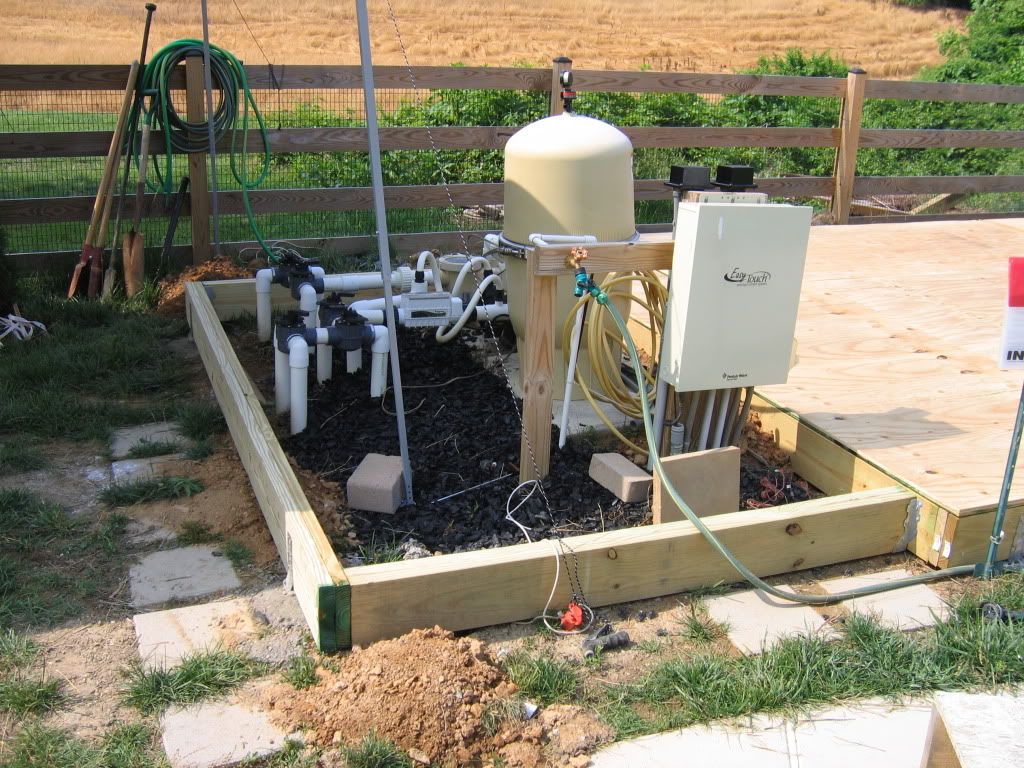
Detail of framing at equipment pad:
IMG_5615.jpg
 
@Frustrated, true no potty. Our septic system is 80 feet up a decent hill requiring pumping, which I'm not a big fan of. It would also require a county assessment in order to ensure we have enough capacity. No, thanks. People can just walk up to our basement and enjoy the bath I finished late last year.

@Bama...no, I was just going to seal the panel in completely. :) I know...you've probably seen people make exactly that mistake, so, seriously, thanks for the reminder. I will have a door to provide the code required 4 feet in front of a sub-panel. I will also have a door on the side (near the valves) for general access and maintenance. We will also install plenty of vent space, top and bottom, on the back, to allow air exchange in the equipment area.
 
Finally a few updates. My Amish friends from Stoltzfus Structures were out to build the shell last week. I added the front door and two larger slider windows, and began making modifications that will include interior partition walls, electric, plumbing and all finish work. The fun has begun!

View of pool area and pool house (haven't finished painting all the trim yet). Also shows the pool house's older cousin, a garden shed we put up a few years ago.
IMG_5637.jpg


View showing front and side. The side (black arched) door will be to a storage closet.
IMG_5625.jpg


Close up of front and side with pool filter and pumps (these will be covered by an addition I will put up shortly).
IMG_5635.jpg


Interior shot showing the framing of the transom windows over the front door. Ceiling height here will be just under 10 feet.
IMG_5633.jpg


Shows the area from the door-left that will be storage (accessible only from the exterior). The window on the right will be for a changing room.
IMG_5630.jpg


View showing what will be the kitchenette area to the right of the front door.
IMG_5628.jpg
 
I got working on interior framing and framing out the equipment area yesterday. Here are the latest pictures after a day and a half of work.

Interior partition is up:
IMG_5643.jpg


Framing around equipment area started:
IMG_5639.jpg


Roof framing almost done:
IMG_5646.jpg


Roof framing from a different angle (yes, I did 2x4 rafters 12" on center. At a 2/12 pitch, those snow loads could add up from time to time, so I overdid it):
IMG_5647.jpg


Complete Shell:
IMG_5648.jpg


Interior showing the equipment now under roof:
IMG_5649.jpg
 

Enjoying this content?

Support TFP with a donation.

Give Support
View of pool house from walkway up to house:
IMG_5651-1.jpg


Equipment area now with 15lb roofing felt all around, drip edge, first bit of flashing and some (but certainly not all) trim. Trim will be painted clay to match the rest of the pool house.
IMG_5652.jpg


View from pool:
IMG_5653-1.jpg
 
Got the matching asphalt singles installed on the equipment area extension last weekend. Still need to install the upper piece of L flashing at the wall/roof intersection. This weekend, I finished all the rough framing on the interior in preparation for electrical/plumbing, then insulation, then drywall. Also finished one wall of the equipment area extension with cedar sidewall singles. Slow going, but it's exactly the effect we wanted.

One side down, two more to go:
IMG_5657.jpg


Cedar singles installed on one side. Took about 4 hours (for a newbie). They are #1/Blue Label Perfection Red Cedar with CCA treatment (due to summer heat and humidity). Trim shown is the first piece...a wider piece will top everything once all shingling is finished.
IMG_5663.jpg
 
Finally getting back to work on the Pool House after several weeks of distractions.

Rough plumbing and electric are nearly done. CPVC is sloped to allow for easy draining for the winter:
Rework1.jpg


I added a loop (which extends to the exterior) in case I want to add a cabin-style propane instant hot water heater in the future.
rework3.jpg


Future mini-kitchen window view:
IMG_5672.jpg


Finished the second wall of Cedar shingles. Will tackle all the final trim later.
IMG_5679.jpg


IMG_5680.jpg
 
Well, before wrapping up for the winter, I got insulation installed in the walls (R13), a vapor barrier installed (10 mil plastic) and greenboard up. I also installed 6 soffit vents and 6 baffles to allow the mini-attic space to breathe up to the ridge vent in the roof. I then insulated the soffits. Just shows that building a pool house is like building a really small single family home...most of the same elements are involved!

A few weeks ago when things warmed up, I got back at it, neatened up the drywall and did three coats of mud.

Greenboard and two of three coats of mud done.
WP_000225.jpg


WP_000218.jpg


After sanding and clean-up, I sprayed and backrolled a coat of primer/sealer (Zinsser) and then did two top coats of Behr Premium Plus, also sprayed then backrolled. All paints contained anti-mold and mildew additives, otherwise I would have added some. After painting, I added R19 insulation to the ceiling. After a lot of research (and getting wildly different opinions), I did not install a vapor barrier or retarder on the ceiling. This avoids having plastic right against the wood boards which will be used for the ceiling, and allows moisture (when present) to escape via the mini-attic. Since I never intend to cool the space via air conditioning, just heat in the winter, I'm not too worried.

Front wall with painting finished.
IMG_5725.jpg


Back and side wall with painting finished and insulation up.
IMG_5723.jpg
 
For the ceiling, we wanted the look of bleached wood. I acquired some very reasonably priced unfinished pine floor, 5-1/4" wide x 3/4" thick tongue and groove. To finish the boards, I mixed 6 parts 100% acrylic latex paint, 1 part translucent glaze, 1 part clean water, and a good anti-mold/mildew additive. I brushed the mix onto the boards liberally and let them sit in the air for about two minutes. I then wiped off the excess paint vigorously. This provided exactly the pickled effect we were looking for.

Newly pickled boards for the ceiling drying.
WP_000216.jpg


Installing the boards was much like putting down a floor, upside down. I used 16ga nails carefully placed through the tongues into each rafter. Where the boards lap, I cut them at a 25 degree angle and coated the miters in the white pickling paint, so that if the joint ever opens up a bit, all you'll see is the white of board, not the pink insulation. I did not worry about lapping boards directly over the rafters since the tongue-and-groove will keep the joints in-plane (and this isn't a floor so structure isn't a major consideration!). All wall-ceiling joints will have molding applied to hide gaps and face nails.

Back wall and ceiling.
IMG_5731.jpg


Back and side wall and ceiling. Angles make it fun (not!)
IMG_5730.jpg


Side wall...more angle fun.
IMG_5729.jpg
 
Thanks, Butterfly! I go slow and steady. Takes a while since I can only work on it on weekends (when other things aren't a priority), but it's fun and ultimately I get it done right. And I'm a lot less expensive than anyone I would hire!
 

Enjoying this content?

Support TFP with a donation.

Give Support
Thread Status
Hello , This thread has been inactive for over 60 days. New postings here are unlikely to be seen or responded to by other members. For better visibility, consider Starting A New Thread.