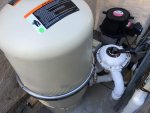
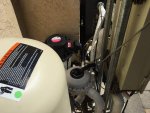
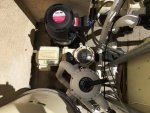
Here goes...Quad DE 80 upgrade

How about sitting the filter on a concrete paver?

I like this idea. My reticence would be that with my old filter, I would barrel roll it out of there to clean it. While it is only 45 lbs, it is probably heavier with residual wet DE, and residual water.

Having said that, I've heard that some just hose down the quads in place and don't bother to move it, so I may be preserving a capability I won't use.

Ill definitely keep this idea in my back pocket.
 
To clean the cartridges, you just pull them out and hose them down.

If you do use a paver, consider using some mortar to secure it so it doesn't rock or vibrate.

I would also suggest putting a 2" Jandy check valve between the pump and filter. This will prevent de from backflowing into the pump and out the skimmers and main drain if air is allowed into the system on the return side or at the air relief or the waste line.

Also, note that de can accumulate in a drain line over time. Don't backwash into something that might allow de to accumulate and possibly clog.
 

Enjoying this content?

Support TFP with a donation.

Give Support
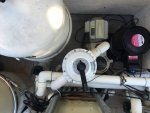
So this is approximately where the valve will be.


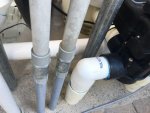
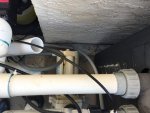
This is approximately where the return line will run under the pump intake. (The nice white pipe is my rough placement)

IMG_0390.jpg


IMG_0396.jpg


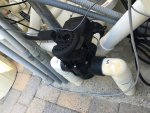
Continuing right, this is where the return will rise up to the heater intake.

IMG_0395.jpg


Mans once I get up to the height of the heater, I've got to figure out how to shift it over a bit. I'm thinking of using a heat gun and bending it over. anyone have any thoughts on this?
IMG_0397.jpg
 
Ok. pump to valve in with a union. Had to trim about 1/2" off the valve input tube. Not the most "high flow" design in the world, but only 2 elbows, filter fits on slab, clearance from house to make removal simple. If this leaked man would it be a lot of work to fix.


IMG_0405.jpg
 
Getting there.

IMG_0409.jpg

- - - Updated - - -

I used the sand trick (thanks!!! Worked well) to bend the valve->heater pipe. Tricky! Had to get the angle approximately right, and had to keep trimming till I thought I could fit a 45 to the original heater pipe. And that last glue up was a cliff hanger, but I got the heater Union on and then left it all alone for a couple hours.

- - - Updated - - -

This shows the bent pipe.

IMG_0414.jpg

- - - Updated - - -

A better view of the heat bent pipe.

IMG_0422.jpg
 

Enjoying this content?

Support TFP with a donation.

Give Support
Thread Status
Hello , This thread has been inactive for over 60 days. New postings here are unlikely to be seen or responded to by other members. For better visibility, consider Starting A New Thread.