Hi Folks,
I know that people like to follow along with projects, so I thought I would post some updates on my reno project. Just for a point of reference here is how the pool looked about a year ago, before it developed a leak. It's an old pool, by most peoples guesses probably built in the early 60's and I guess has been re-plastered at least once already in its lifetime, but still has original copper plumbing, and I think original coping.

After it developed a leak, we decided we would have the following done:
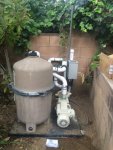
Remove the plaster, fix the crack(s), replumb with PVC, split the main drain, move equipment, convert to salt, replace the coping, tile and replace the plaster with StoneScapes tropics blue mini-pebble. Also add a love seat, and replace the light with an LED low voltage.
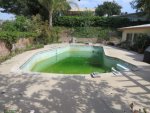
Here's what it looked like the day before demo started. It is green because I stopped adding water and turned the pump off around Thanksgiving. Amazingly it actually didn't turn green until February.
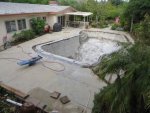
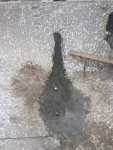
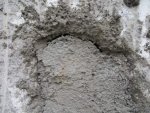
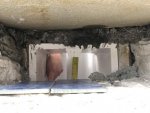
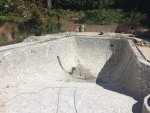
Plaster, tile and coping demo complete. Some plumbing started including cut in shell for new PVC split main drain.
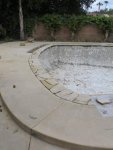
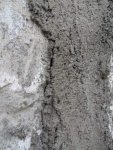
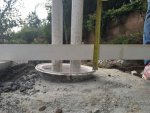
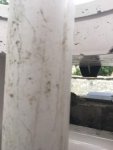
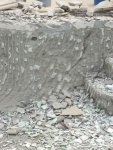
Here is the crack in the gunite which was exactly where we had guessed based on evidence visible through the plaster. It's hard to see in this picture bit it looks like crack goes right through the bond beam.
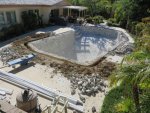
The deck is currently in pretty good shape, unfortunately there has to be a lot of cuts in it to replumb. But it can't be helped. The old diving board in this picture is being removed also. The pool is plenty deep enough (over 9' deep) but the place it takes up could be better utilised for outdoor furniture.
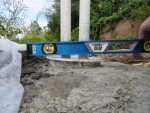
The old coping was a safety bullnose type, so it doesn't look like there is enough room for a full stone coping to fit with the existing deck, so we are looking at using a flagstone (about 1") for the coping.
So far the project is going pretty smoothly my pool builder is a good communicator and very responsive to questions and concerns.
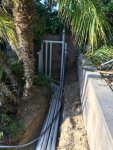
One question I do have at the moment is regarding the returns. The plumbers are installing 3 returns, but they are planning on only 1" returns. The main feeds from the equipment are supposed to be 2". Mathematics tells me that the 3 x 1" pipe is less cross sectional area than 1 x 2" pipe. I am trying to convince them to use 1.5" for the returns, but they believe that it is harder to use 1.5" fittings. I can see plenty of 1.5" fittings advertised online, so I don't understand that? I would appreciate any thoughts on that subject.
Also I originally specified that the feeds from the main drain and skimmer would be separate back to the pad. But it looks like they are using a skimmer which has the main drain (and vac line? not sure) lines integrated into it. I like to be able to shut of the main drain when I am vacuuming (manual), to increase suction and flow through the vacuum. Has anyone had good experience with this kind of skimmer? Are seperate lines better, or is the a good reason to use a skimmer like this?
Thanks,
Scott
I know that people like to follow along with projects, so I thought I would post some updates on my reno project. Just for a point of reference here is how the pool looked about a year ago, before it developed a leak. It's an old pool, by most peoples guesses probably built in the early 60's and I guess has been re-plastered at least once already in its lifetime, but still has original copper plumbing, and I think original coping.

After it developed a leak, we decided we would have the following done:
Remove the plaster, fix the crack(s), replumb with PVC, split the main drain, move equipment, convert to salt, replace the coping, tile and replace the plaster with StoneScapes tropics blue mini-pebble. Also add a love seat, and replace the light with an LED low voltage.
Here's what it looked like the day before demo started. It is green because I stopped adding water and turned the pump off around Thanksgiving. Amazingly it actually didn't turn green until February.

Plaster, tile and coping demo complete. Some plumbing started including cut in shell for new PVC split main drain.

Here is the crack in the gunite which was exactly where we had guessed based on evidence visible through the plaster. It's hard to see in this picture bit it looks like crack goes right through the bond beam.

The deck is currently in pretty good shape, unfortunately there has to be a lot of cuts in it to replumb. But it can't be helped. The old diving board in this picture is being removed also. The pool is plenty deep enough (over 9' deep) but the place it takes up could be better utilised for outdoor furniture.
The old coping was a safety bullnose type, so it doesn't look like there is enough room for a full stone coping to fit with the existing deck, so we are looking at using a flagstone (about 1") for the coping.

So far the project is going pretty smoothly my pool builder is a good communicator and very responsive to questions and concerns.
One question I do have at the moment is regarding the returns. The plumbers are installing 3 returns, but they are planning on only 1" returns. The main feeds from the equipment are supposed to be 2". Mathematics tells me that the 3 x 1" pipe is less cross sectional area than 1 x 2" pipe. I am trying to convince them to use 1.5" for the returns, but they believe that it is harder to use 1.5" fittings. I can see plenty of 1.5" fittings advertised online, so I don't understand that? I would appreciate any thoughts on that subject.
Also I originally specified that the feeds from the main drain and skimmer would be separate back to the pad. But it looks like they are using a skimmer which has the main drain (and vac line? not sure) lines integrated into it. I like to be able to shut of the main drain when I am vacuuming (manual), to increase suction and flow through the vacuum. Has anyone had good experience with this kind of skimmer? Are seperate lines better, or is the a good reason to use a skimmer like this?
Thanks,
Scott


