Hello Everyone -
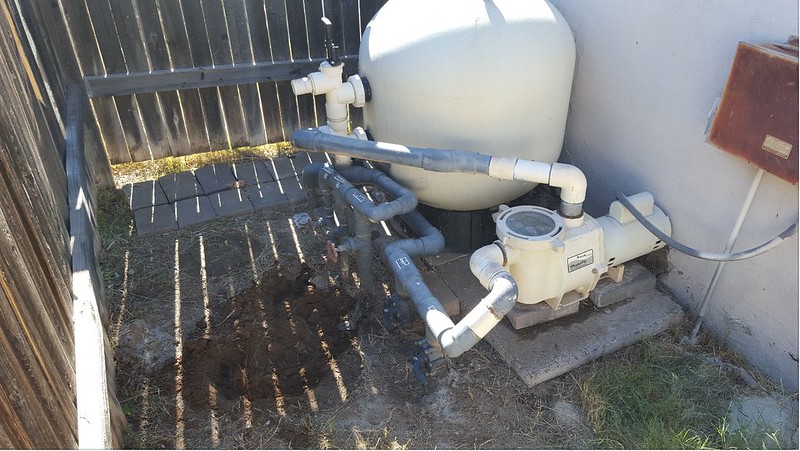
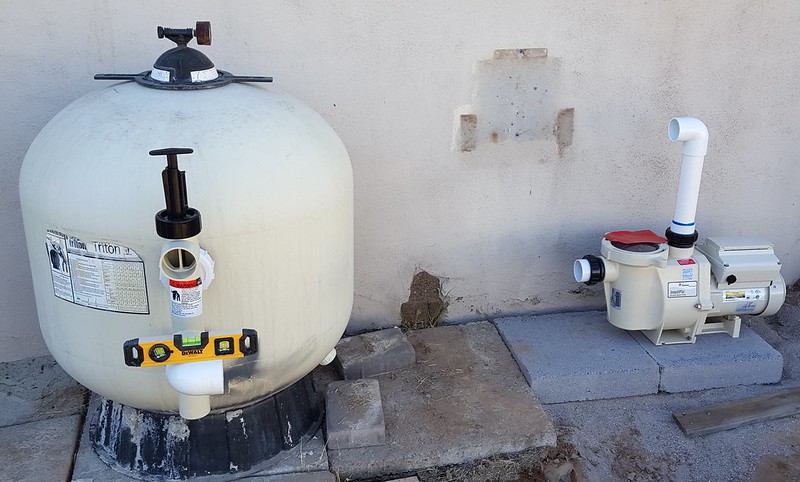
We are getting ready to install a new AutoPilot SWG and chemical system next week. In the process, the piping for the filter and pump (we inherited it from the previous home owner) looked really weird and hokey. Reading posts here (have you lost your head), as well as the installation instruction for the Pentair WisperFlo pump and the new Pentair IntelliFlo pump which says no 90 degree elbows directly into pump inlet or outlet leads me to believe that I need to redo my piping as much as possible.
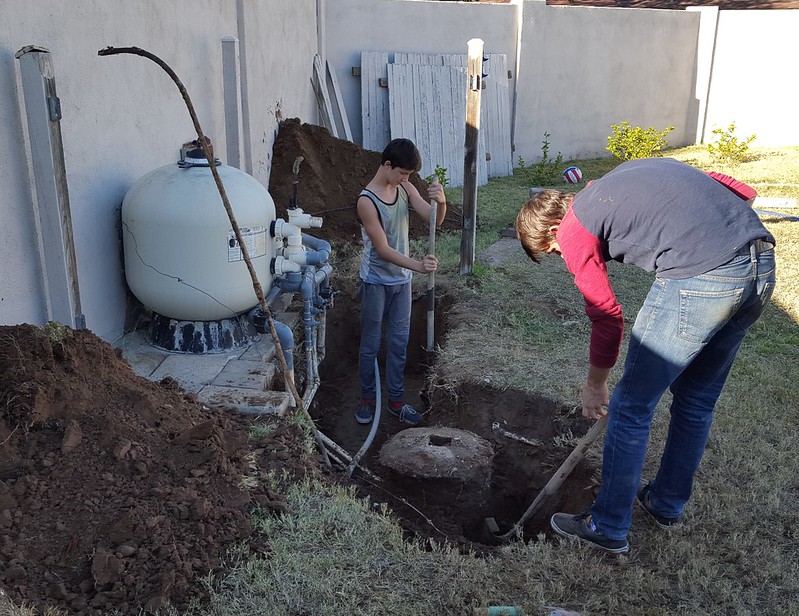
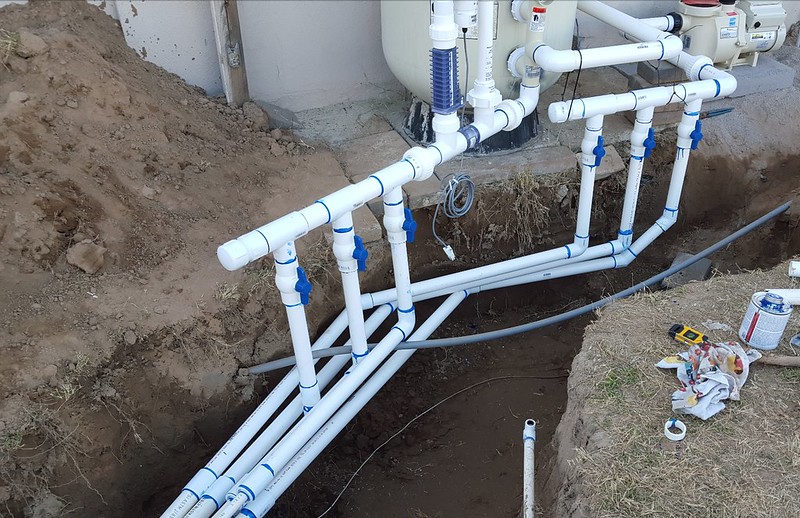
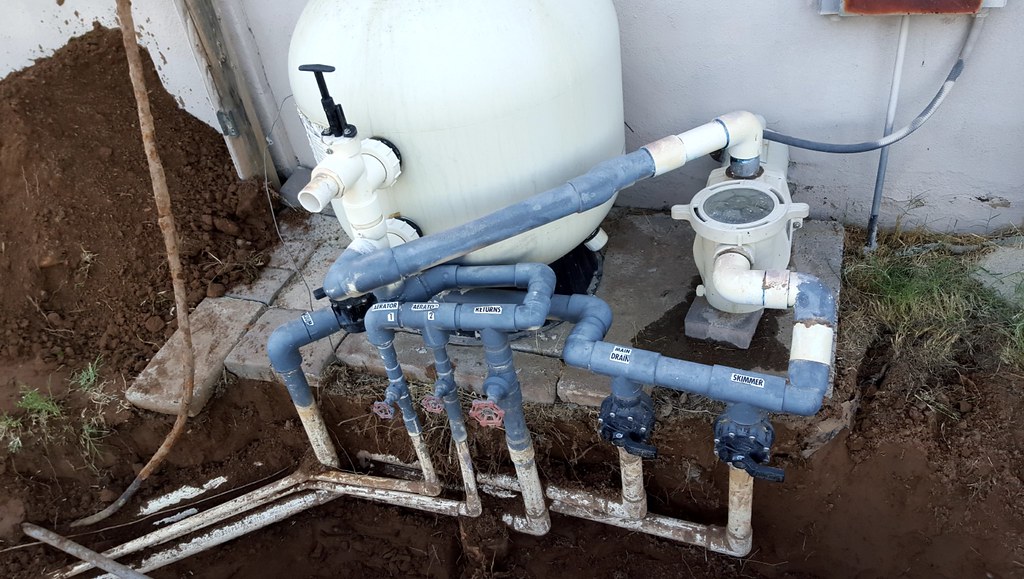
So my boys and I got out and dug up all of the piping and as you can see it is a mess.
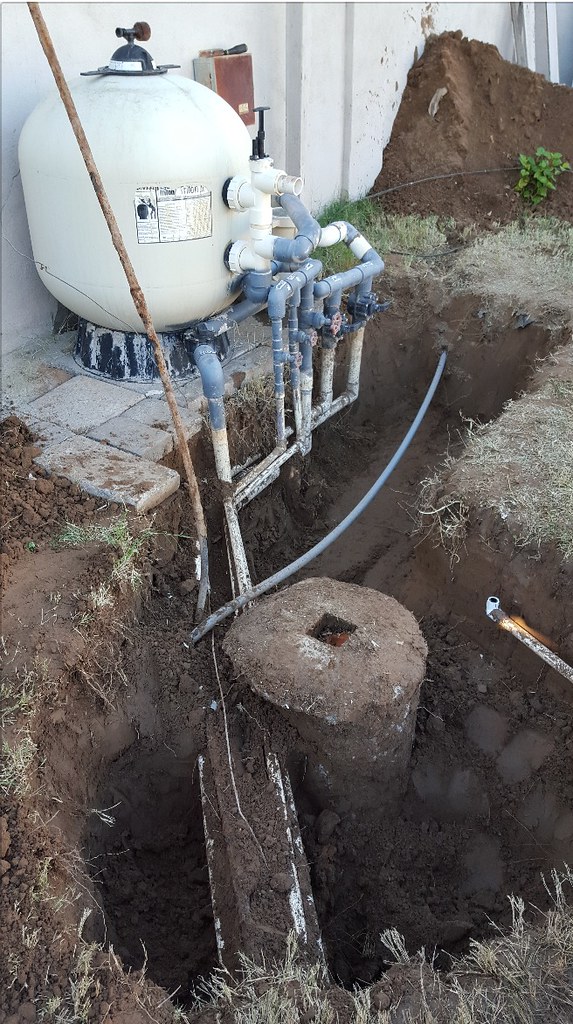
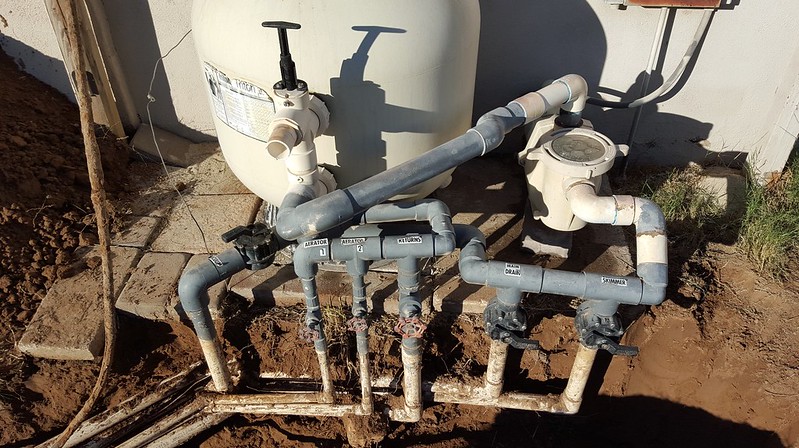
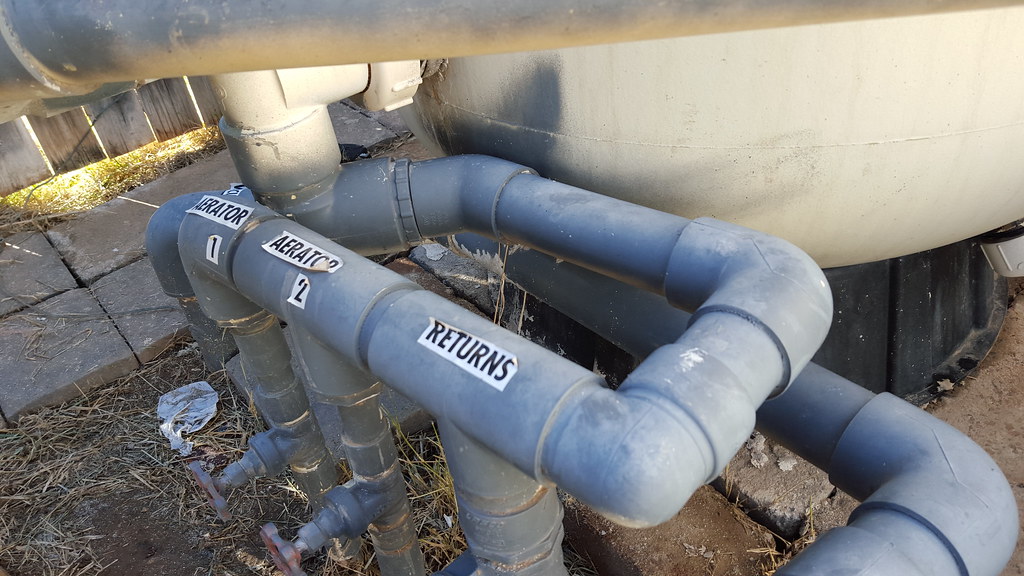
So I was going to go back as far as I could towards the pool and replace all of the piping with the same size piping all the way through the entire system. As you can see from the picture, they really had a good time working the piping around, changing sizing for the returns, etc. THere is nothing I can do about resizing all the way to the pool, but for a nice uniform look I wanted to go with all of the same size piping for everything, or at least maybe one size for suction and one for returns. But the pump has the same size for both.
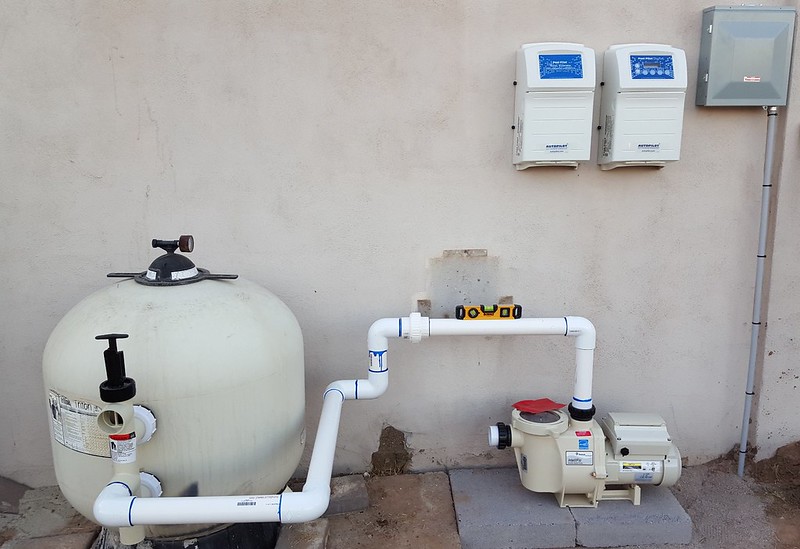
I am going to redo all of the piping to the pump to conform with Pentair's recommendation that you need 5 times the size of the pipe in distance from the pump before installing a 90, plus all new valves and new backflow valve on filter.
So I guess my specific question would be:
1) Would there be any problem to size all of the suction and return lines the same ABOVE ground and tie into the smaller pipes below ground?
2) On the return from the filter, there is a 90 directly off the return. I know this is supposed to be bad at the pump, but is this a problem at the filter? Should I take that line down before putting a 90 on it to tee into my SWG system (generator is placed on the return side after the filter)?
Thanks!
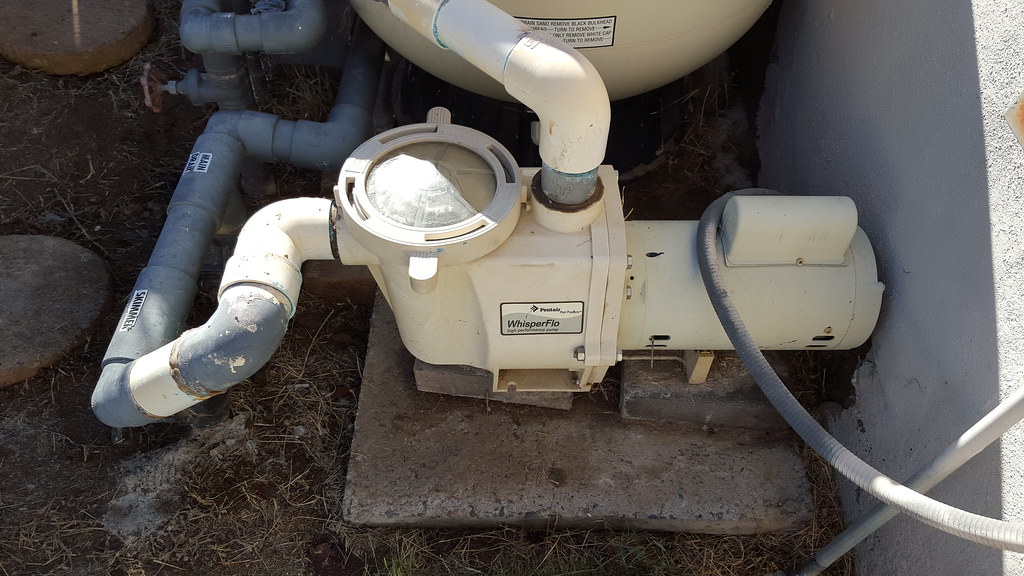
We are getting ready to install a new AutoPilot SWG and chemical system next week. In the process, the piping for the filter and pump (we inherited it from the previous home owner) looked really weird and hokey. Reading posts here (have you lost your head), as well as the installation instruction for the Pentair WisperFlo pump and the new Pentair IntelliFlo pump which says no 90 degree elbows directly into pump inlet or outlet leads me to believe that I need to redo my piping as much as possible.
So my boys and I got out and dug up all of the piping and as you can see it is a mess.
So I was going to go back as far as I could towards the pool and replace all of the piping with the same size piping all the way through the entire system. As you can see from the picture, they really had a good time working the piping around, changing sizing for the returns, etc. THere is nothing I can do about resizing all the way to the pool, but for a nice uniform look I wanted to go with all of the same size piping for everything, or at least maybe one size for suction and one for returns. But the pump has the same size for both.
I am going to redo all of the piping to the pump to conform with Pentair's recommendation that you need 5 times the size of the pipe in distance from the pump before installing a 90, plus all new valves and new backflow valve on filter.
So I guess my specific question would be:
1) Would there be any problem to size all of the suction and return lines the same ABOVE ground and tie into the smaller pipes below ground?
2) On the return from the filter, there is a 90 directly off the return. I know this is supposed to be bad at the pump, but is this a problem at the filter? Should I take that line down before putting a 90 on it to tee into my SWG system (generator is placed on the return side after the filter)?
Thanks!