I did the upgrade last spring from the AquaLogic to the Omni PL. I took lots of pictures but never ended up posting them. Here is my attempt now. Keep in mind I did this over a year ago, so my memory is foggy at best; however, the process was pretty easy.
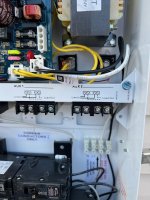
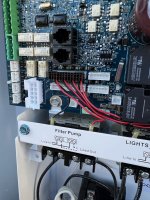
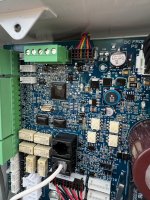
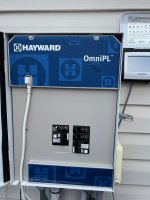
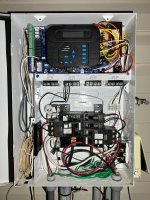
Here is my panel with the cover off before I started. You will notice I don't have too much automation going on, but nevertheless this is it. I took the picture so I could remember where everything was later if I forgot. This will make more sense later.
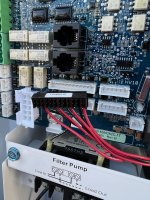
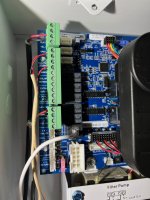
Close up of the various connections. These will actually directly plug into the same positions on the new board. This is true for all boards except the E-command (I believe). Read the docs it is in there.
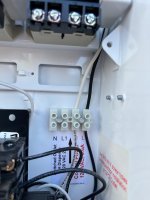
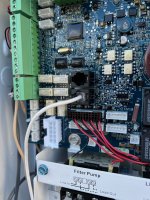
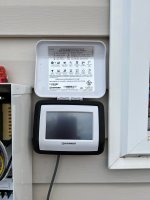
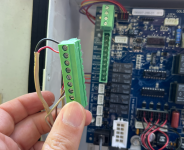
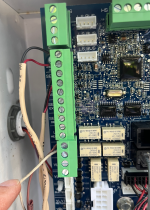
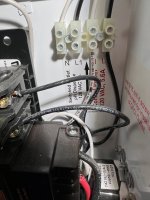
My box had a quick connect for the panel, so I reused it. This is different that what the directs say but in the end it is all the same.
I'm going to skip including all the pictures of the current settings, but it goes without saying that you should document all the settings so you can input them into the new system. There is a spot to write them all down in the upgrade manual as well.
This is the first picture of me actually starting the upgrade. I've removed all the connections for the transformer. The manual should tell you how to match the colors up with the wiring harness that is in the kit. You can also see I've removed the wirings coming from the breaker as well (black and white wires).
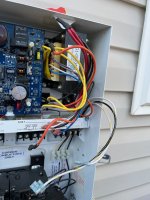
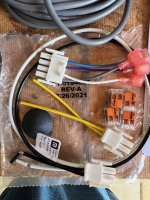
Here you can see where I've disconnected the harness for the relays (red/black wires and black connector). Also the connectors on the left side are removed. They are just hanging down to the side. At this point the board should be ready to come out. Only a couple screws holding it in. It was "fun" getting the board out but it will make it without removing anything else.
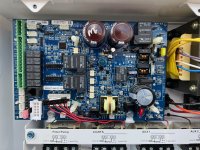
All wires disconnected and AquaLogic board is out and ready to install new hardware.
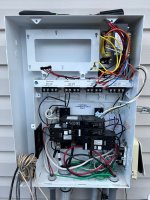
All the extra wires hanging off these bad boys can come out as well. They will not be used but you leave the blocks in since the box was designed to be waterproof with them in there. I suppose you could take them out and seal up the holes, but that is more work than necessary.
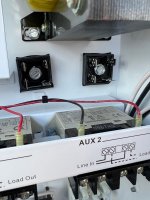
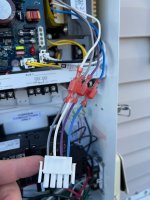
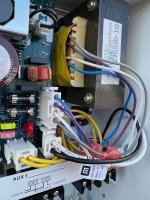
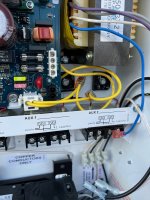
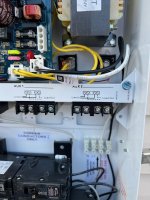
Go ahead and install the new board pretty much the same way the old board came out. The first connection was the yellow wires. Wire harness with wago connectors included.
Continued below.
Here is my panel with the cover off before I started. You will notice I don't have too much automation going on, but nevertheless this is it. I took the picture so I could remember where everything was later if I forgot. This will make more sense later.

Close up of the various connections. These will actually directly plug into the same positions on the new board. This is true for all boards except the E-command (I believe). Read the docs it is in there.

My box had a quick connect for the panel, so I reused it. This is different that what the directs say but in the end it is all the same.

I'm going to skip including all the pictures of the current settings, but it goes without saying that you should document all the settings so you can input them into the new system. There is a spot to write them all down in the upgrade manual as well.
This is the first picture of me actually starting the upgrade. I've removed all the connections for the transformer. The manual should tell you how to match the colors up with the wiring harness that is in the kit. You can also see I've removed the wirings coming from the breaker as well (black and white wires).


Here you can see where I've disconnected the harness for the relays (red/black wires and black connector). Also the connectors on the left side are removed. They are just hanging down to the side. At this point the board should be ready to come out. Only a couple screws holding it in. It was "fun" getting the board out but it will make it without removing anything else.

All wires disconnected and AquaLogic board is out and ready to install new hardware.

All the extra wires hanging off these bad boys can come out as well. They will not be used but you leave the blocks in since the box was designed to be waterproof with them in there. I suppose you could take them out and seal up the holes, but that is more work than necessary.

Go ahead and install the new board pretty much the same way the old board came out. The first connection was the yellow wires. Wire harness with wago connectors included.


Continued below.


